Construction
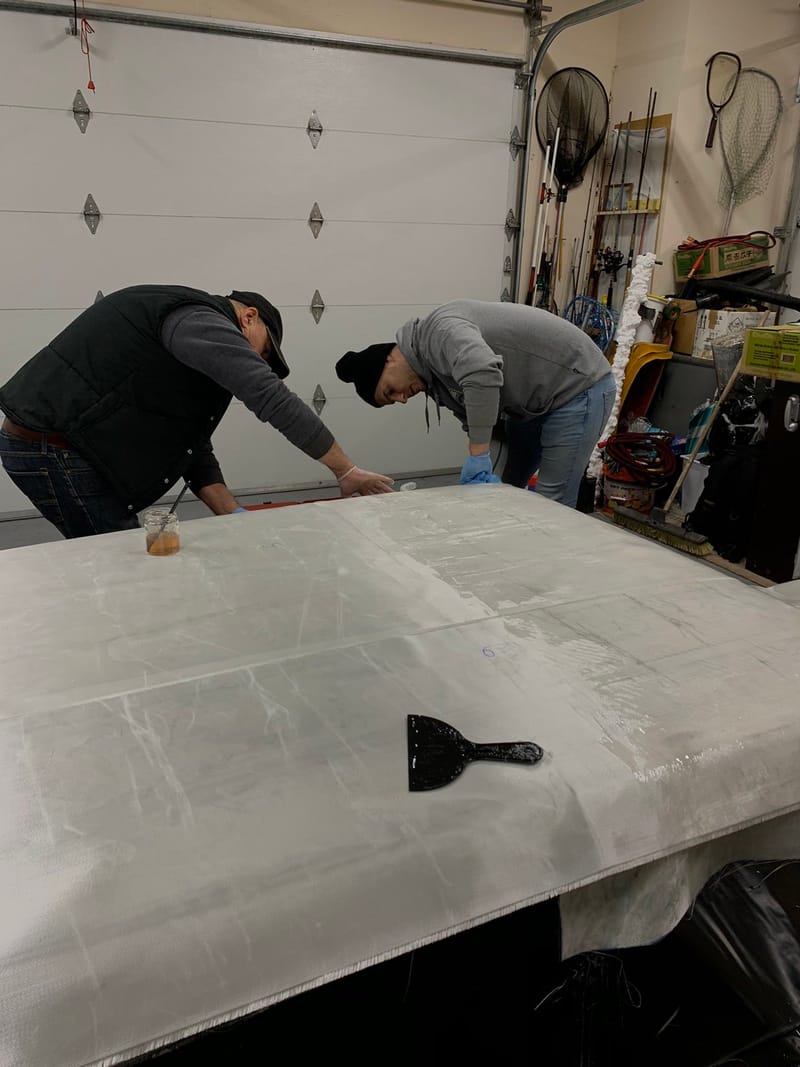
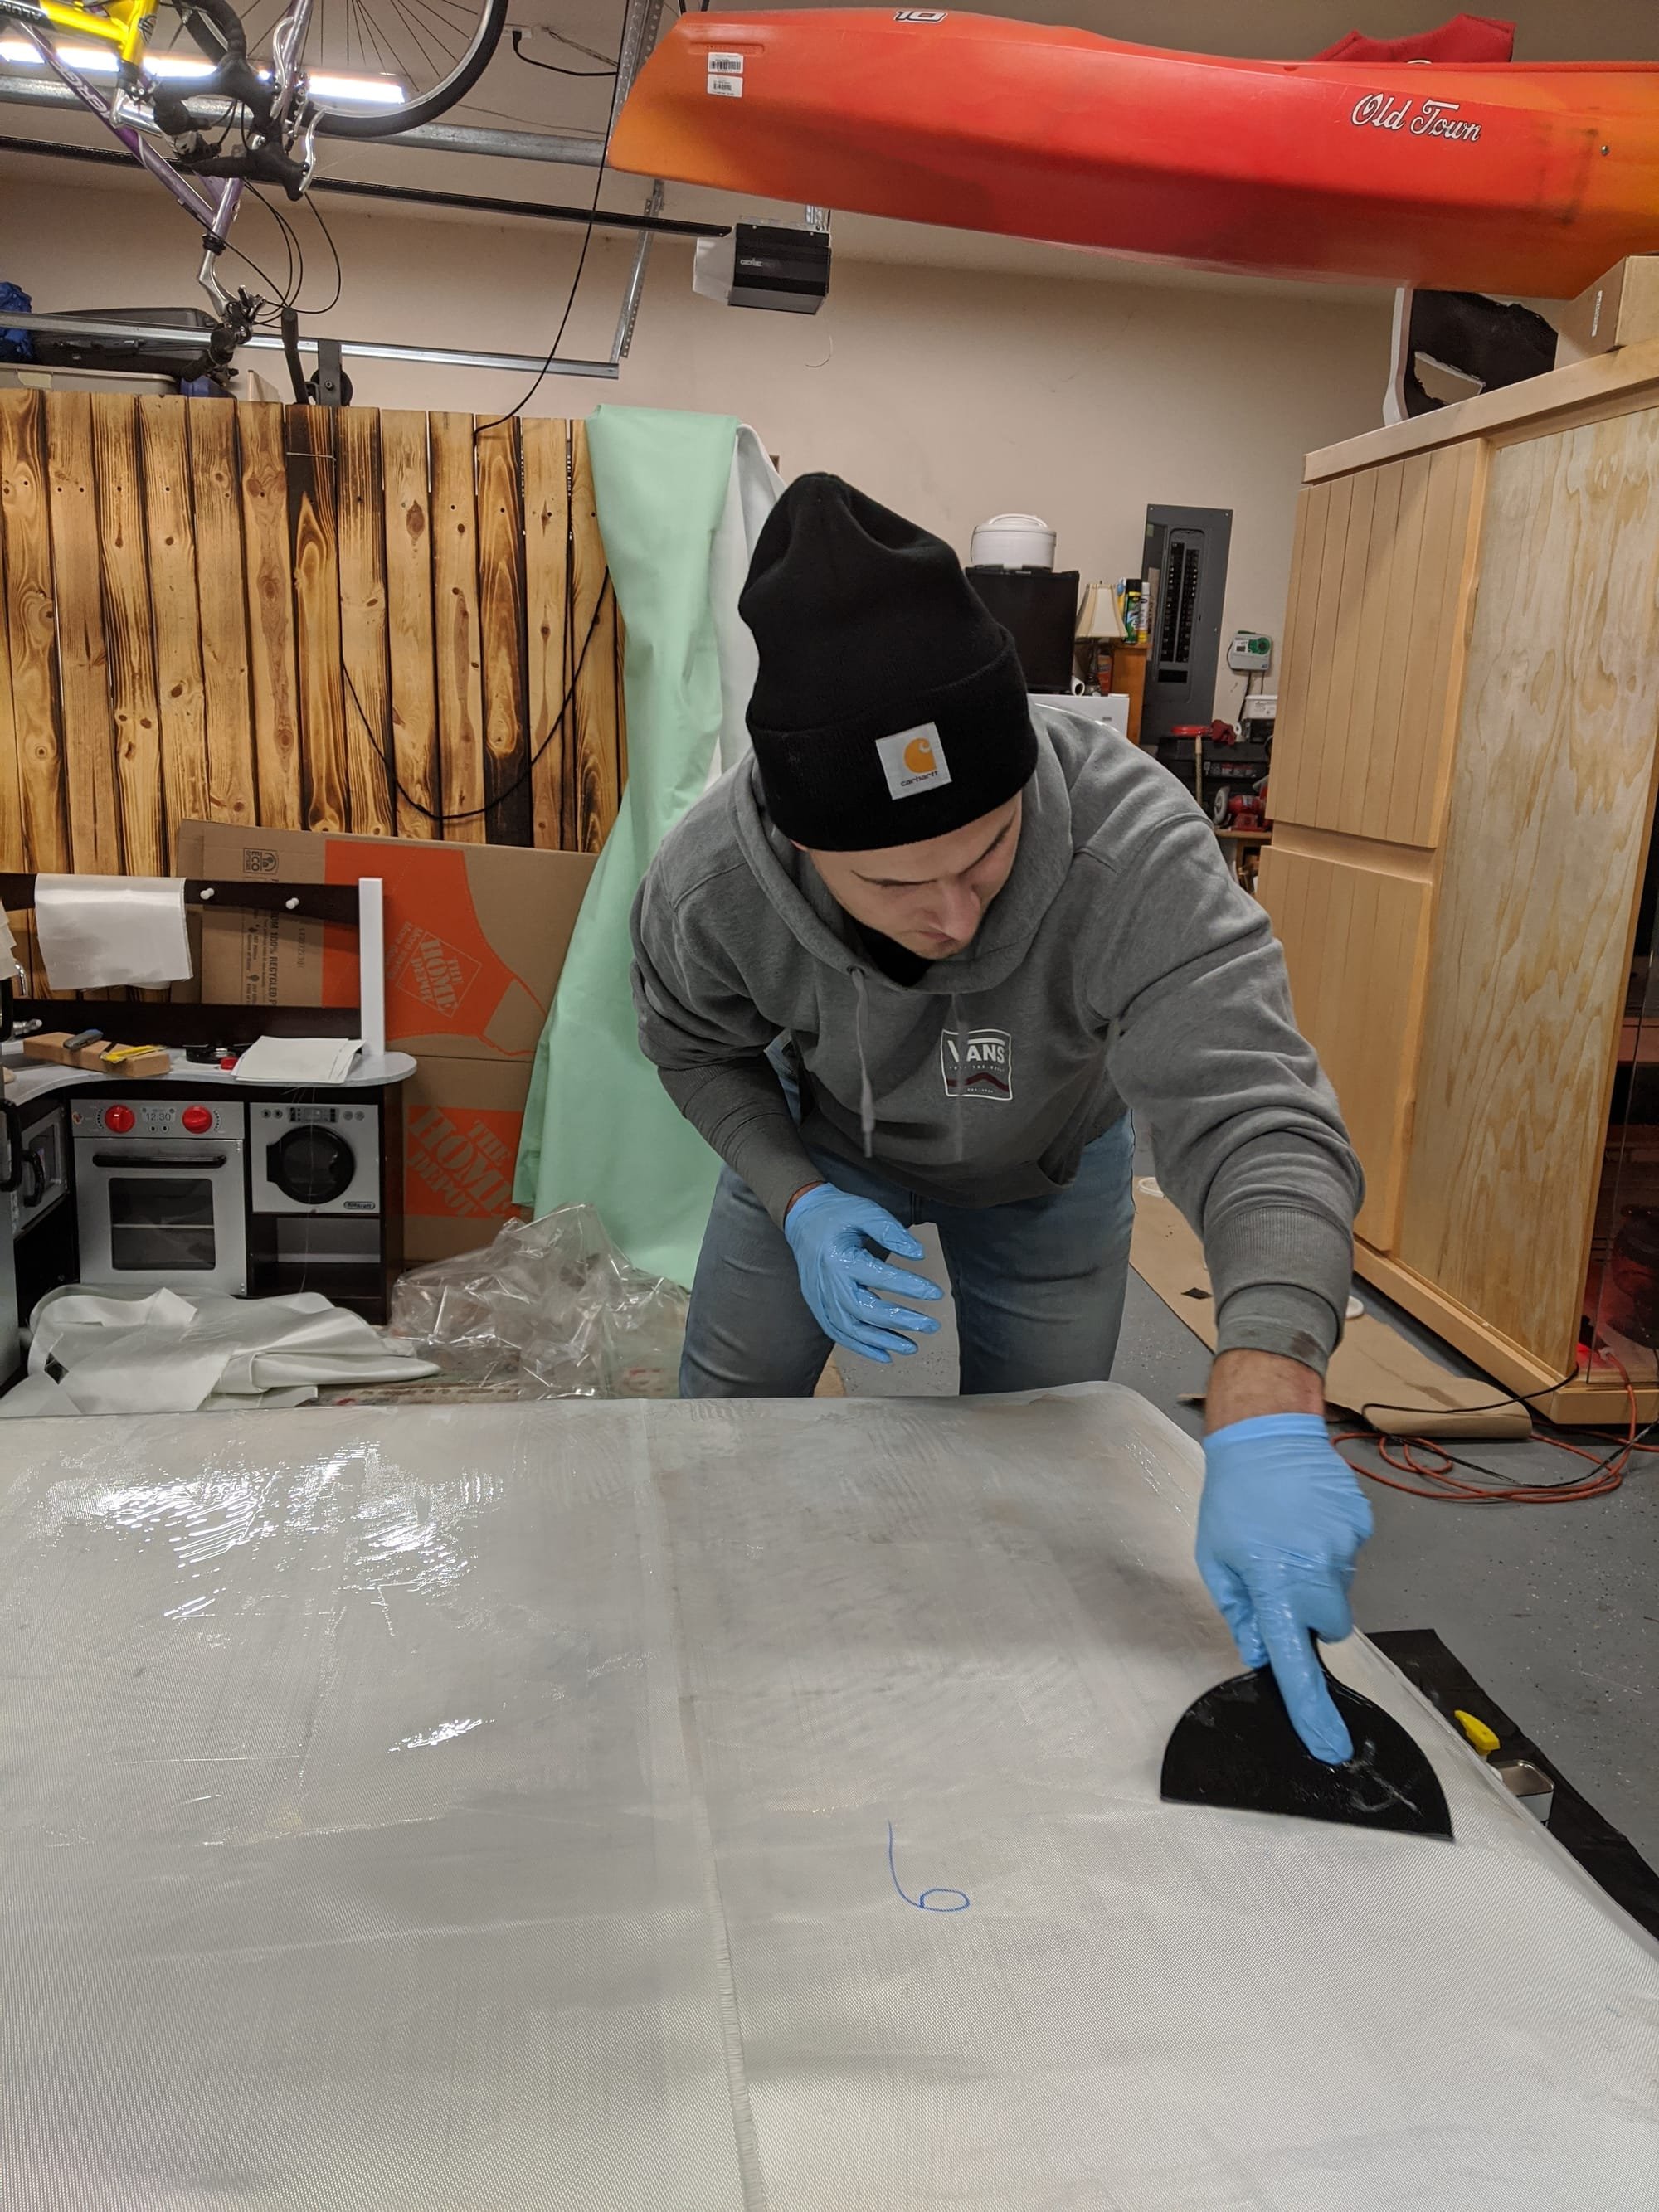
This project will implement standard composite layup procedures. The roof panels will be constructed of a structural foam core with a fiberglass layup on both sides. To get a high compression strength, the sandwich core is made of Polyurethane foam. Polyurethane foam is a high-density foam that provides great strength characteristics in a sandwich core layup. The E-glass fiberglass will be a four layer layup on both sides of the foam core. E-glass is a great alternative to a material like carbon fiber which is 30% more expensive. For adhesion, West Systems epoxy resin is used. Vacuum bagging the panels will get the layers to adhere to one another in a flat manner and alleviate anomalies in the characteristics of the bond. The side panels will be constructed in a similar manner. There will be a tubular steel frame to support a load on the side panels as well. To create the molds of the individual sections, the use of an original hardtop will be used to get the profile of the hardtop.
Step 1: Test Samples:
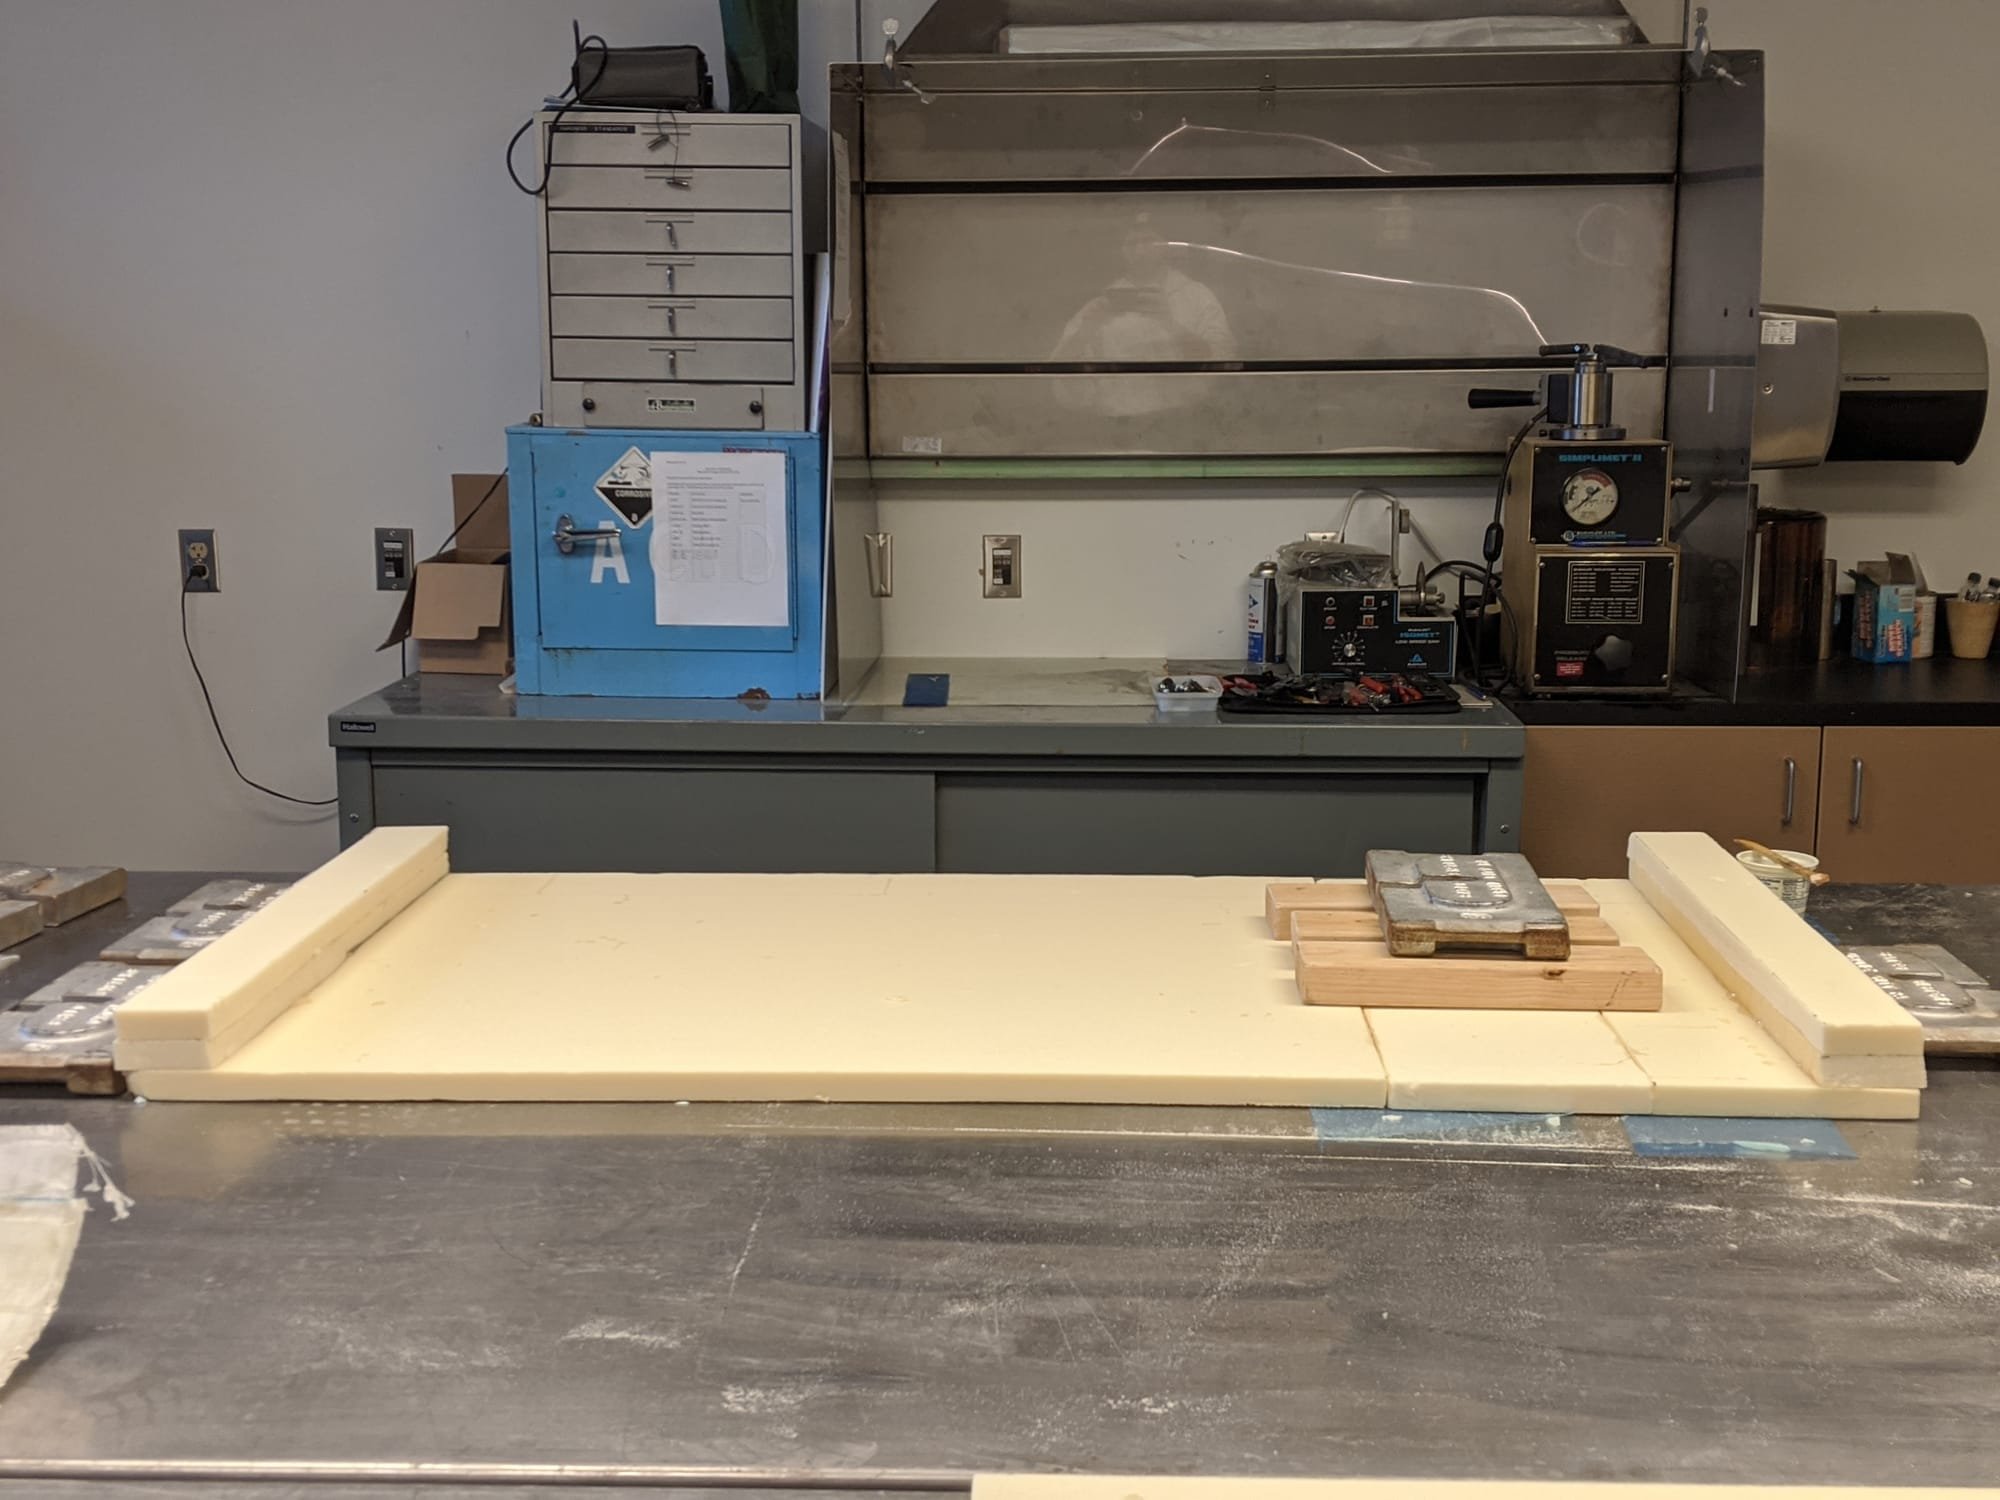
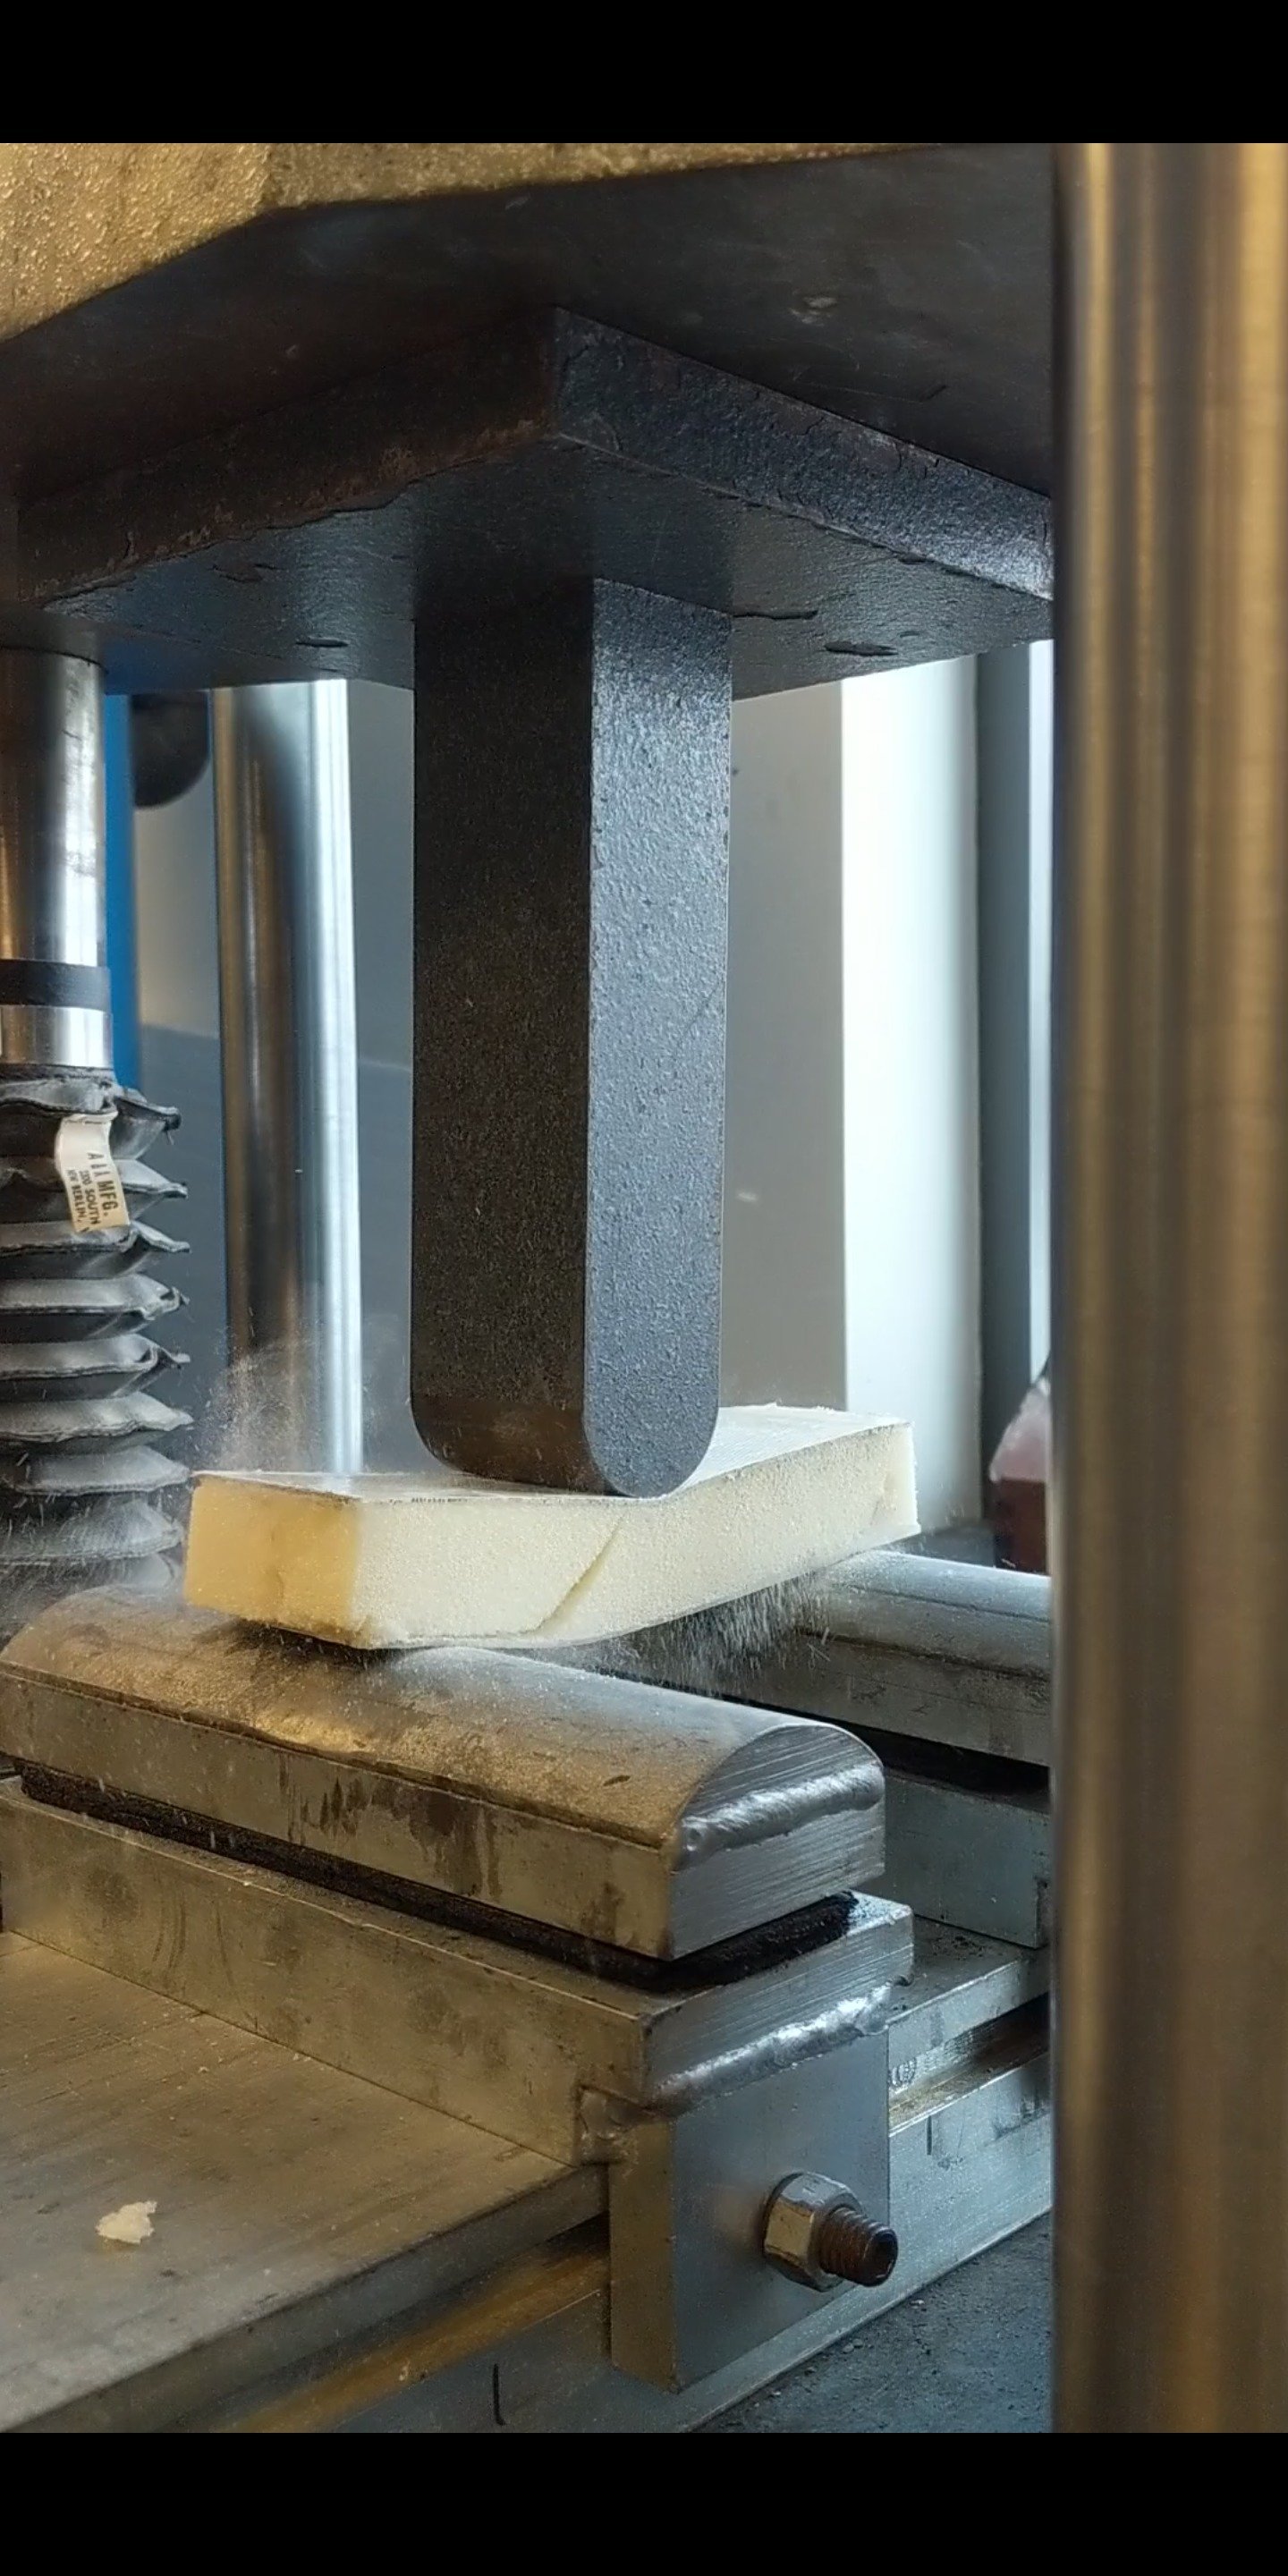 Tinius Machine: Compression Test
The first part of the project entailed constructing a few composite layup samples to test. By testing the samples in the Tinius Olsen Material Testing Machine, test results concluded that the layup procedure that was planned to be used would be sufficient. The estimated tested area was roughly .75 sq. in. and the samples failed at an average of 50 lbs. With these results. the test samples yielded that an average value of 66.7 lbs per sq. in. is required to fail the layup. The pounds per square inch that the panels would need to handle is 11.1 lbs per sq. in.. This concludes that the layup is sufficient for this project. https://drive.google.com/open?id=1RNAbOmEhXPCi-L4TMI2u8qgBHszHUW6a
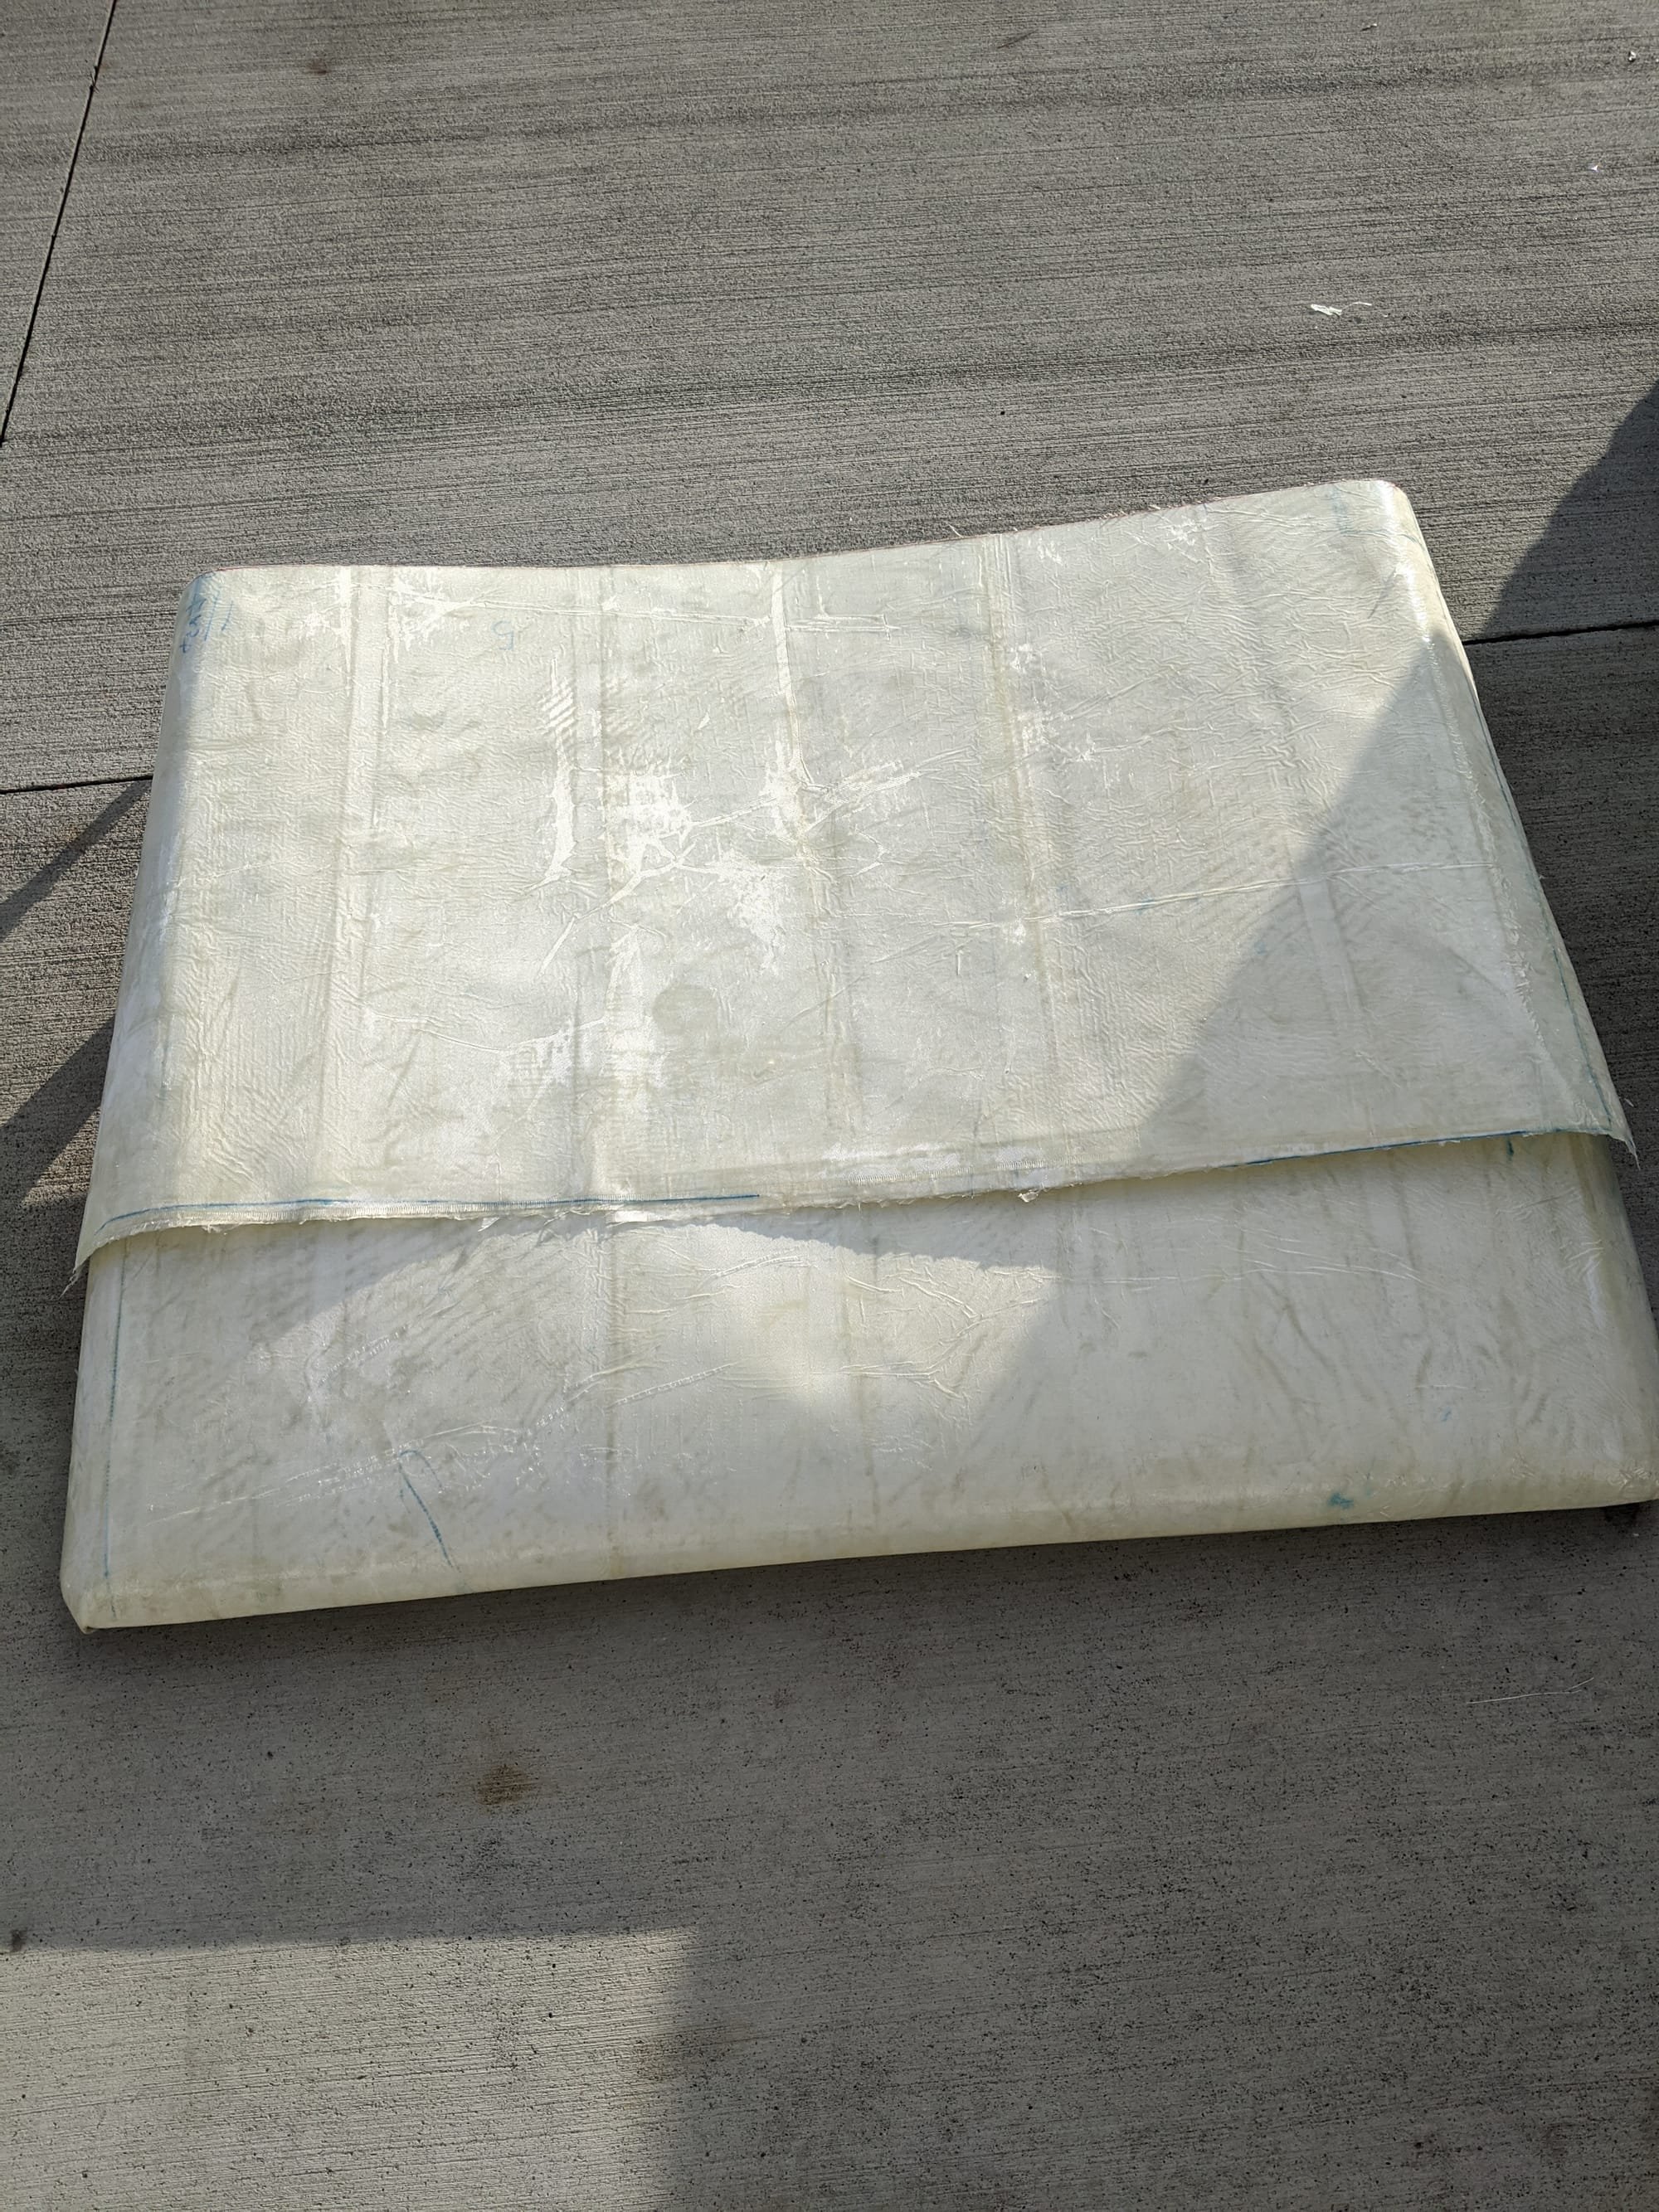
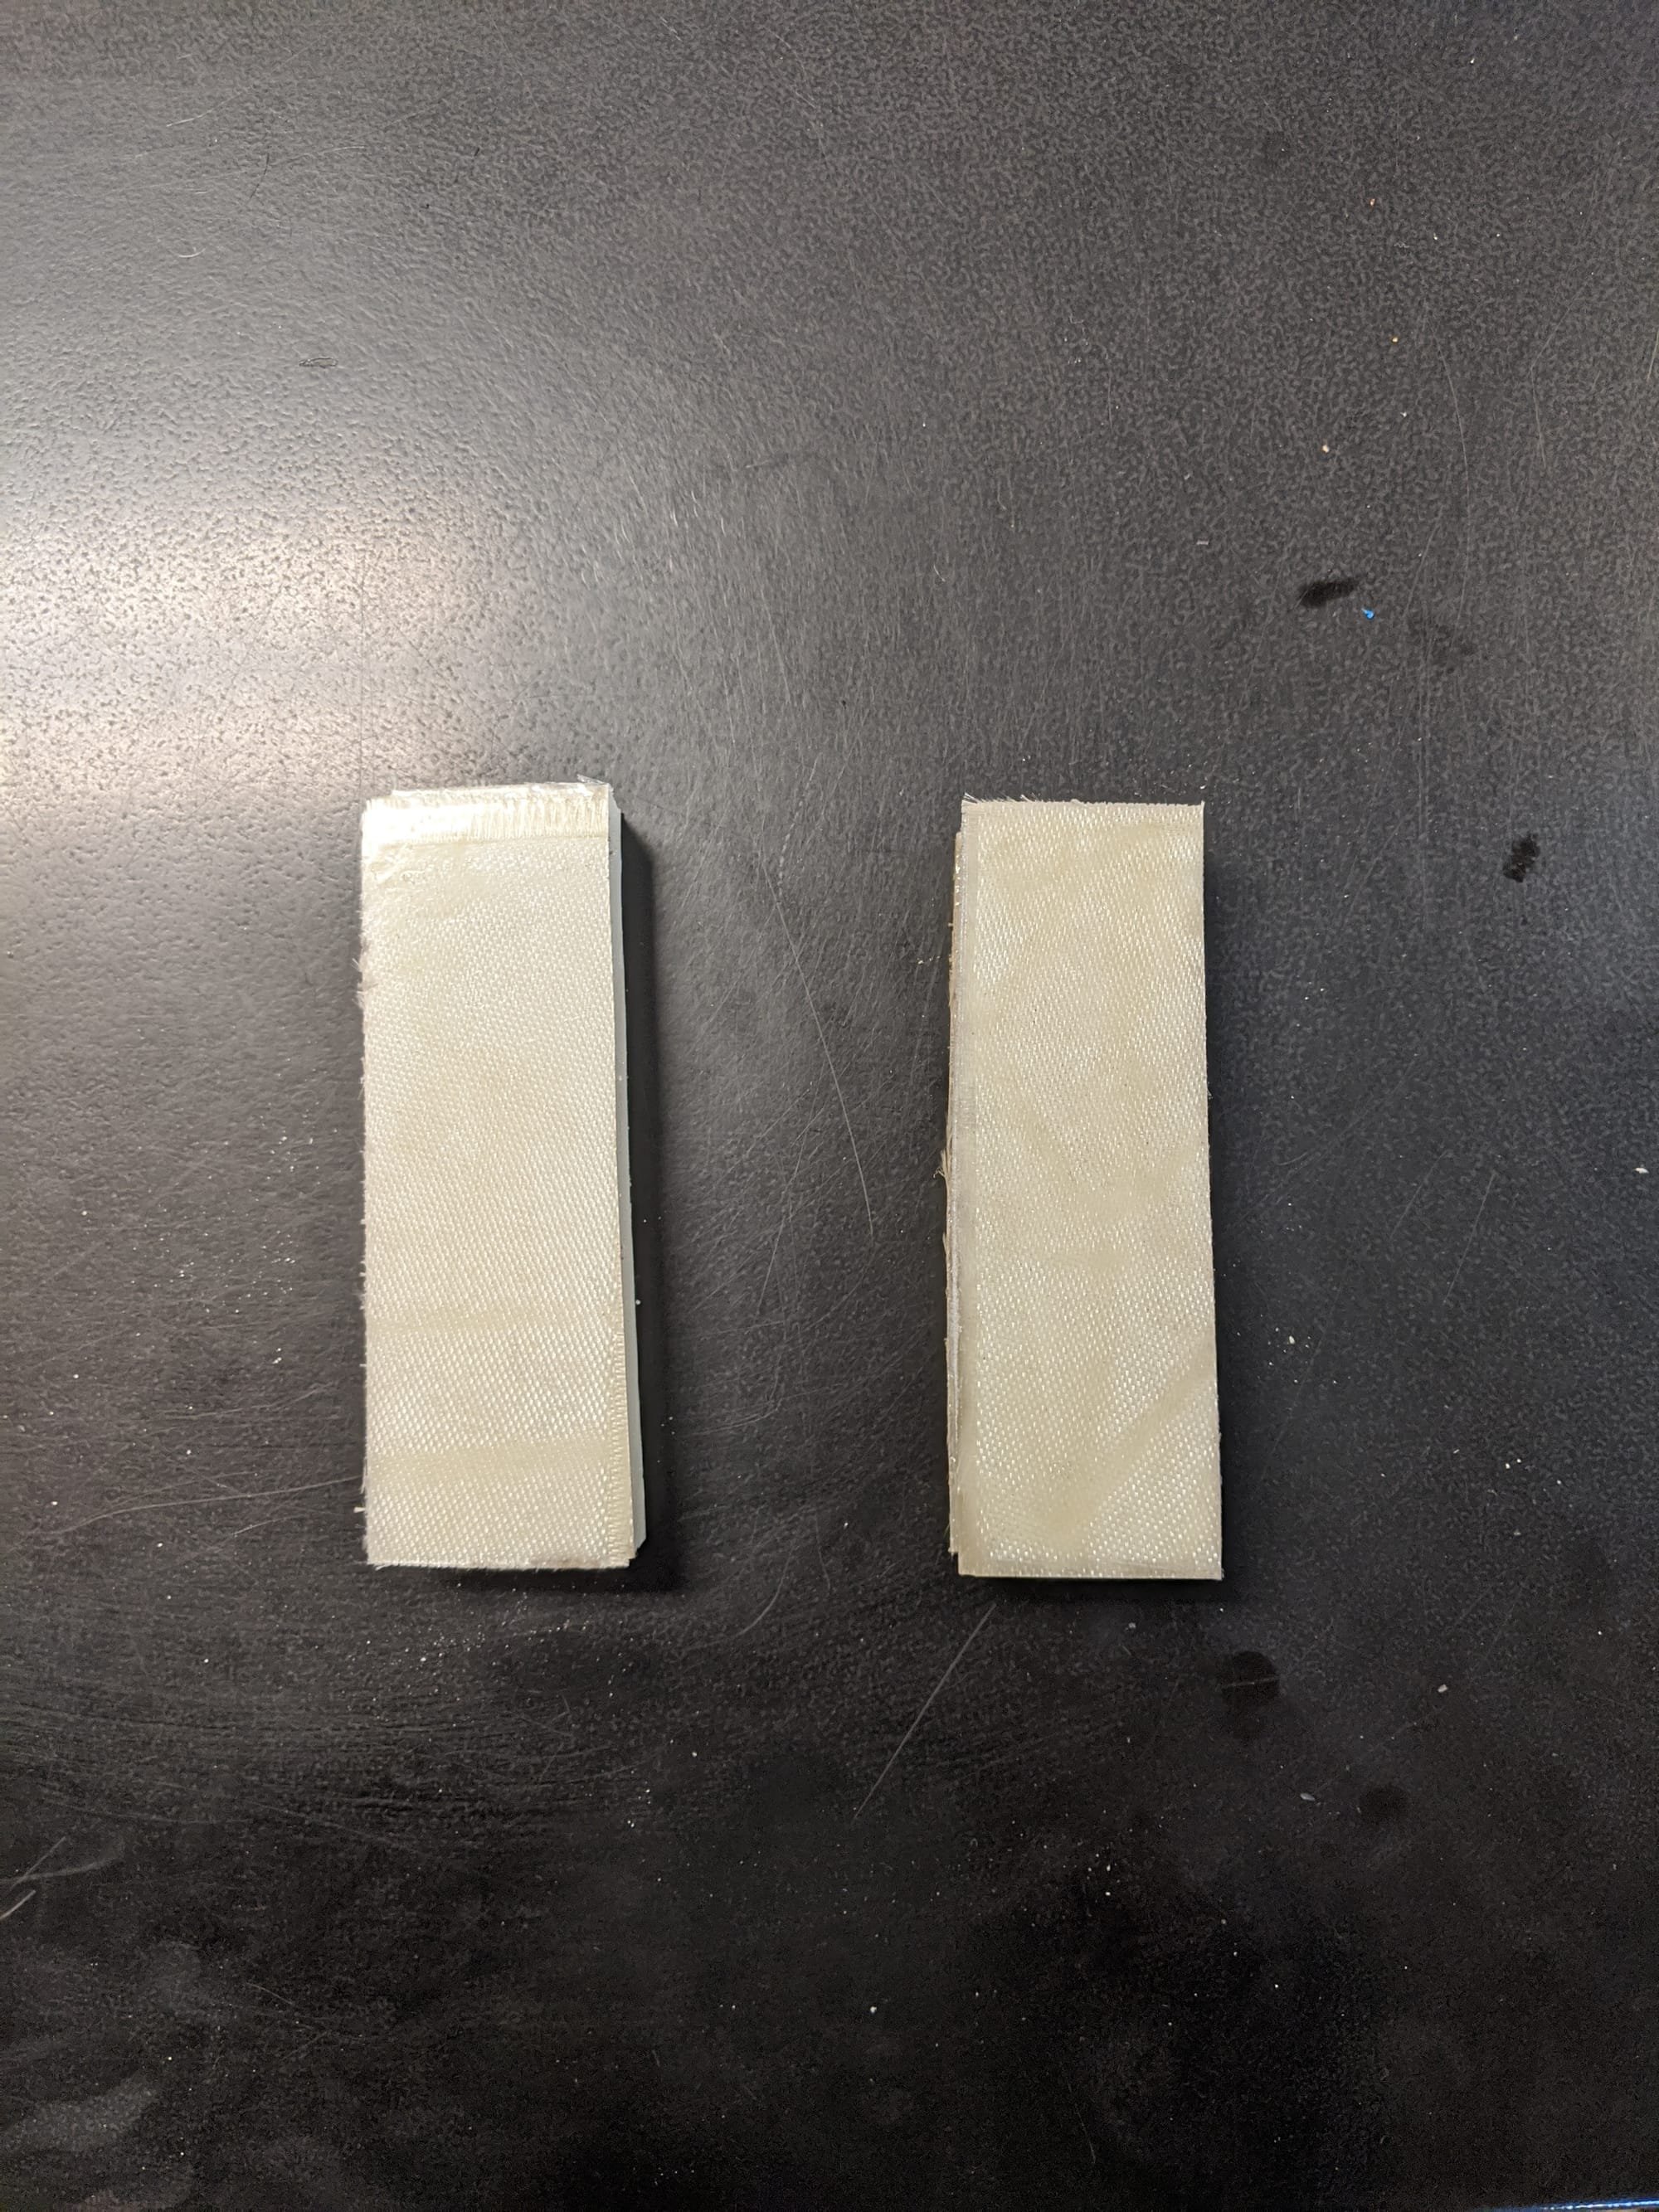 Two Samples: 3 & 4 layer
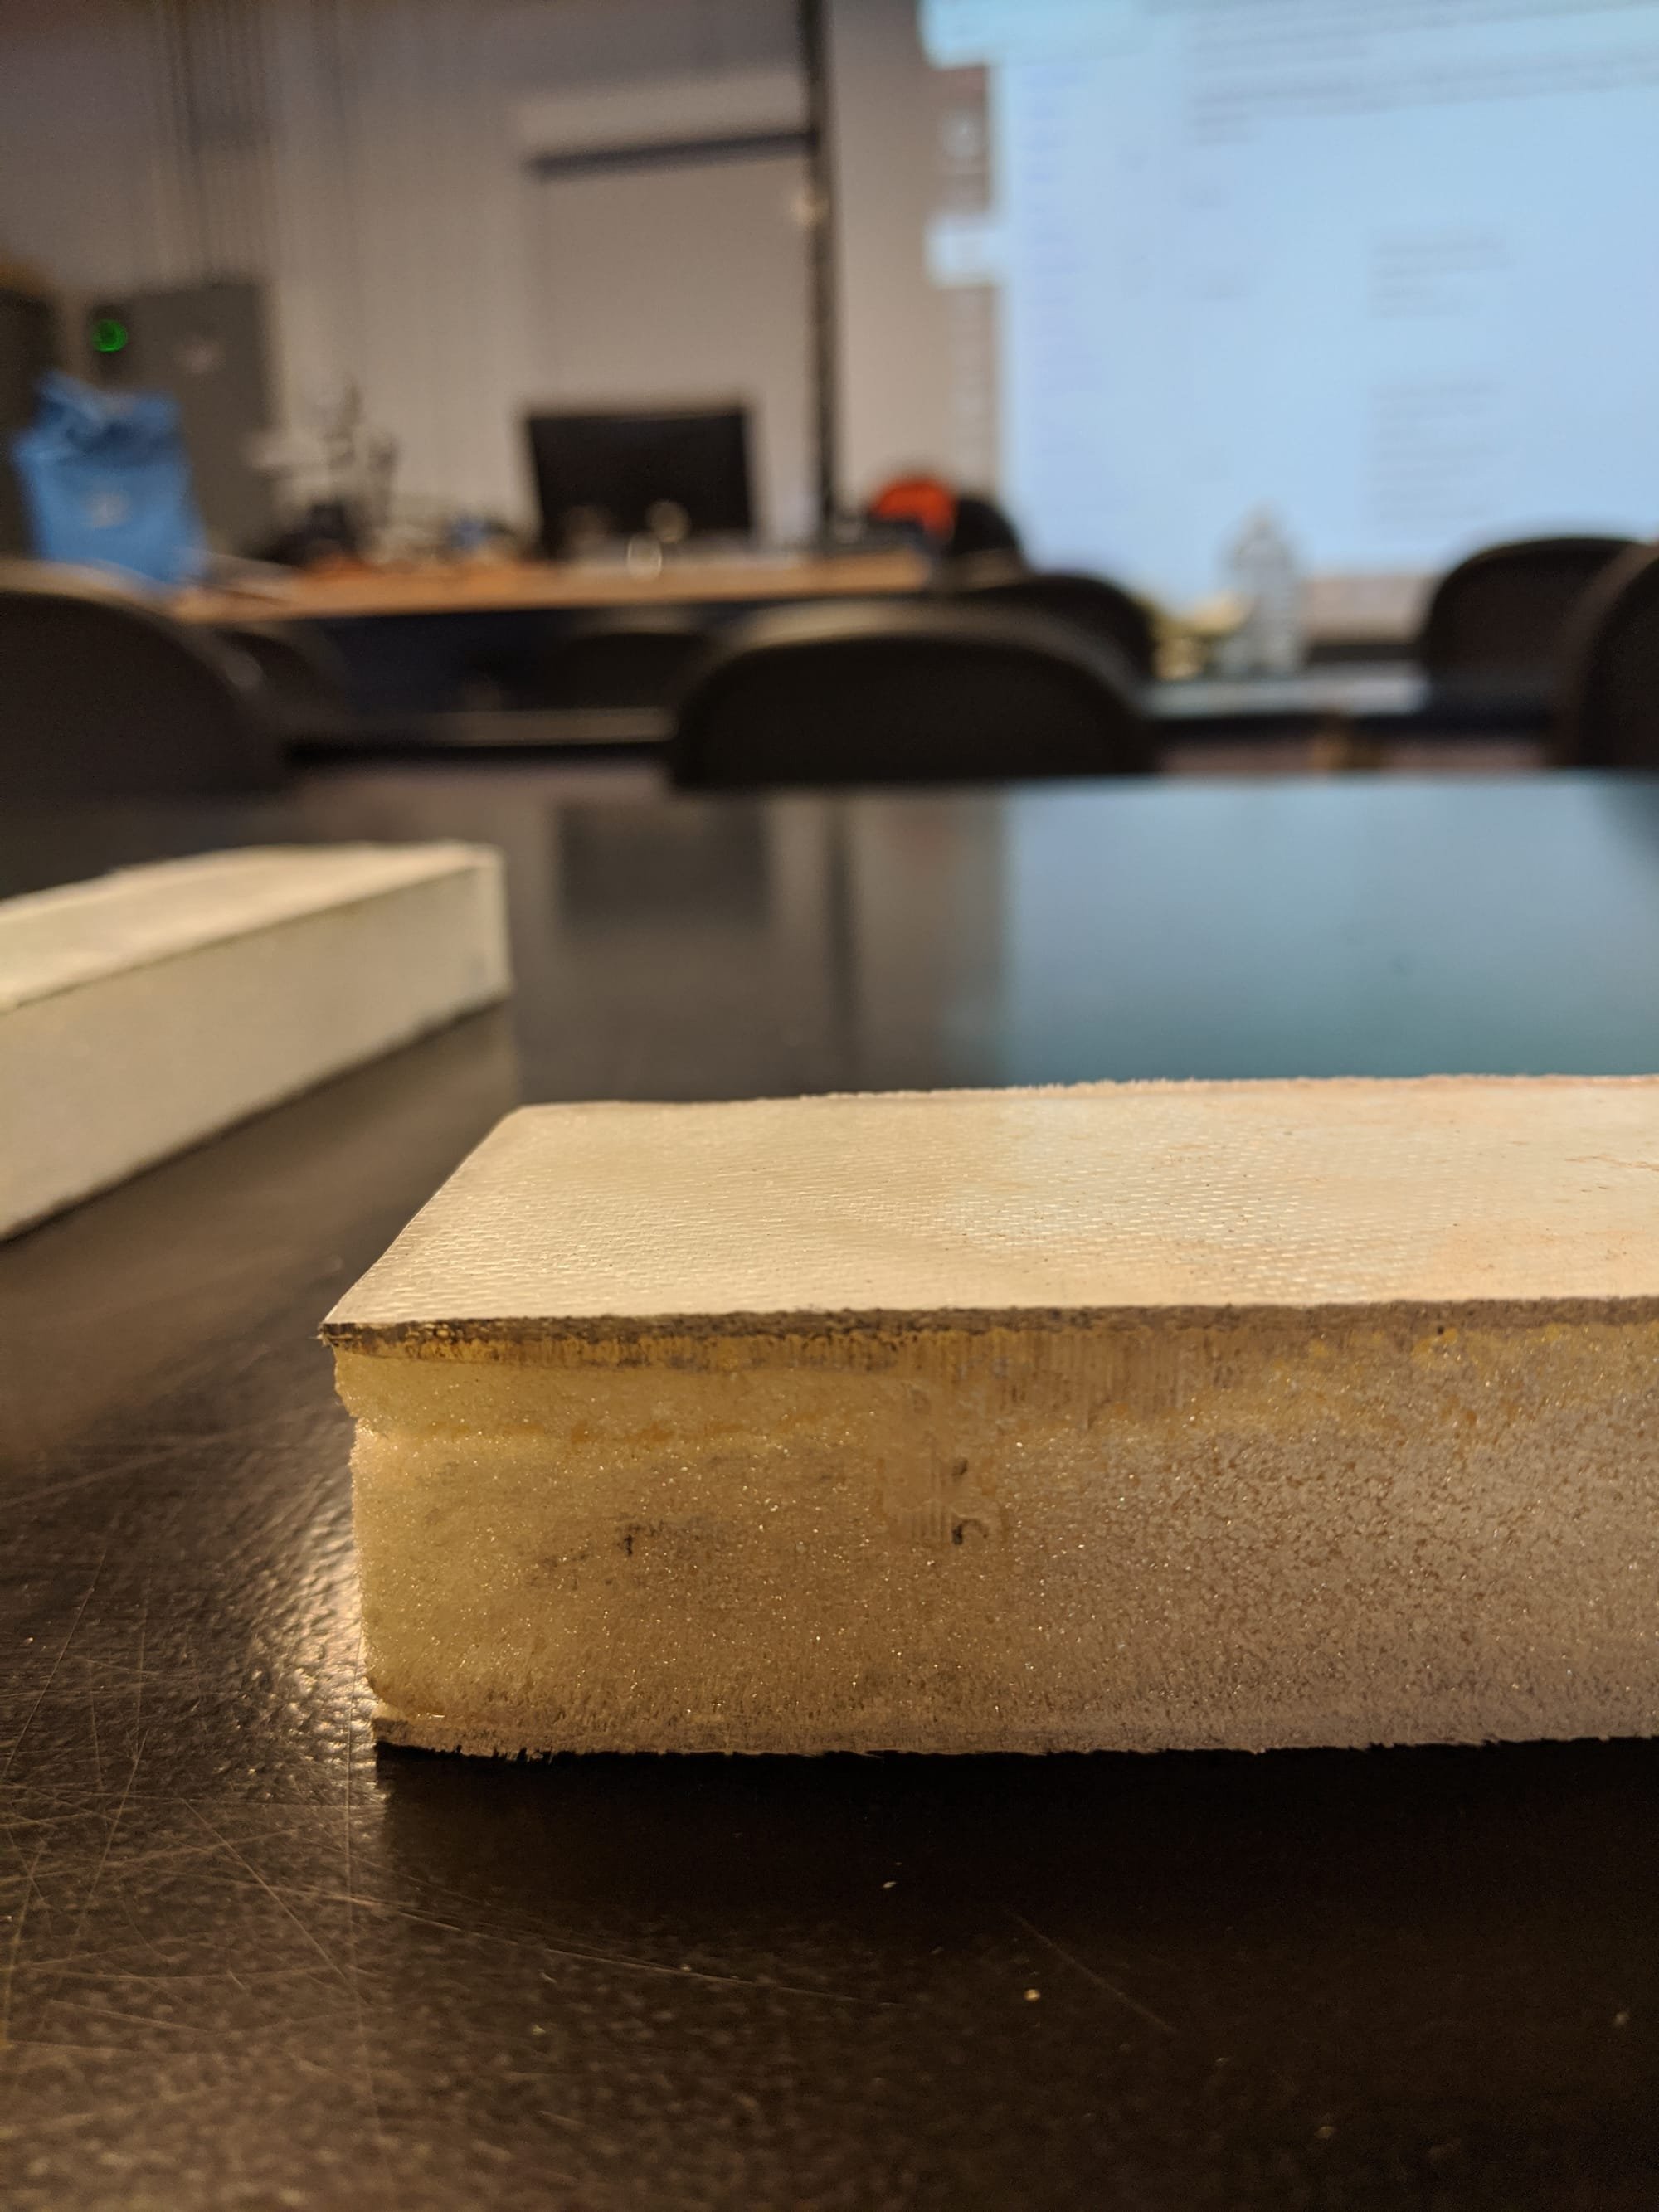 The two sample pieces made with West Systems Epoxy Resin, Polyurethane Foam, E-Glass Fiberglass
Step 2: Construction of the Top Front and Top Rear Panels:
 1.
1.
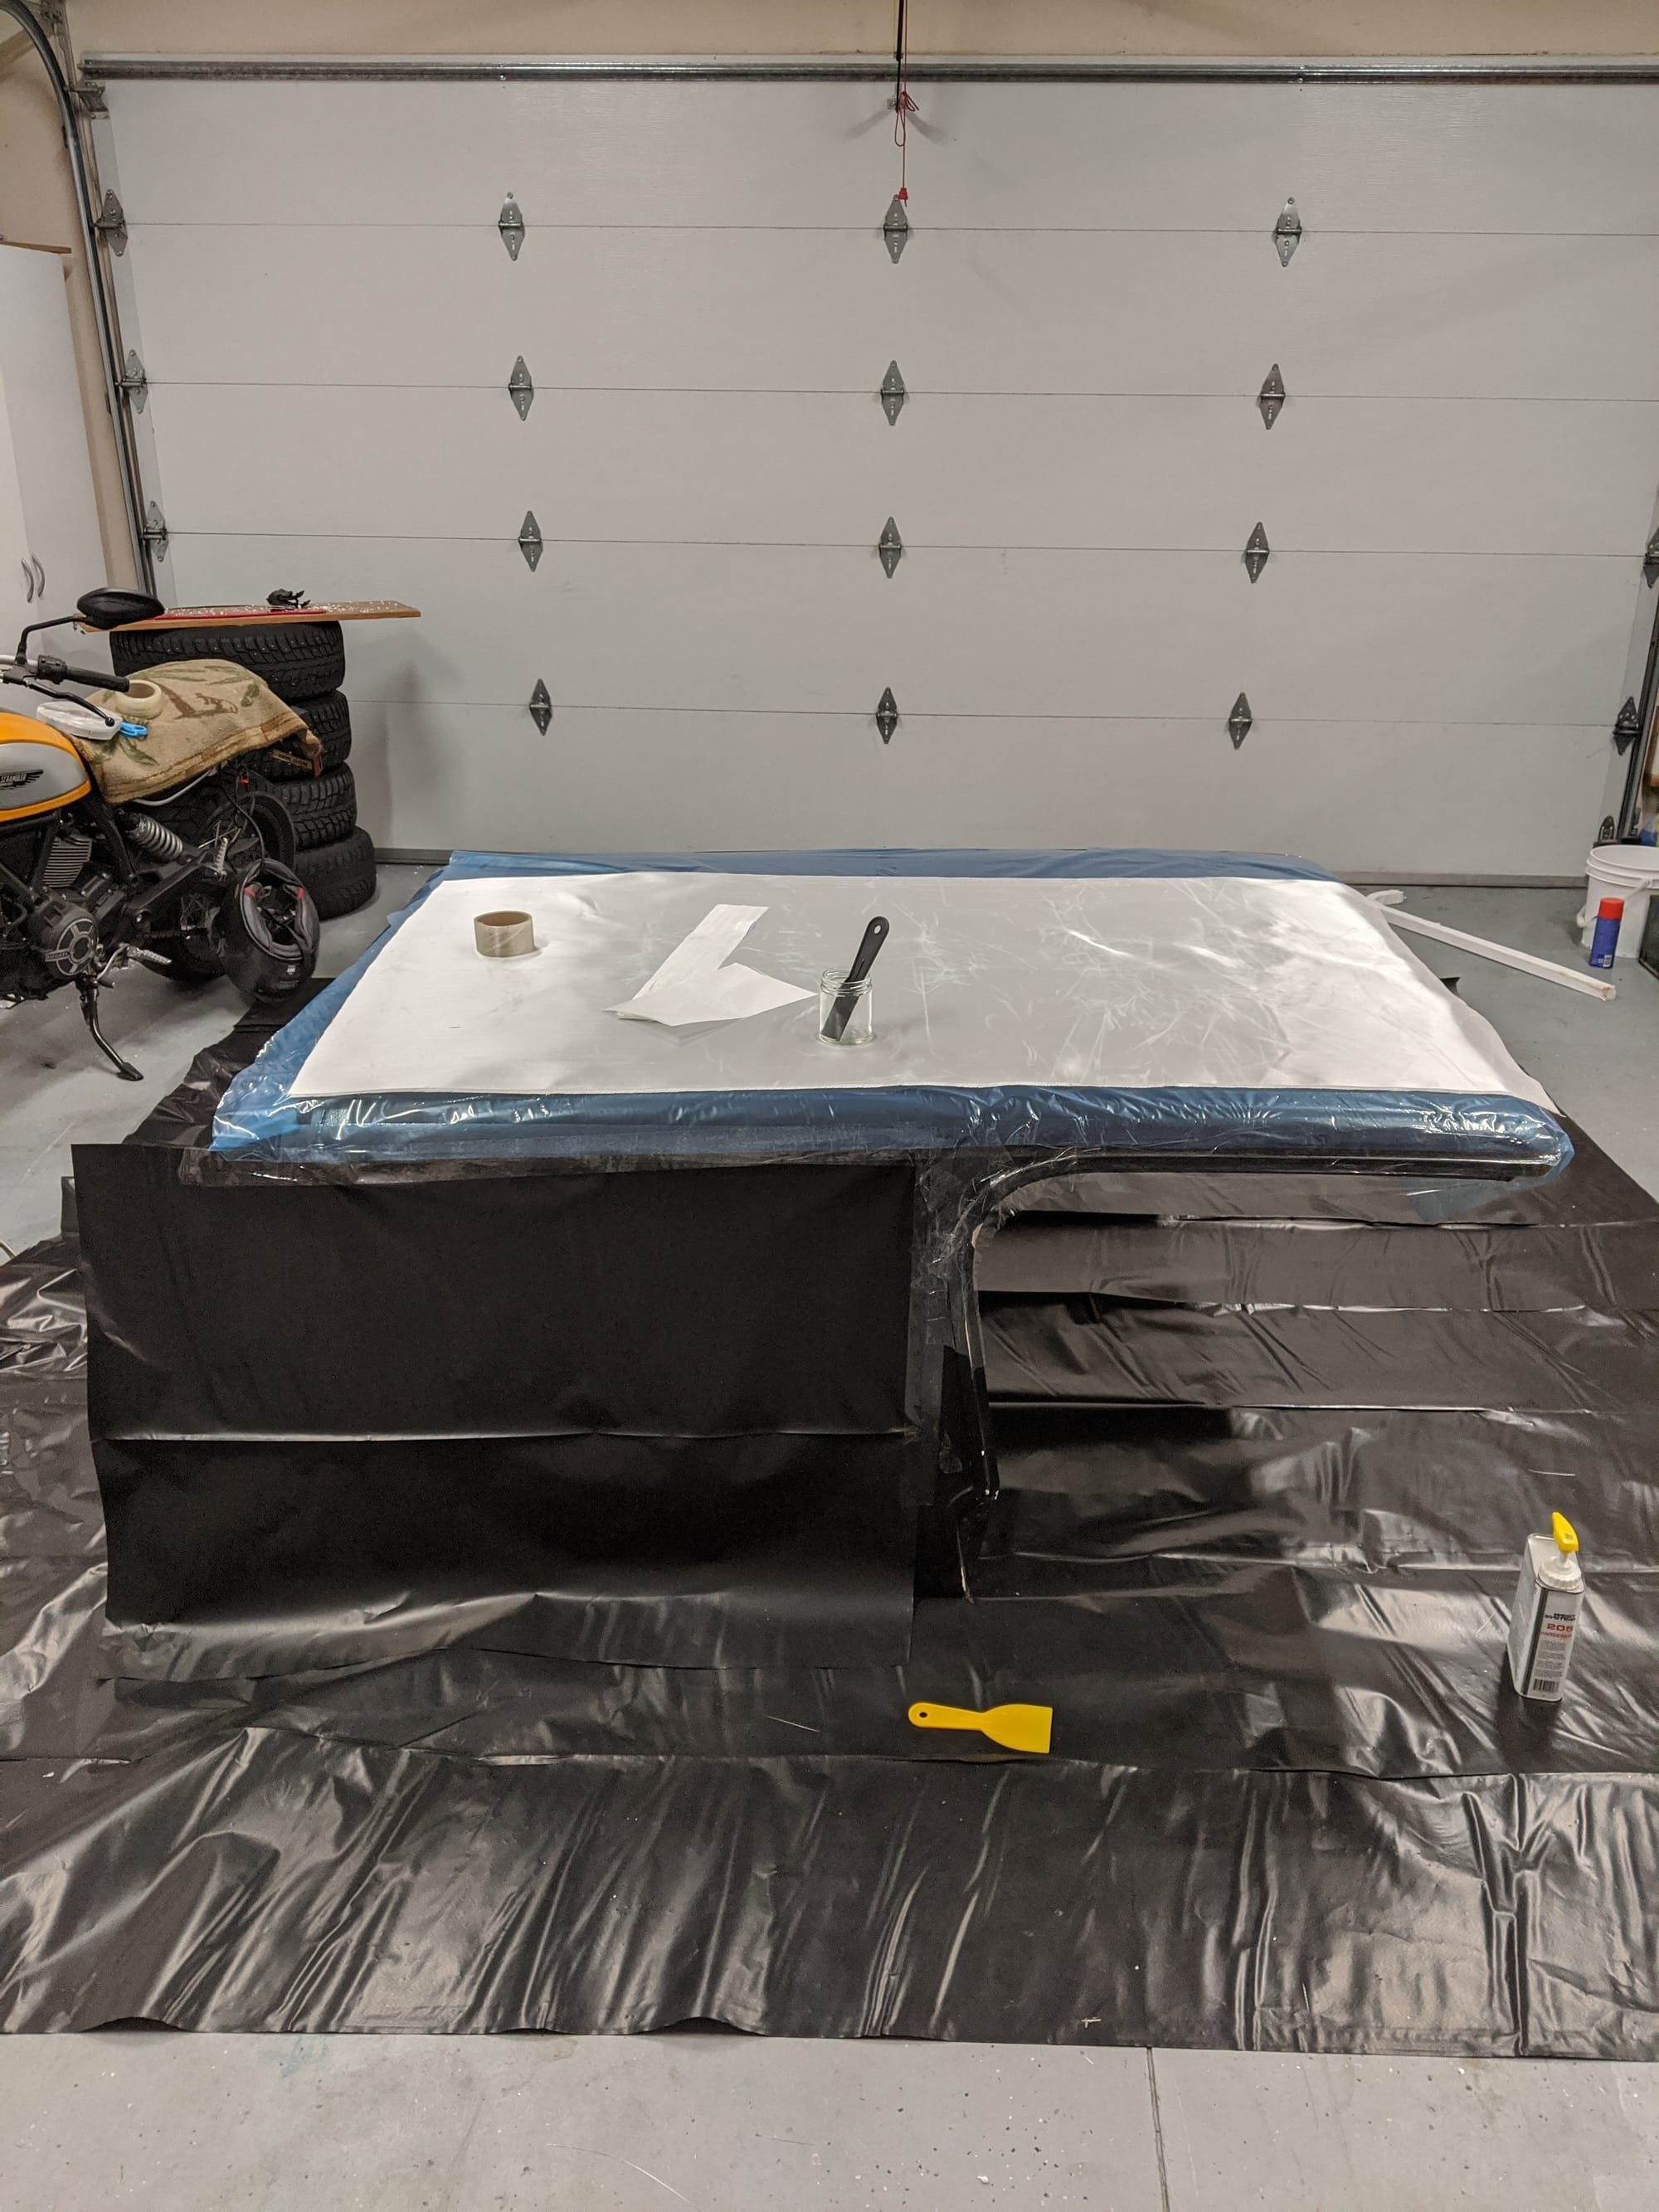
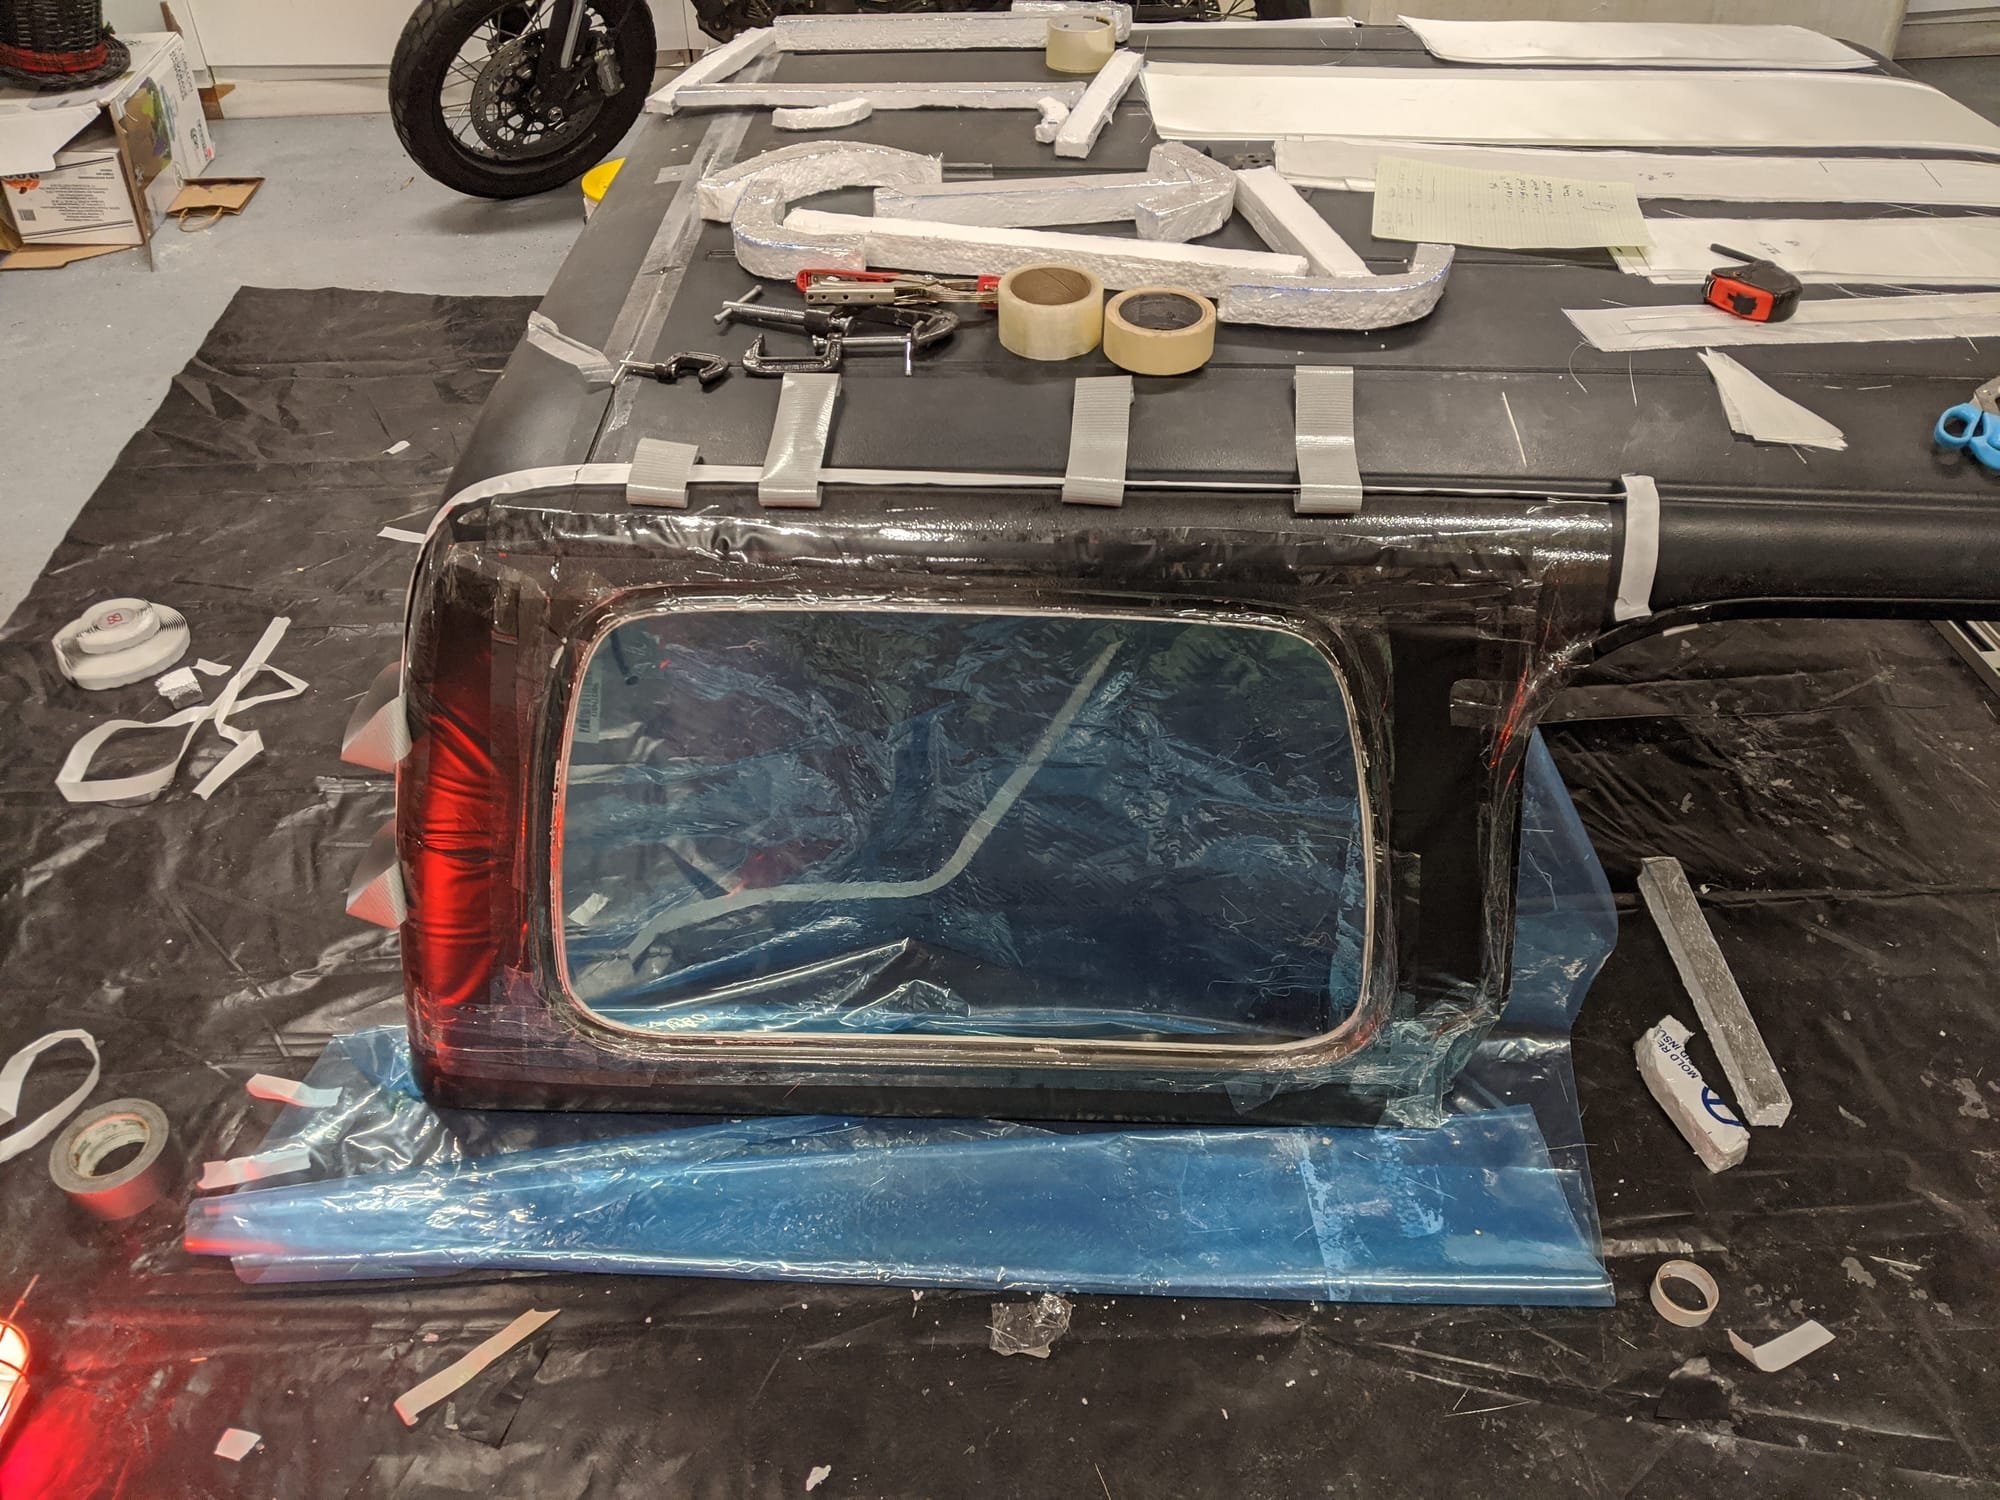
The first step in the layup process was covering the hardtop mold with plastic sheeting to prevent the mold from adhering to the hardtop.
The other option was to use mold release or waxing the surface of the mold. The reason this method was not used is due to the lack of availability of mold release spay in the area.
 2.
2.
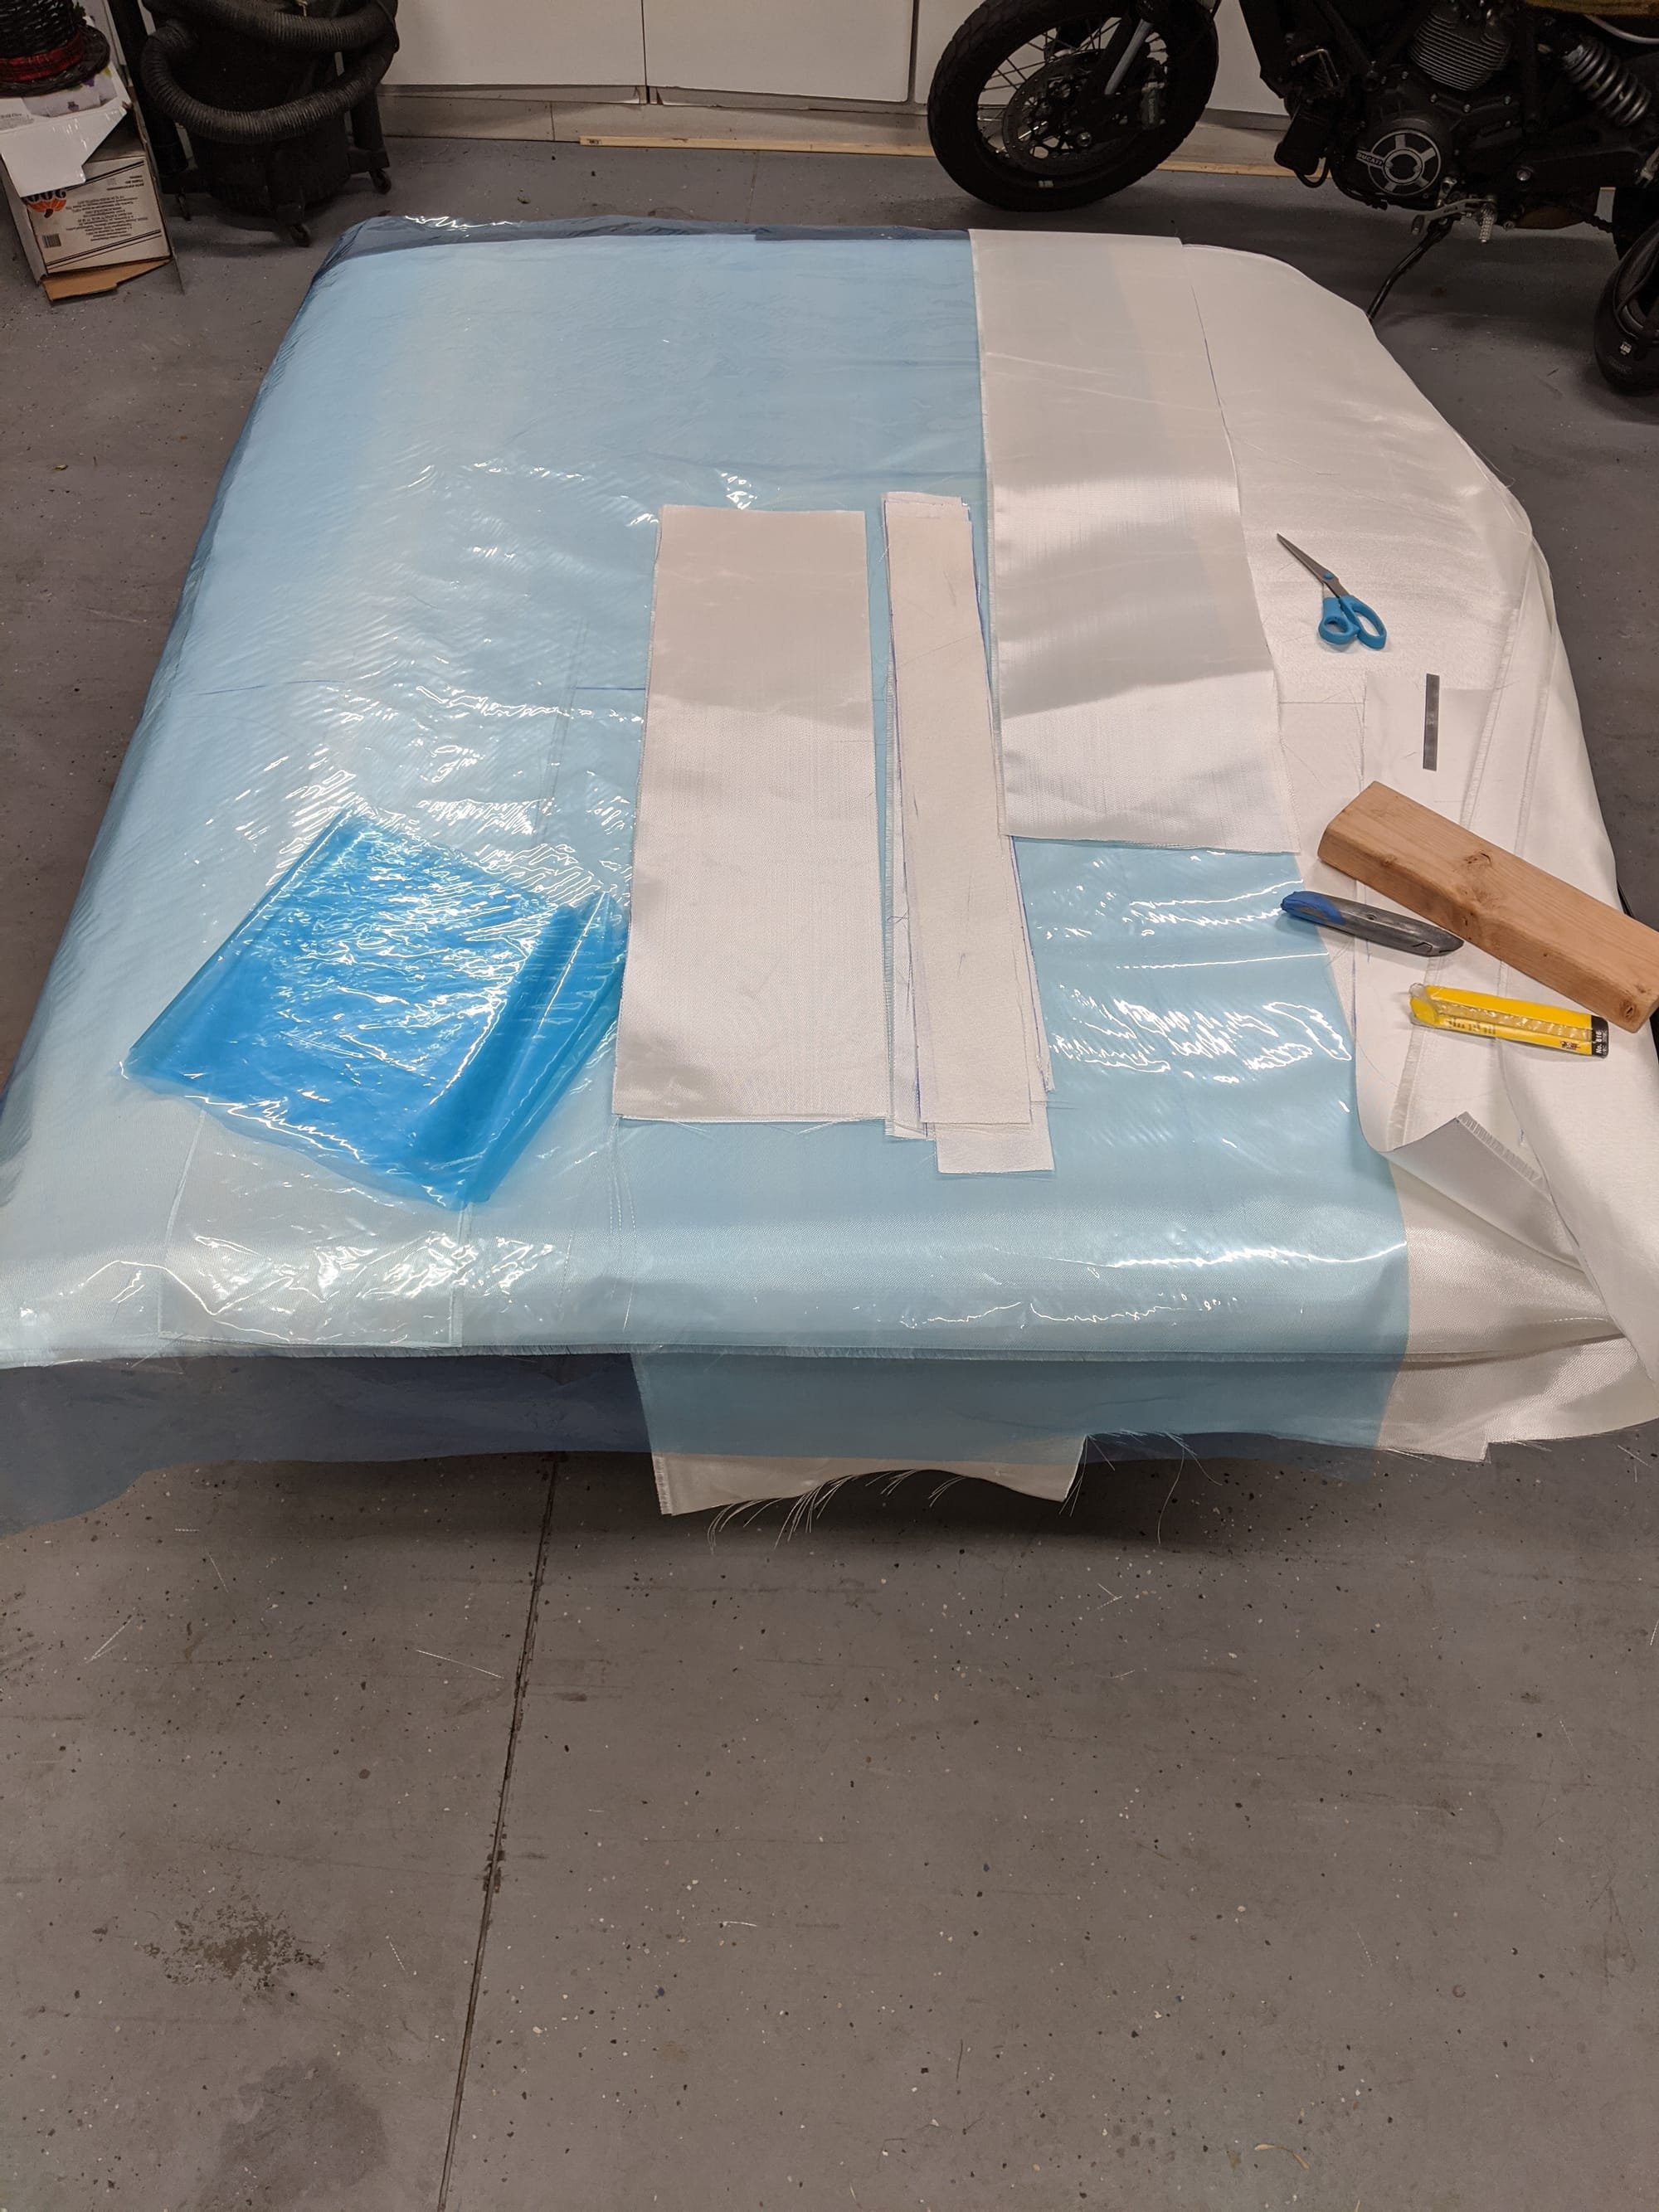
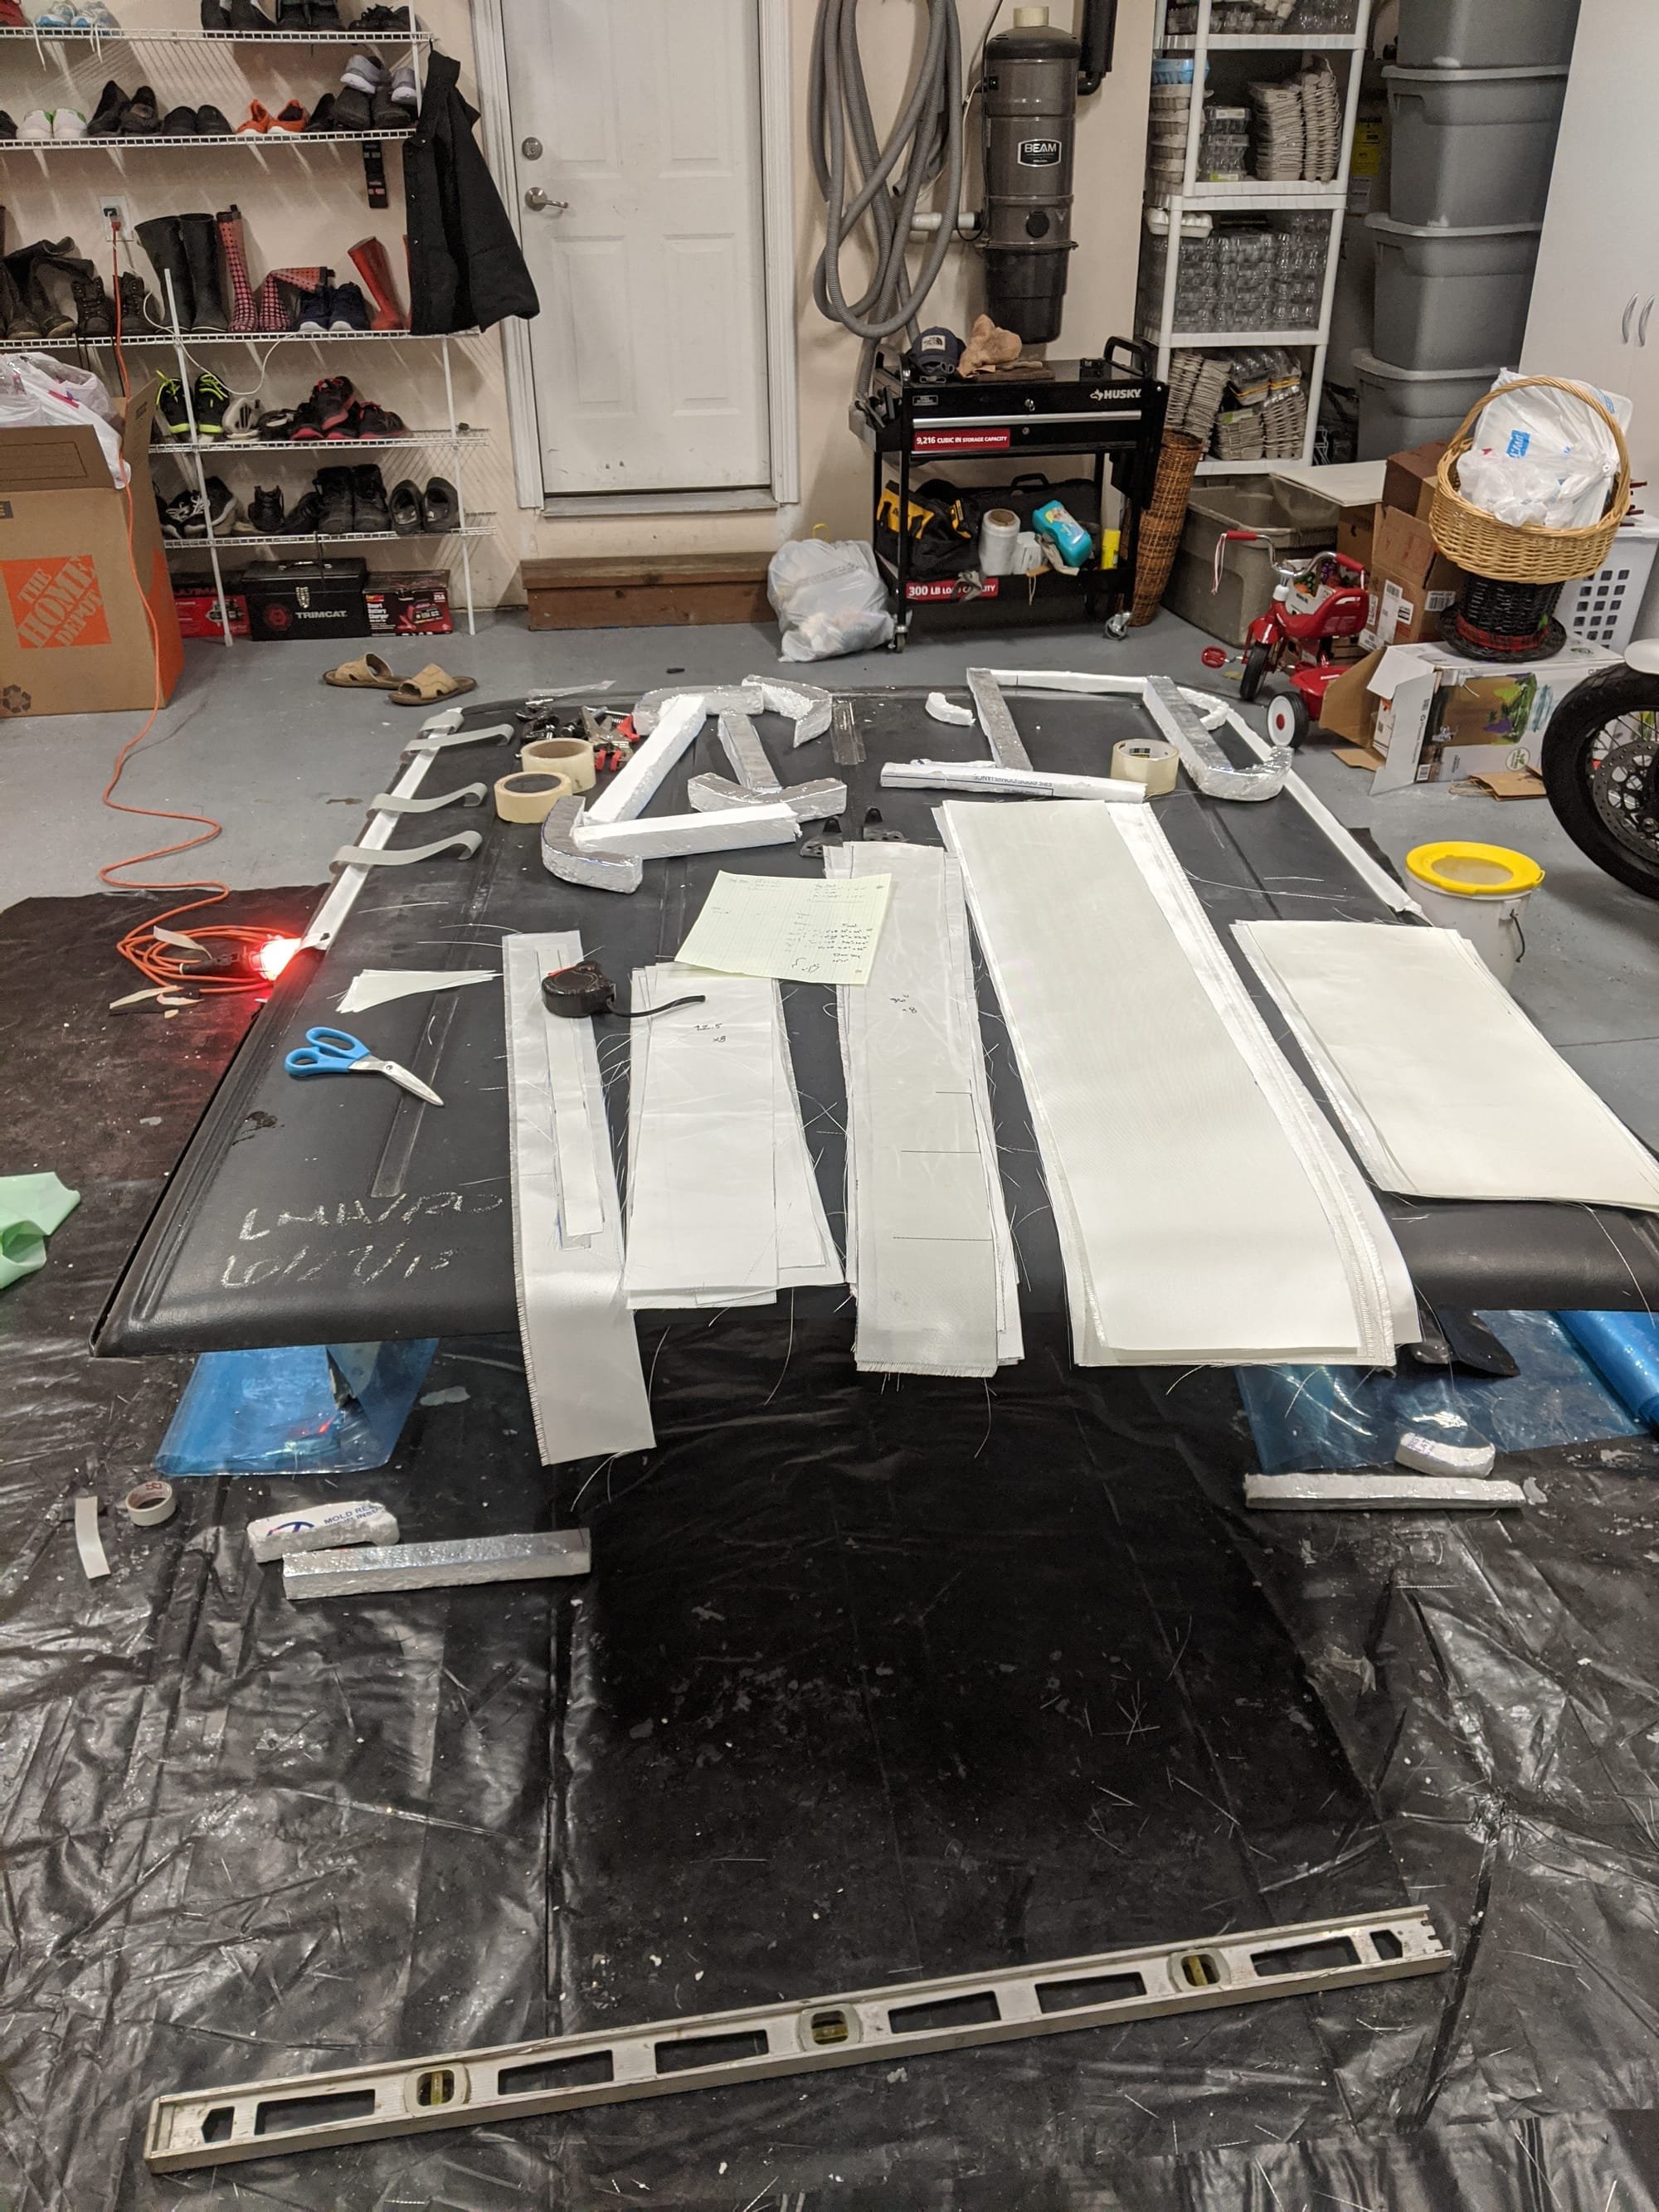
The second step was to cut all the material necessary to length.
Material Quantity Needed:
1. Breather Material: 55" x 76.5" + (6" x 8")*2
2. Peel Ply: 61" x 76.5"
3. Plastic: 63" x 79.5" + (9" x 8")*2
4. Fiberglass: (61" x 76.5"+ 9" x 8")*4
5. Mastic Tape: 76.5" + 60"
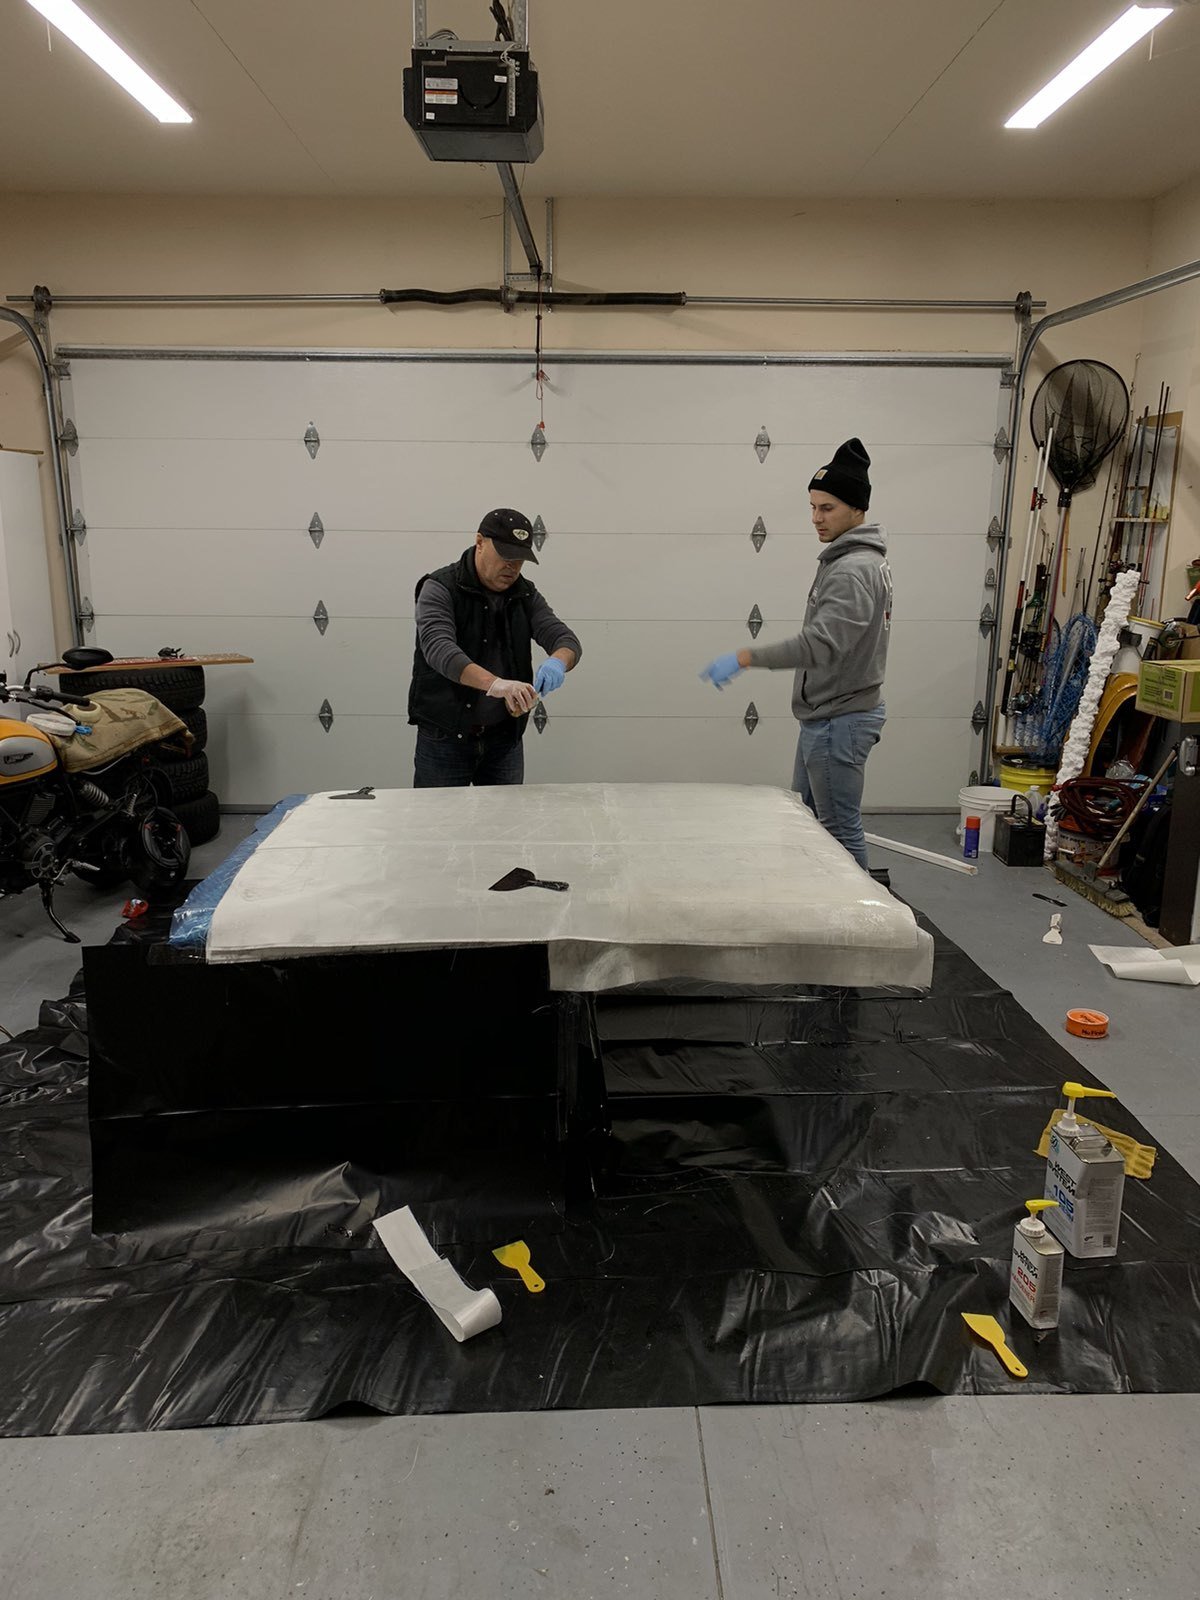 3.
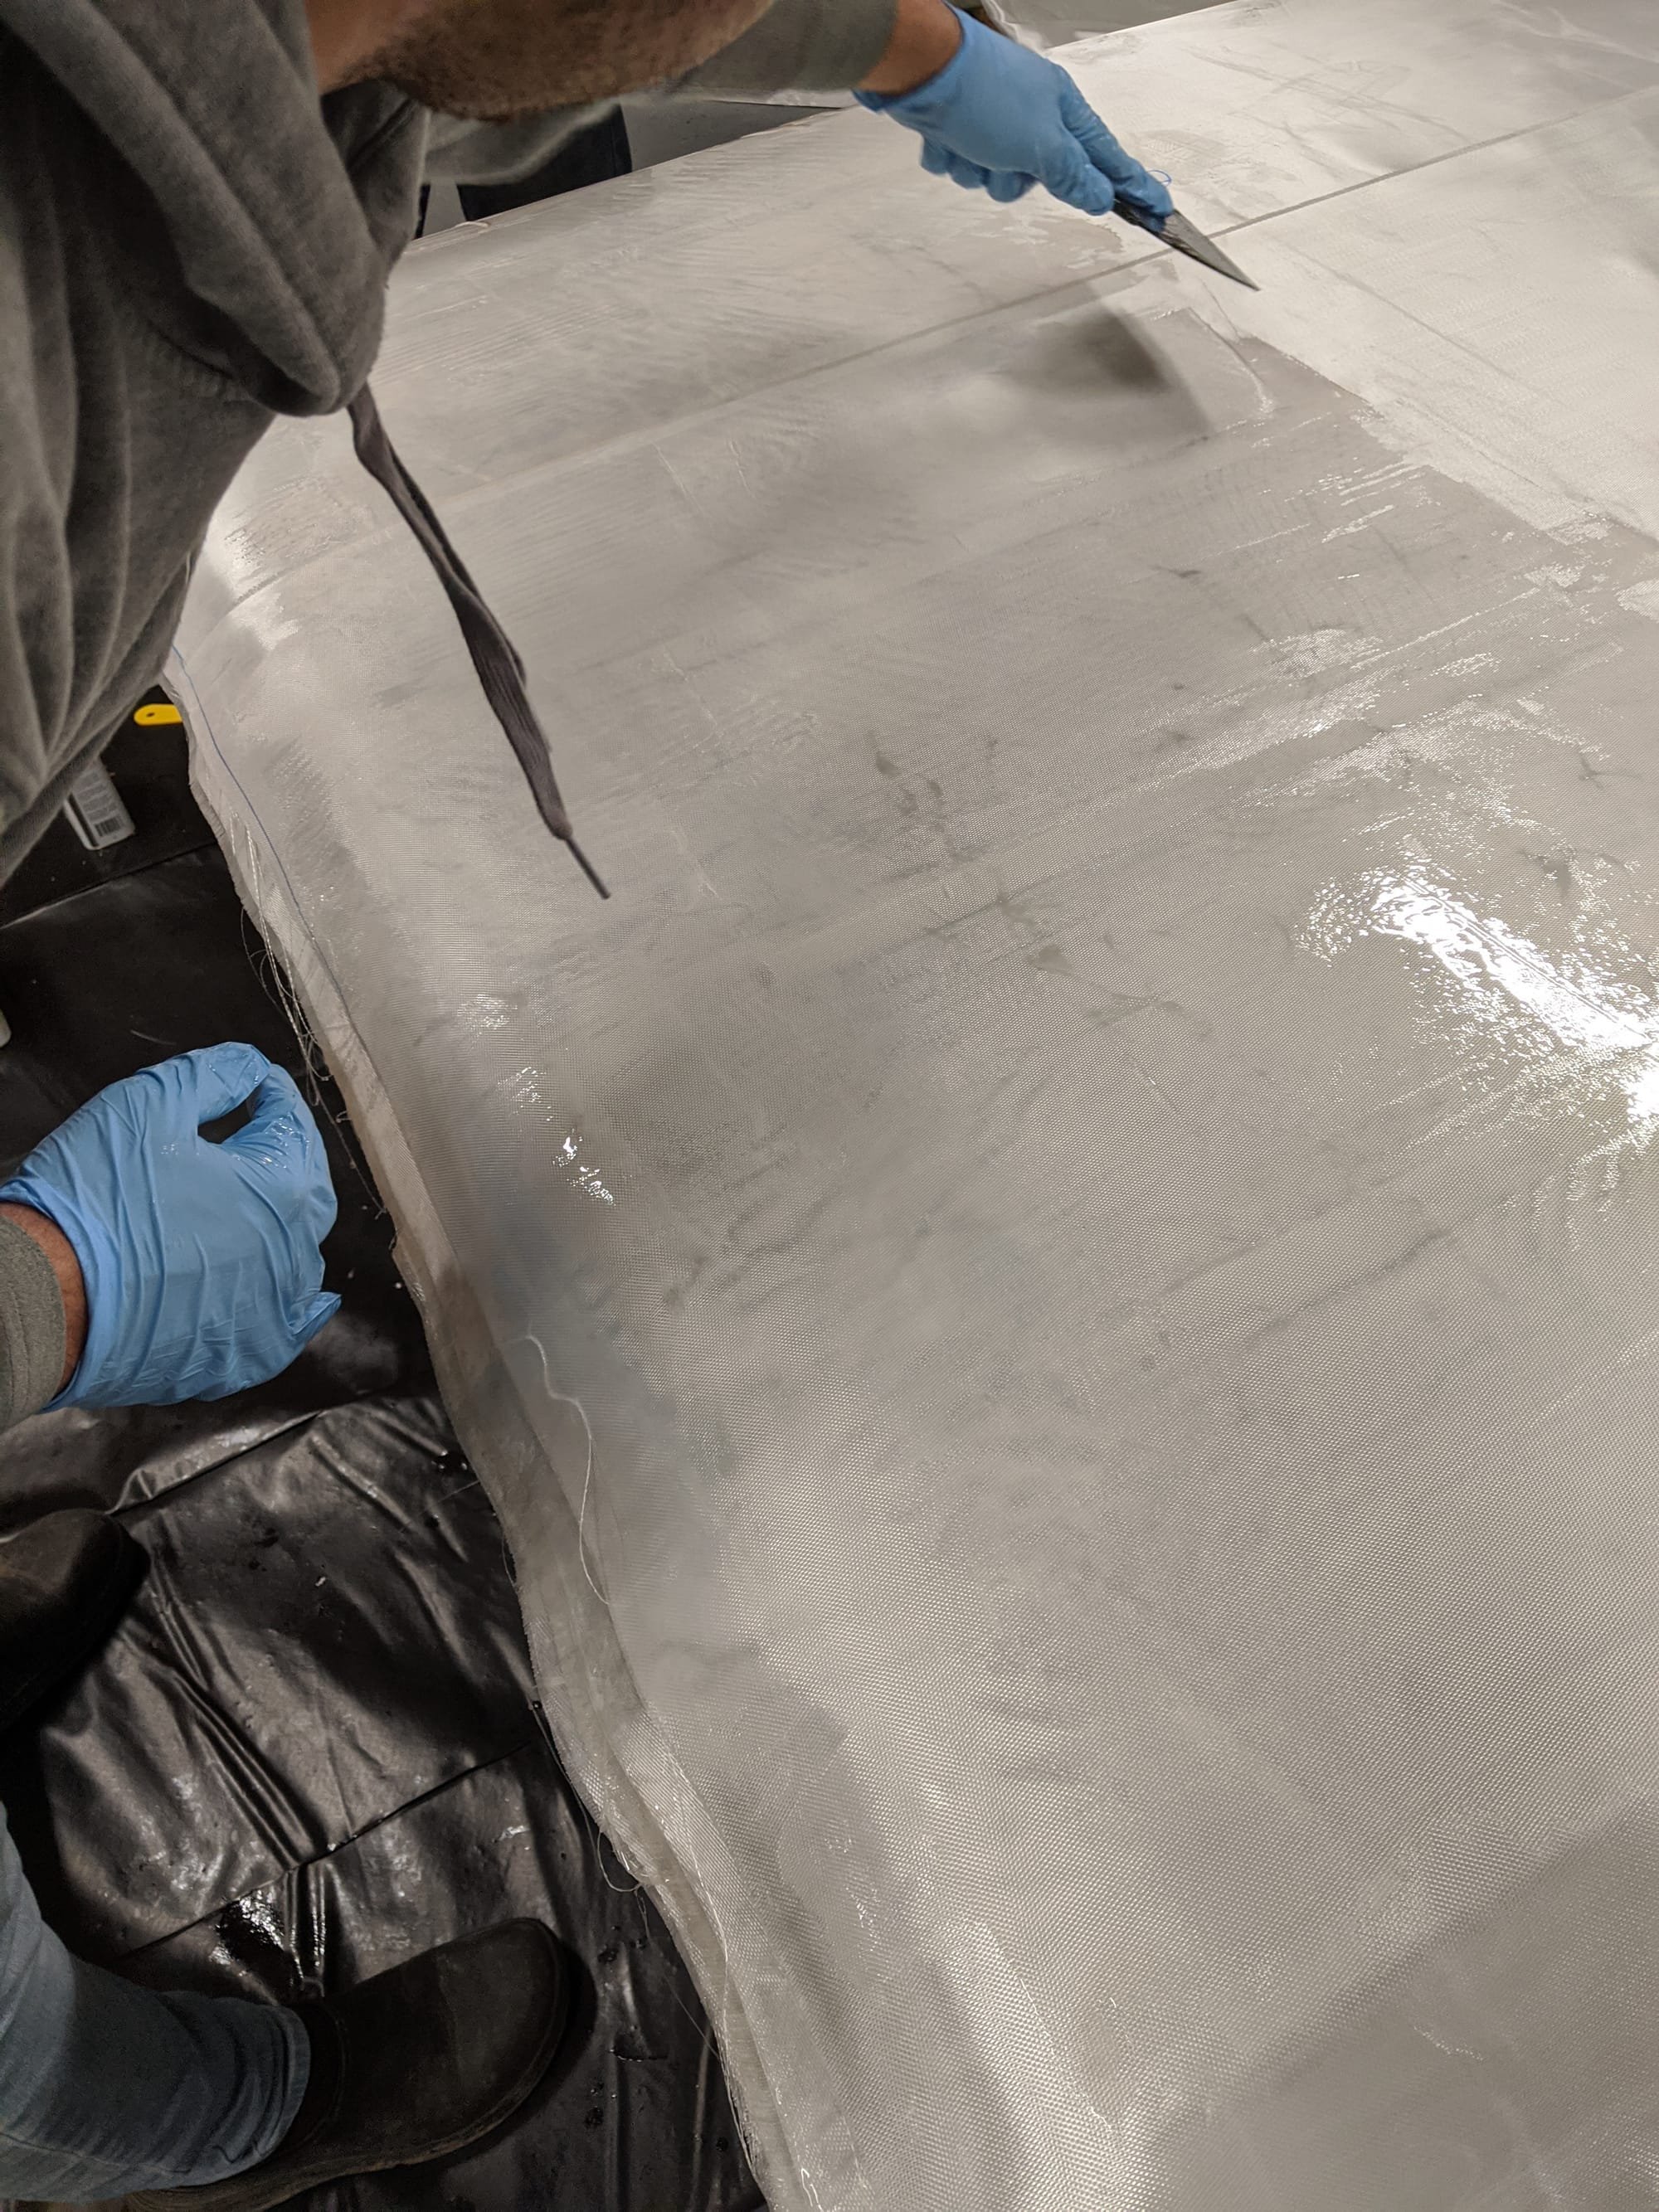
3.
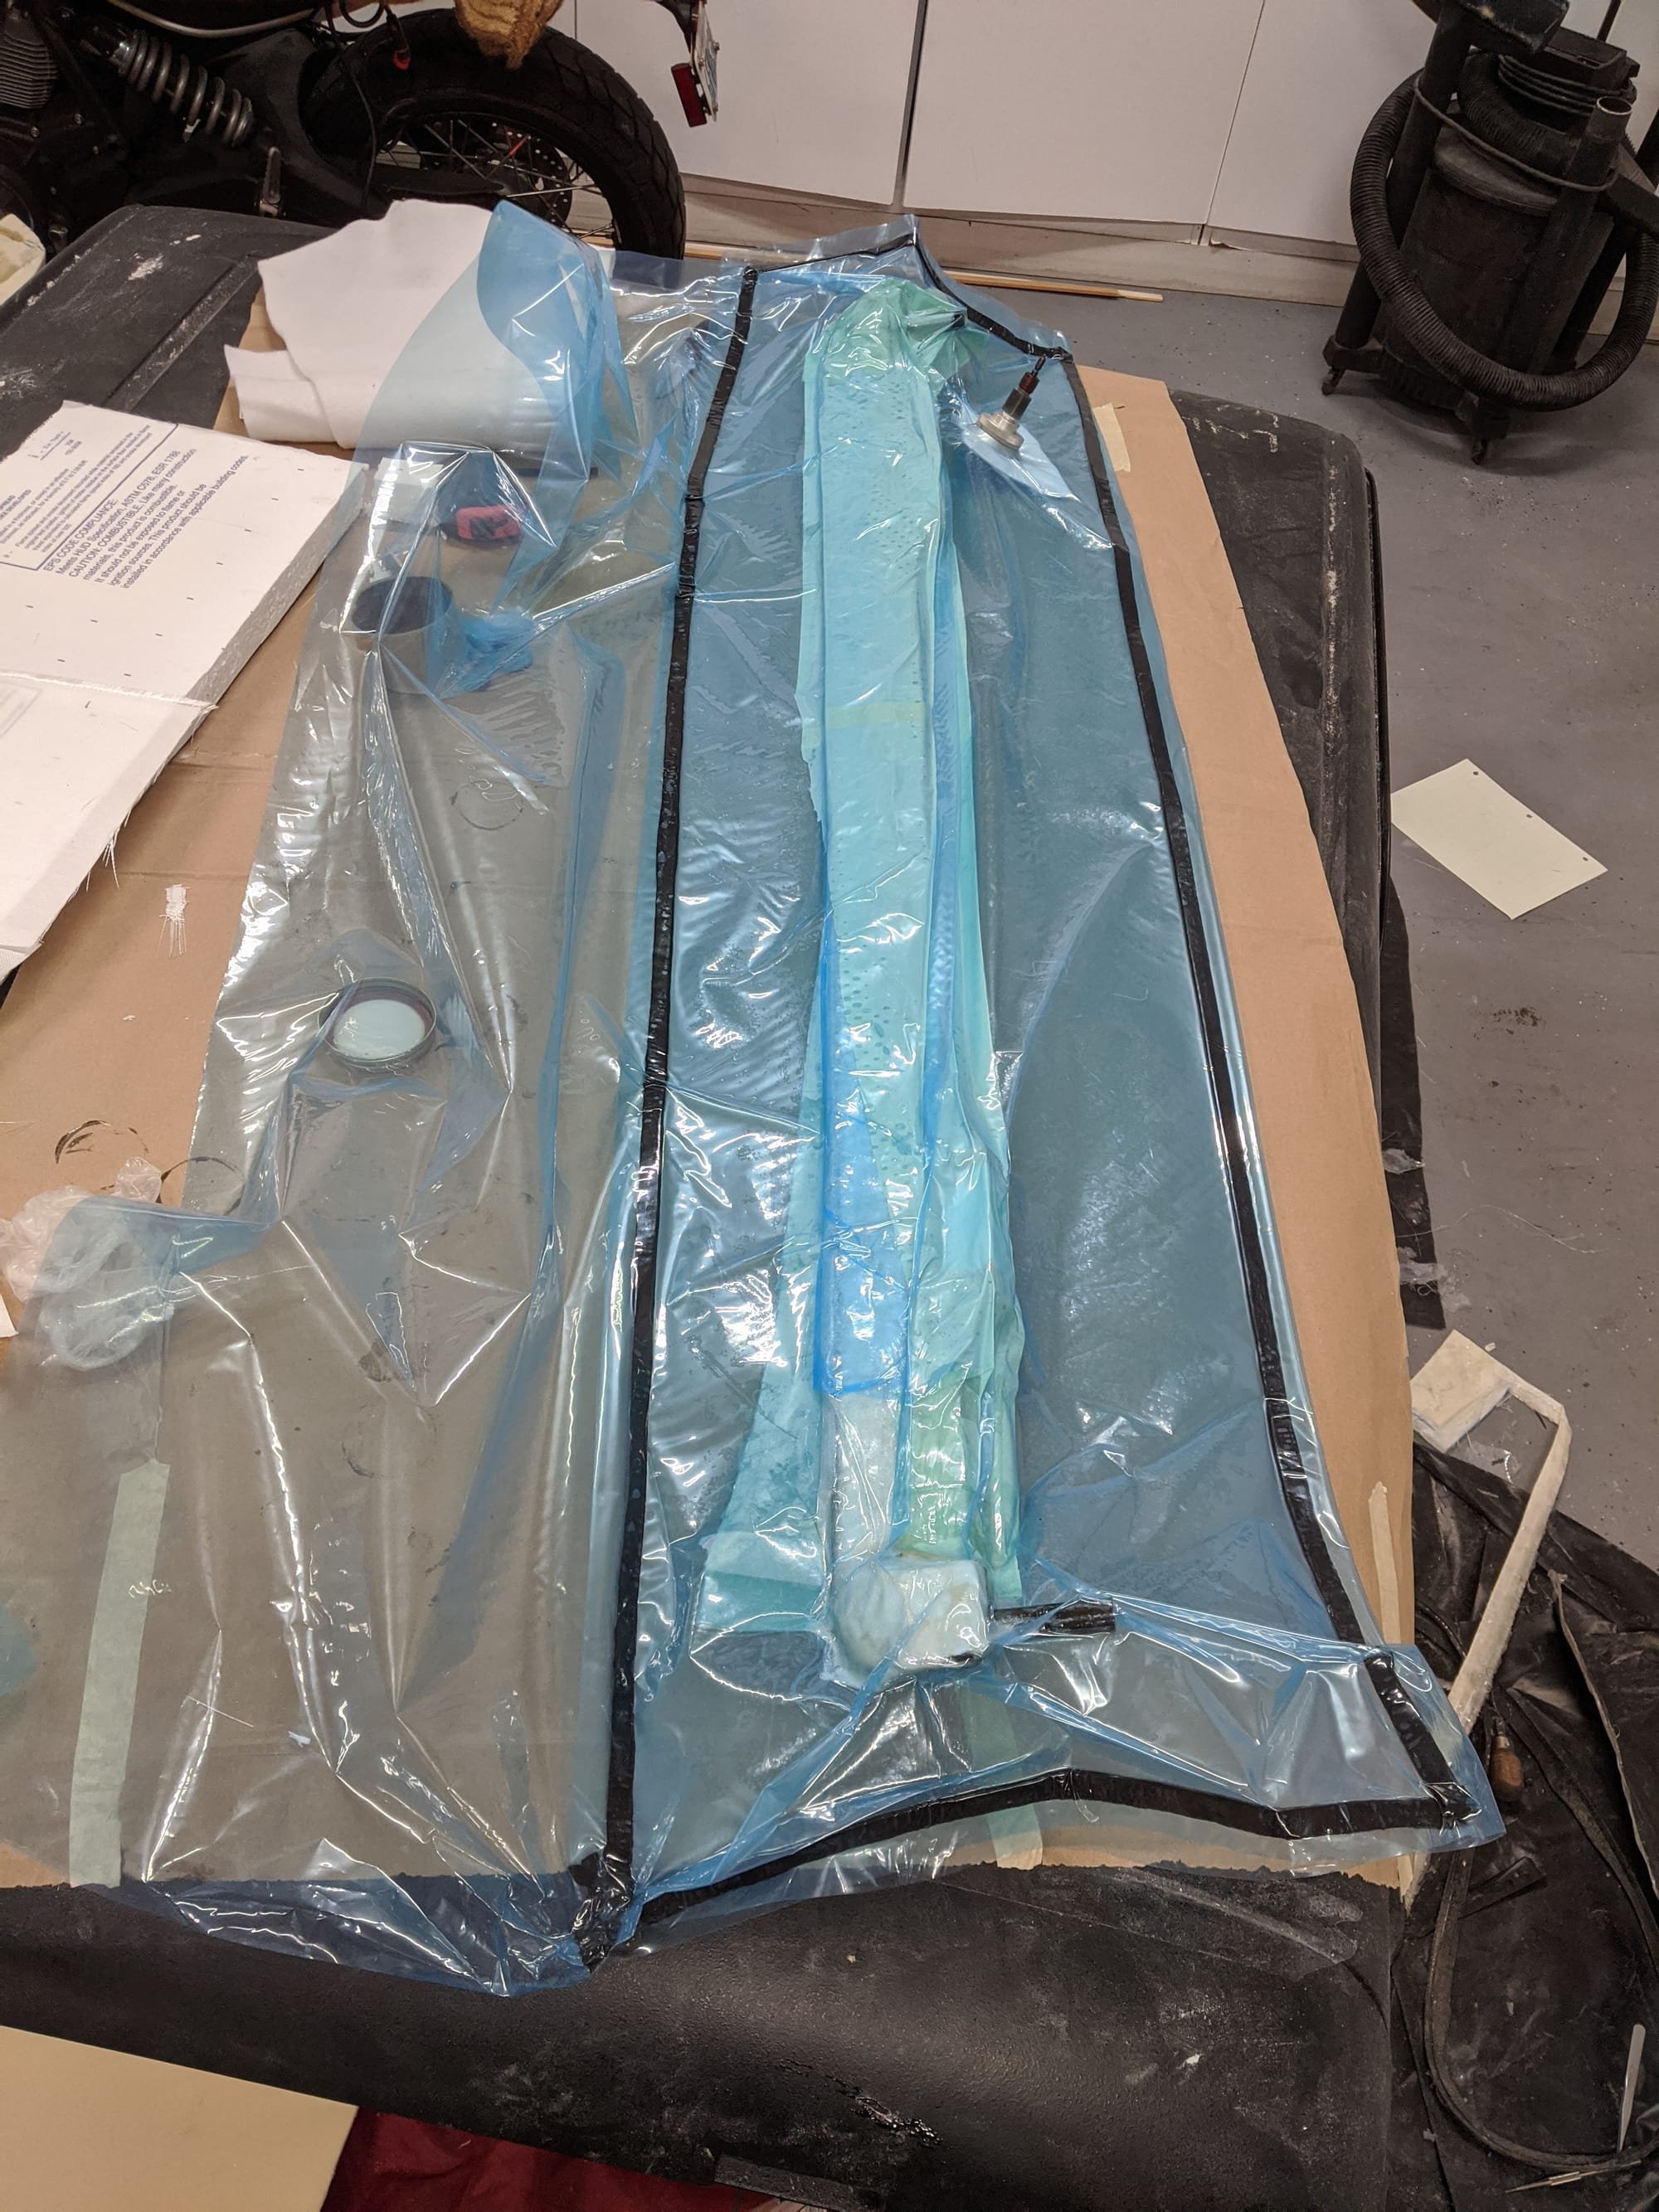
The third step was laying up the fiberglass with the correct ratio of epoxy resin. This ratio is: 1:2.5. For every oz of fabric you need 2.5 oz. of resin. The hardener to epoxy ratio is 1:1 with the West System's pumps available. This system ensured that the proper ratio is always used.
https://drive.google.com/open?id=1cvHYebOgU1_2N7xtJHpOYUNwxIIc0knz
 4.
4. 5.
5.
 6.
6.
With these shells completed, the next phase is to shape the interior foam. With the foam complete, the interior composite layup can be made.
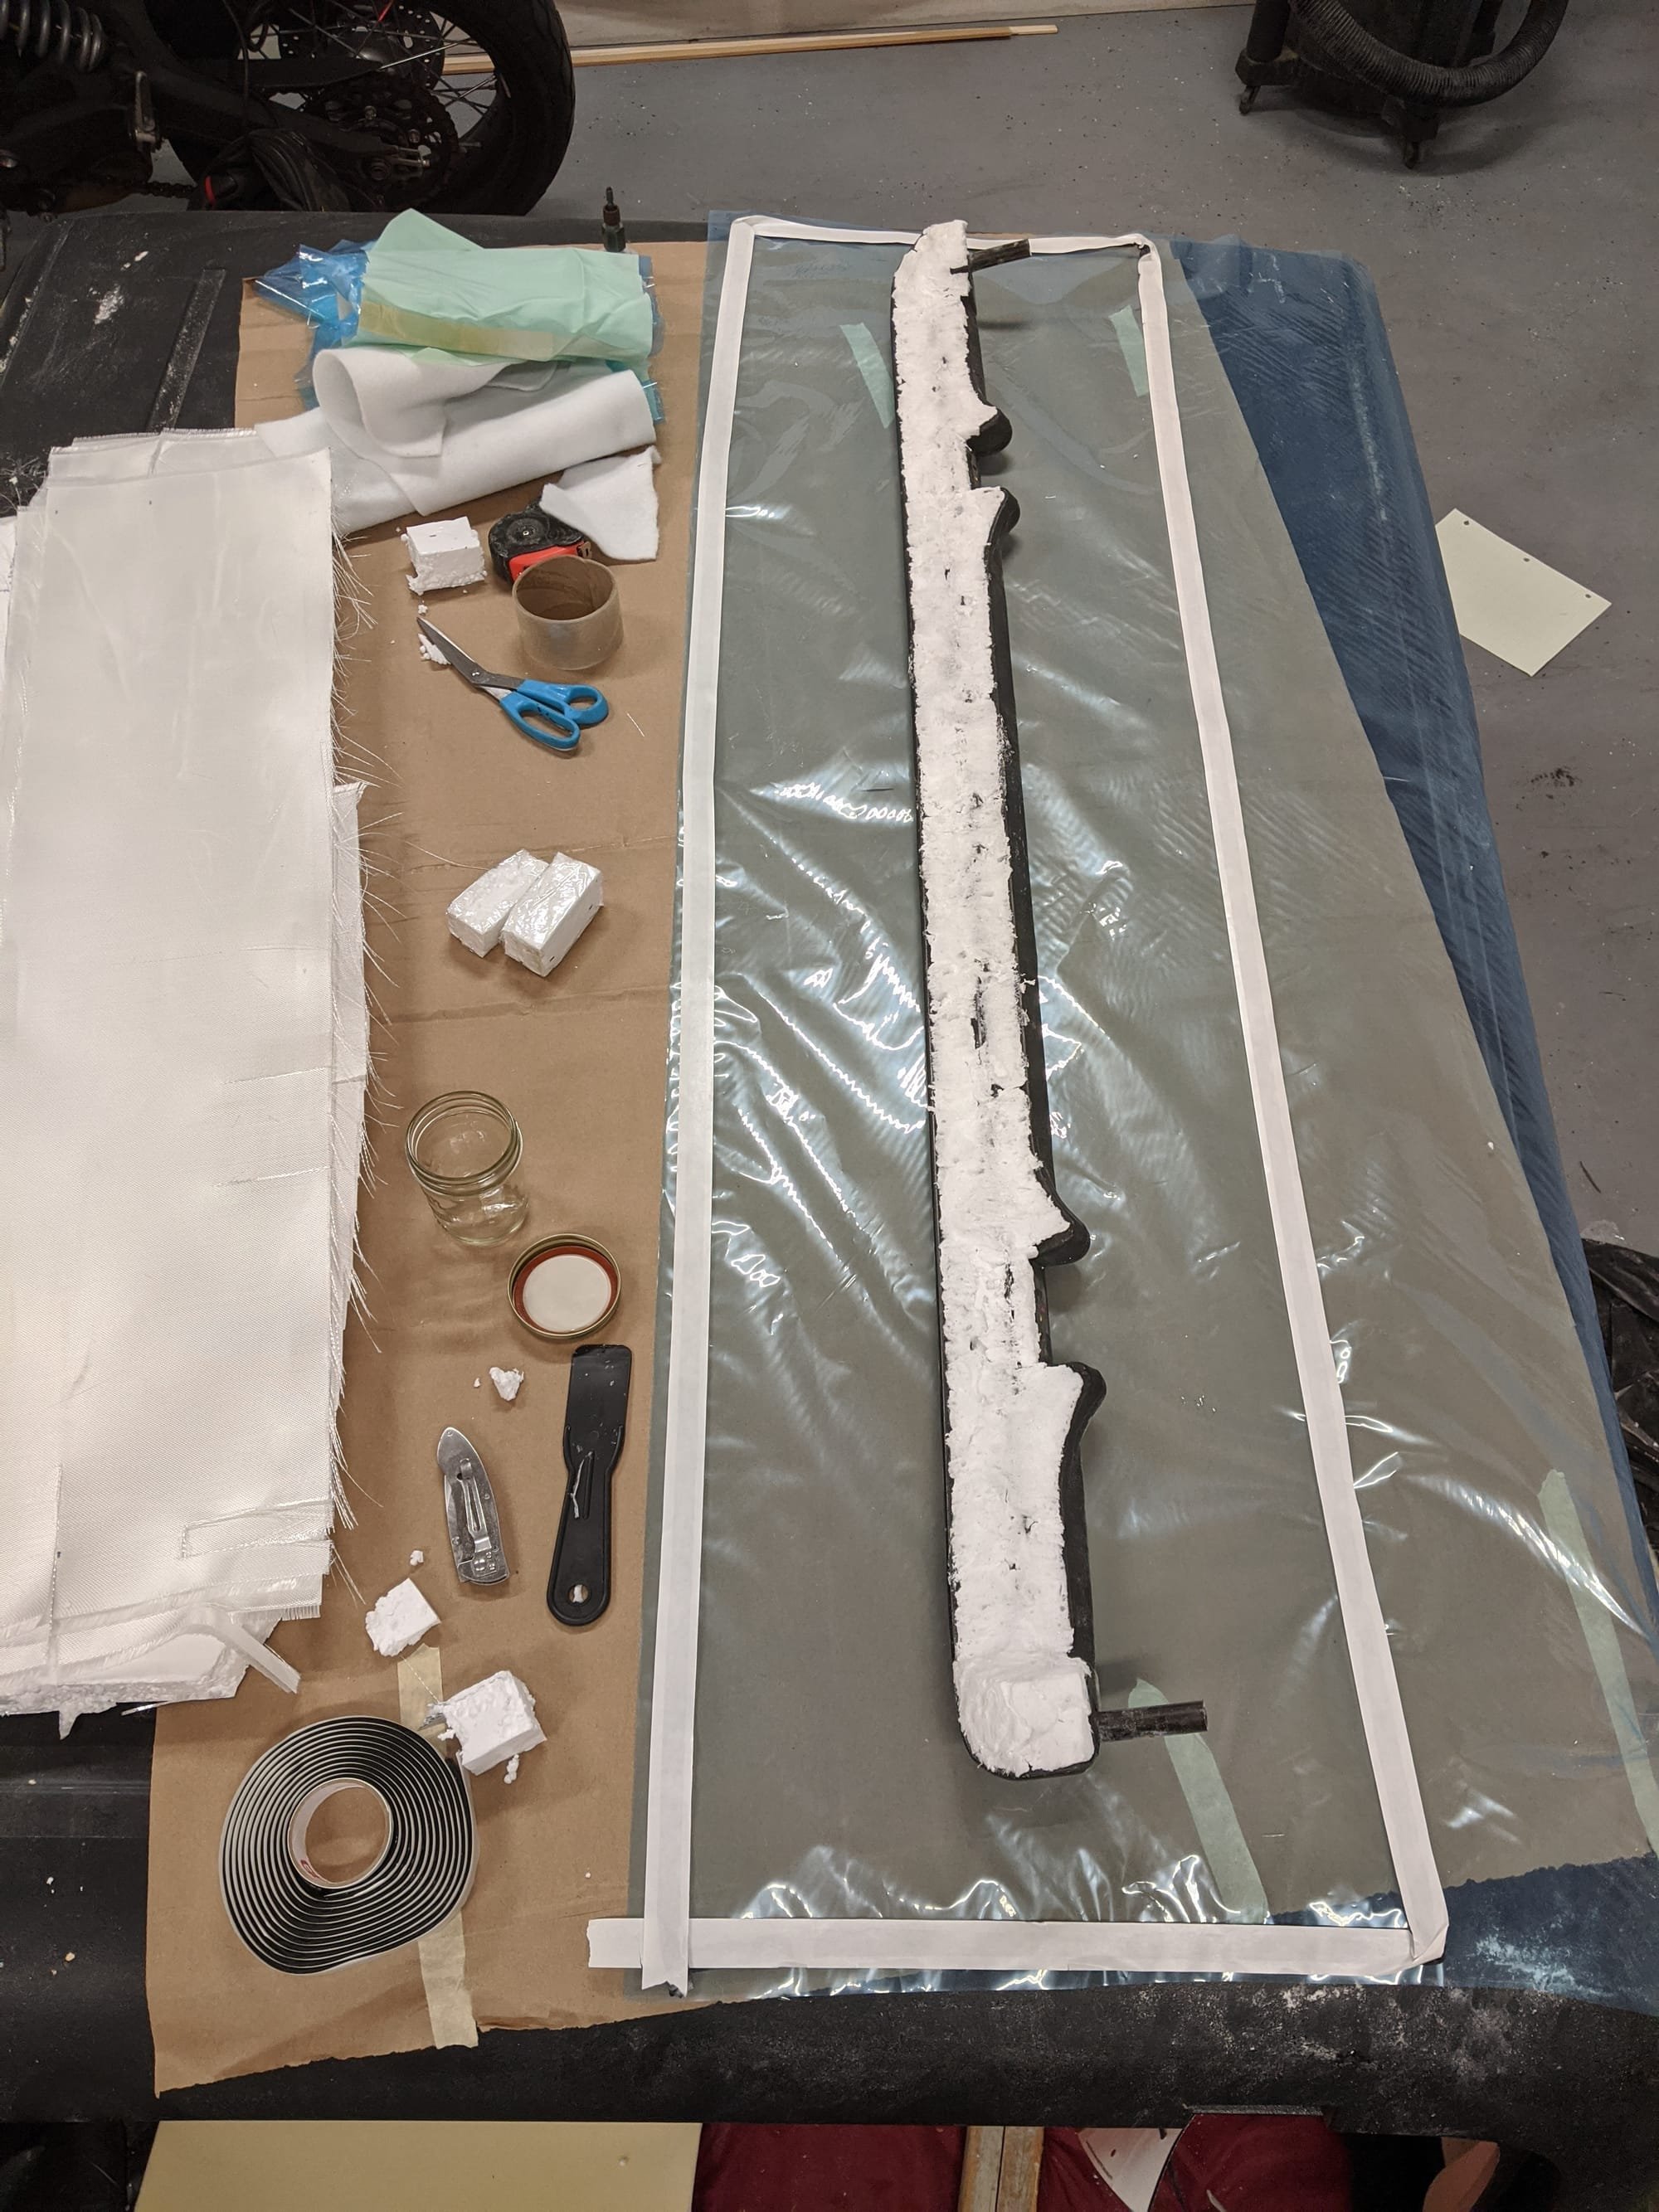
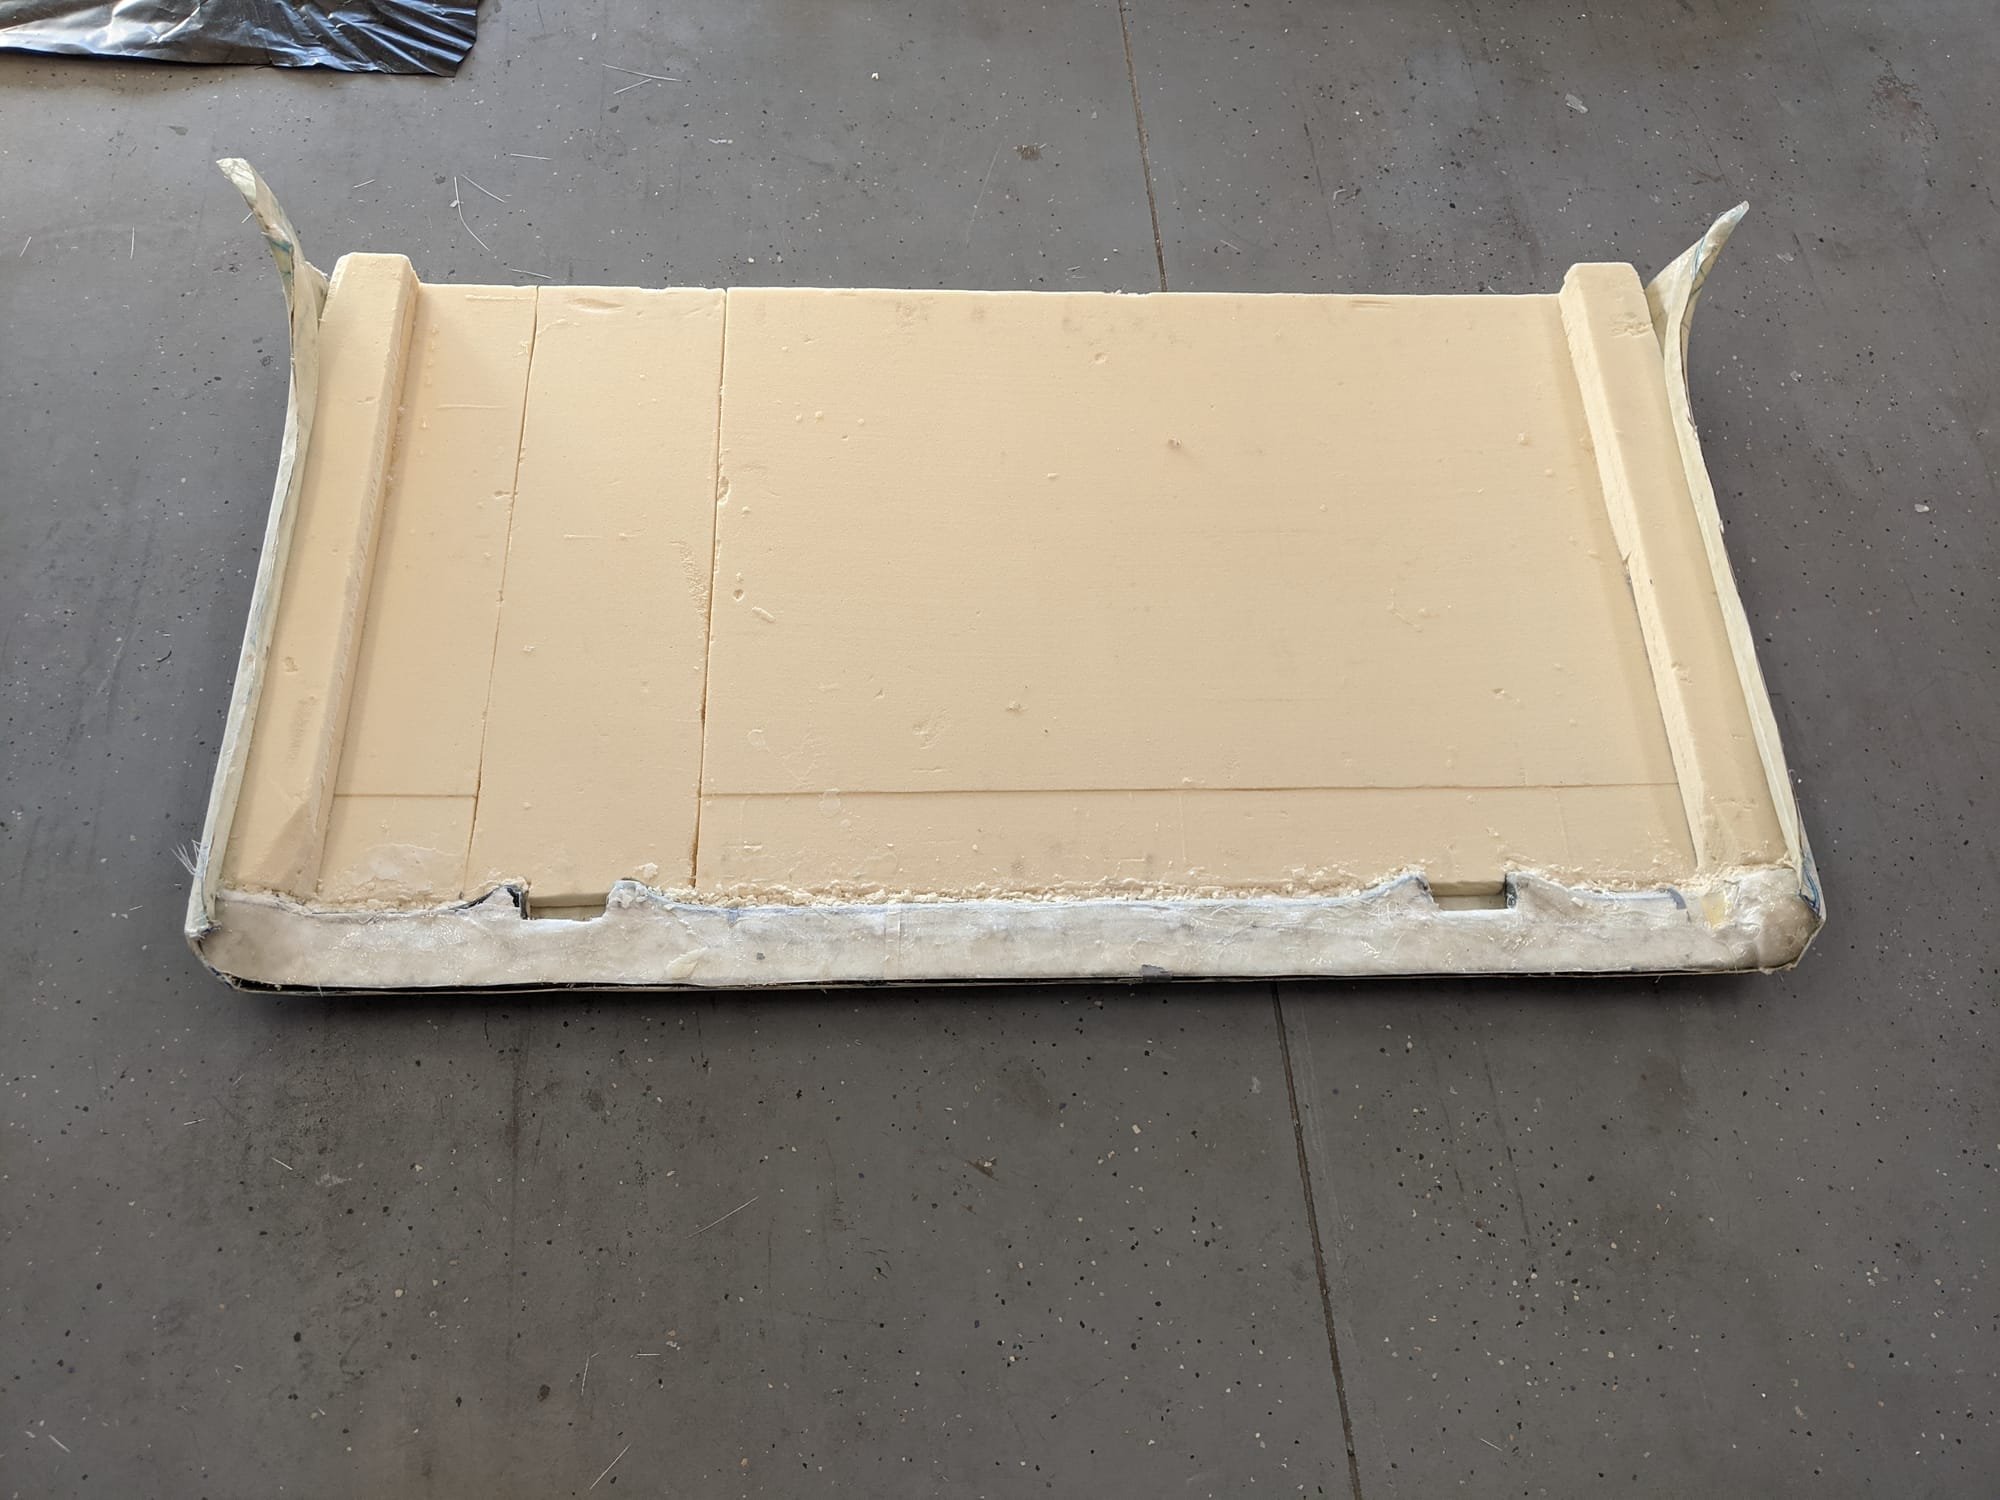
Step 3: Shaping the Foam Core and Wrapping the Header Bar in Fiberglass
In order to shape the foam for the top two shells, the foam was cut to the overall dimensions needed and then sanded down to fit the interior of the shells. The next step in making the interior of the top front panel was to foam the interior of the header-bar with expanding foam, cutting the excess foam off and then laying-up/vacuum bagging the bar. This process ensures that the header bar adheres to the panel. The problem was that plastic does not adhere to epoxy well. By covering the bar in its own shell, the epoxy will have something to cling to when the entire panel is layed-up.
 1.
1. 2.
2.
 3.
3. 4.
4. 5.
5.
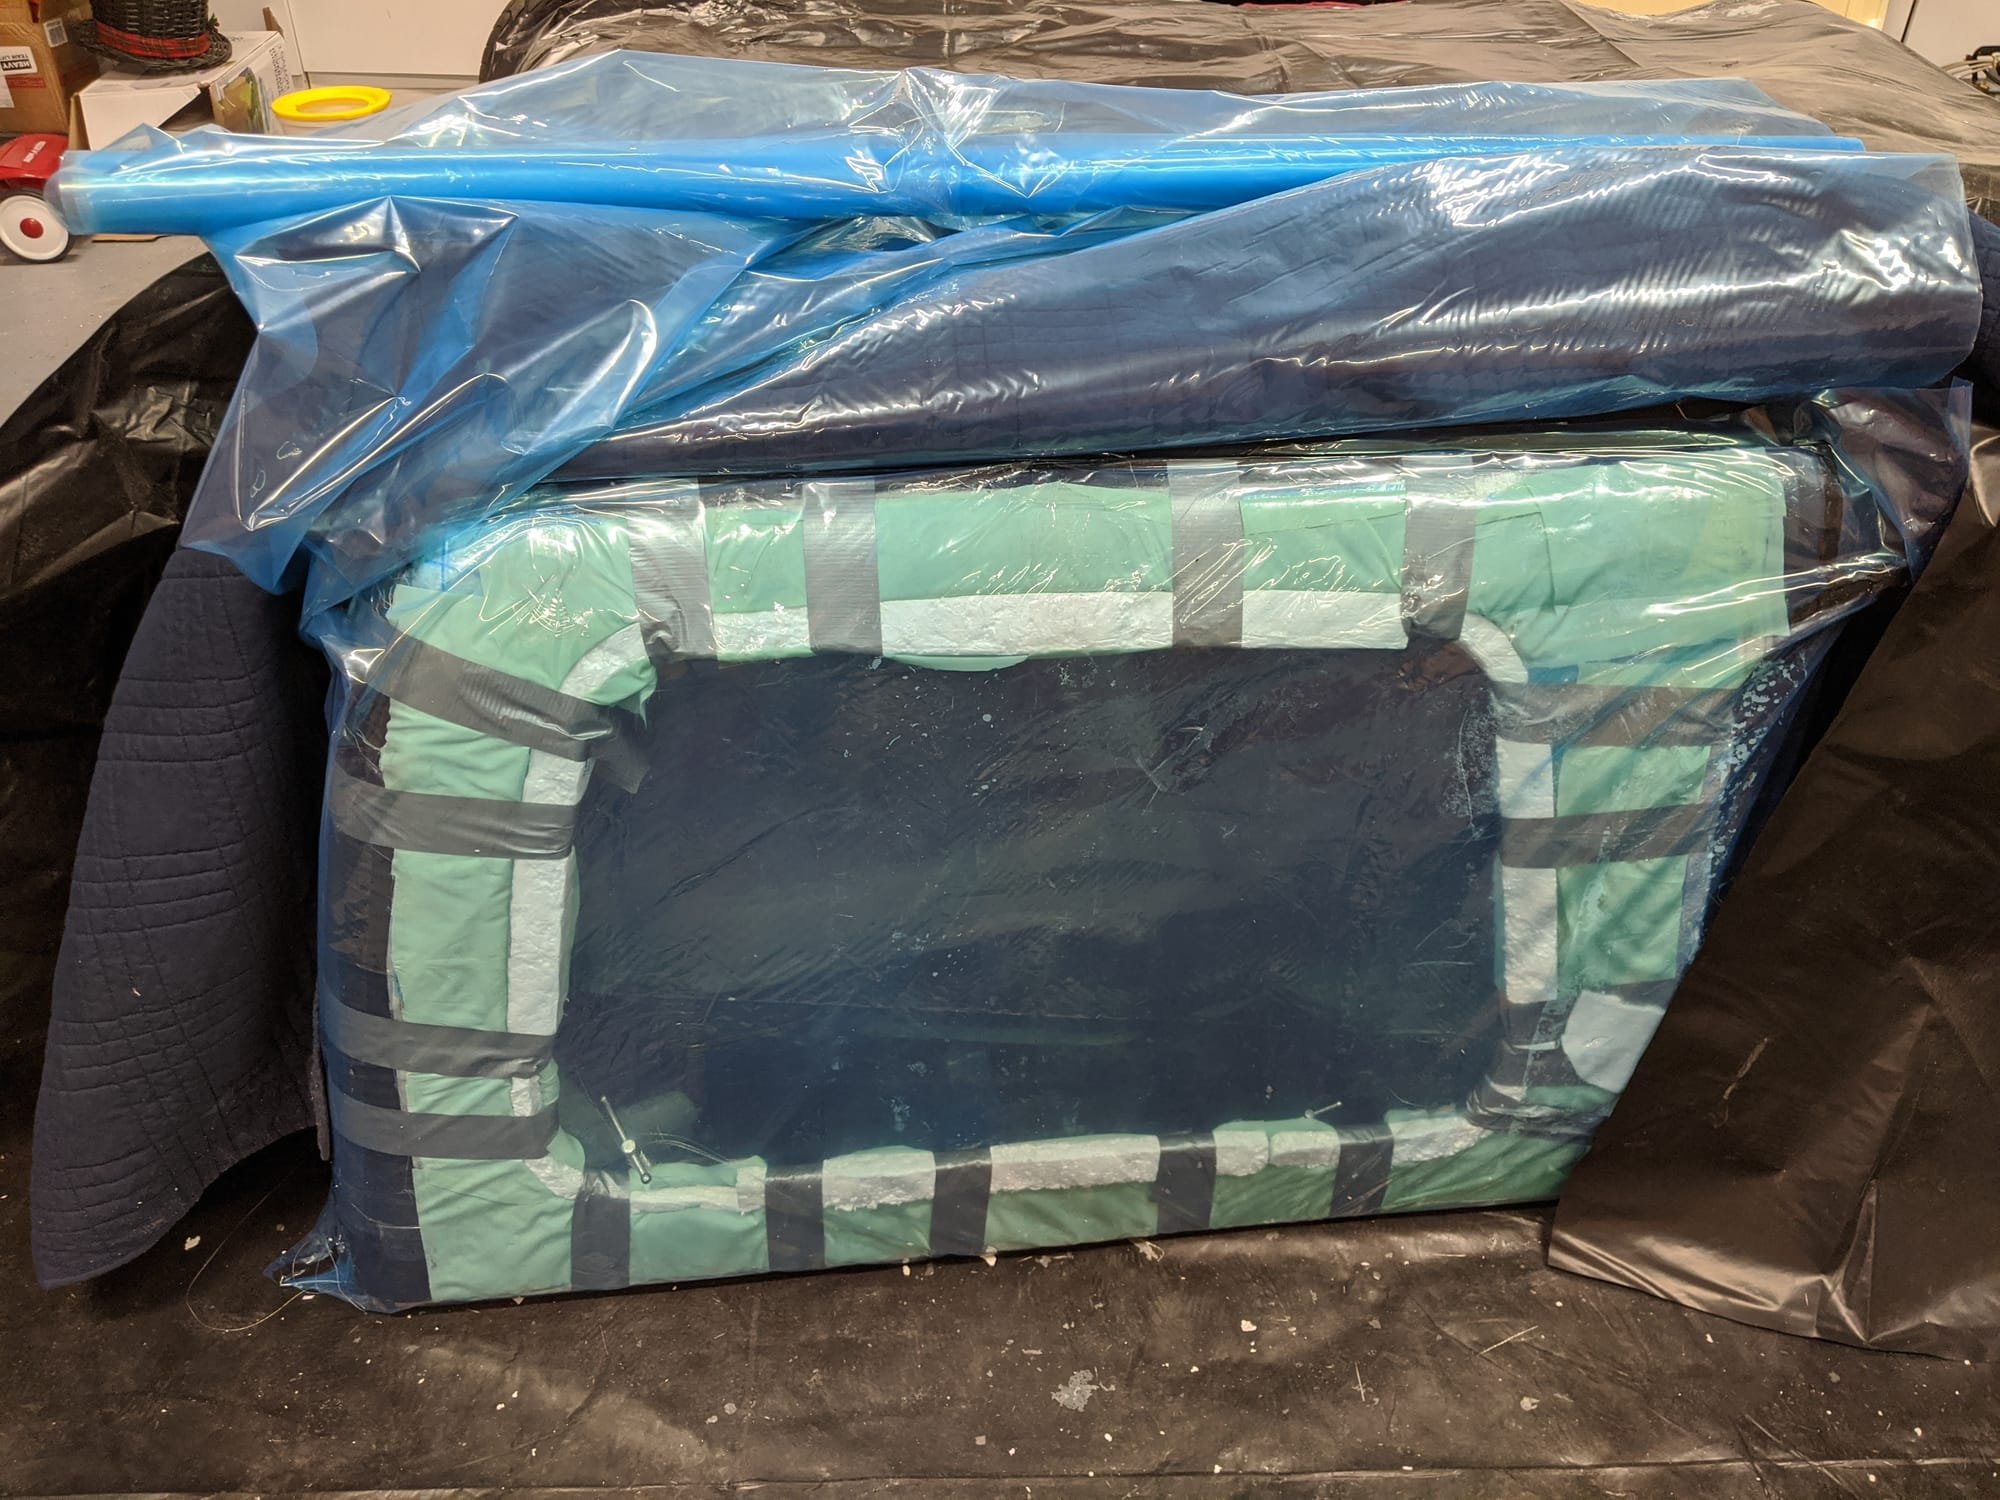
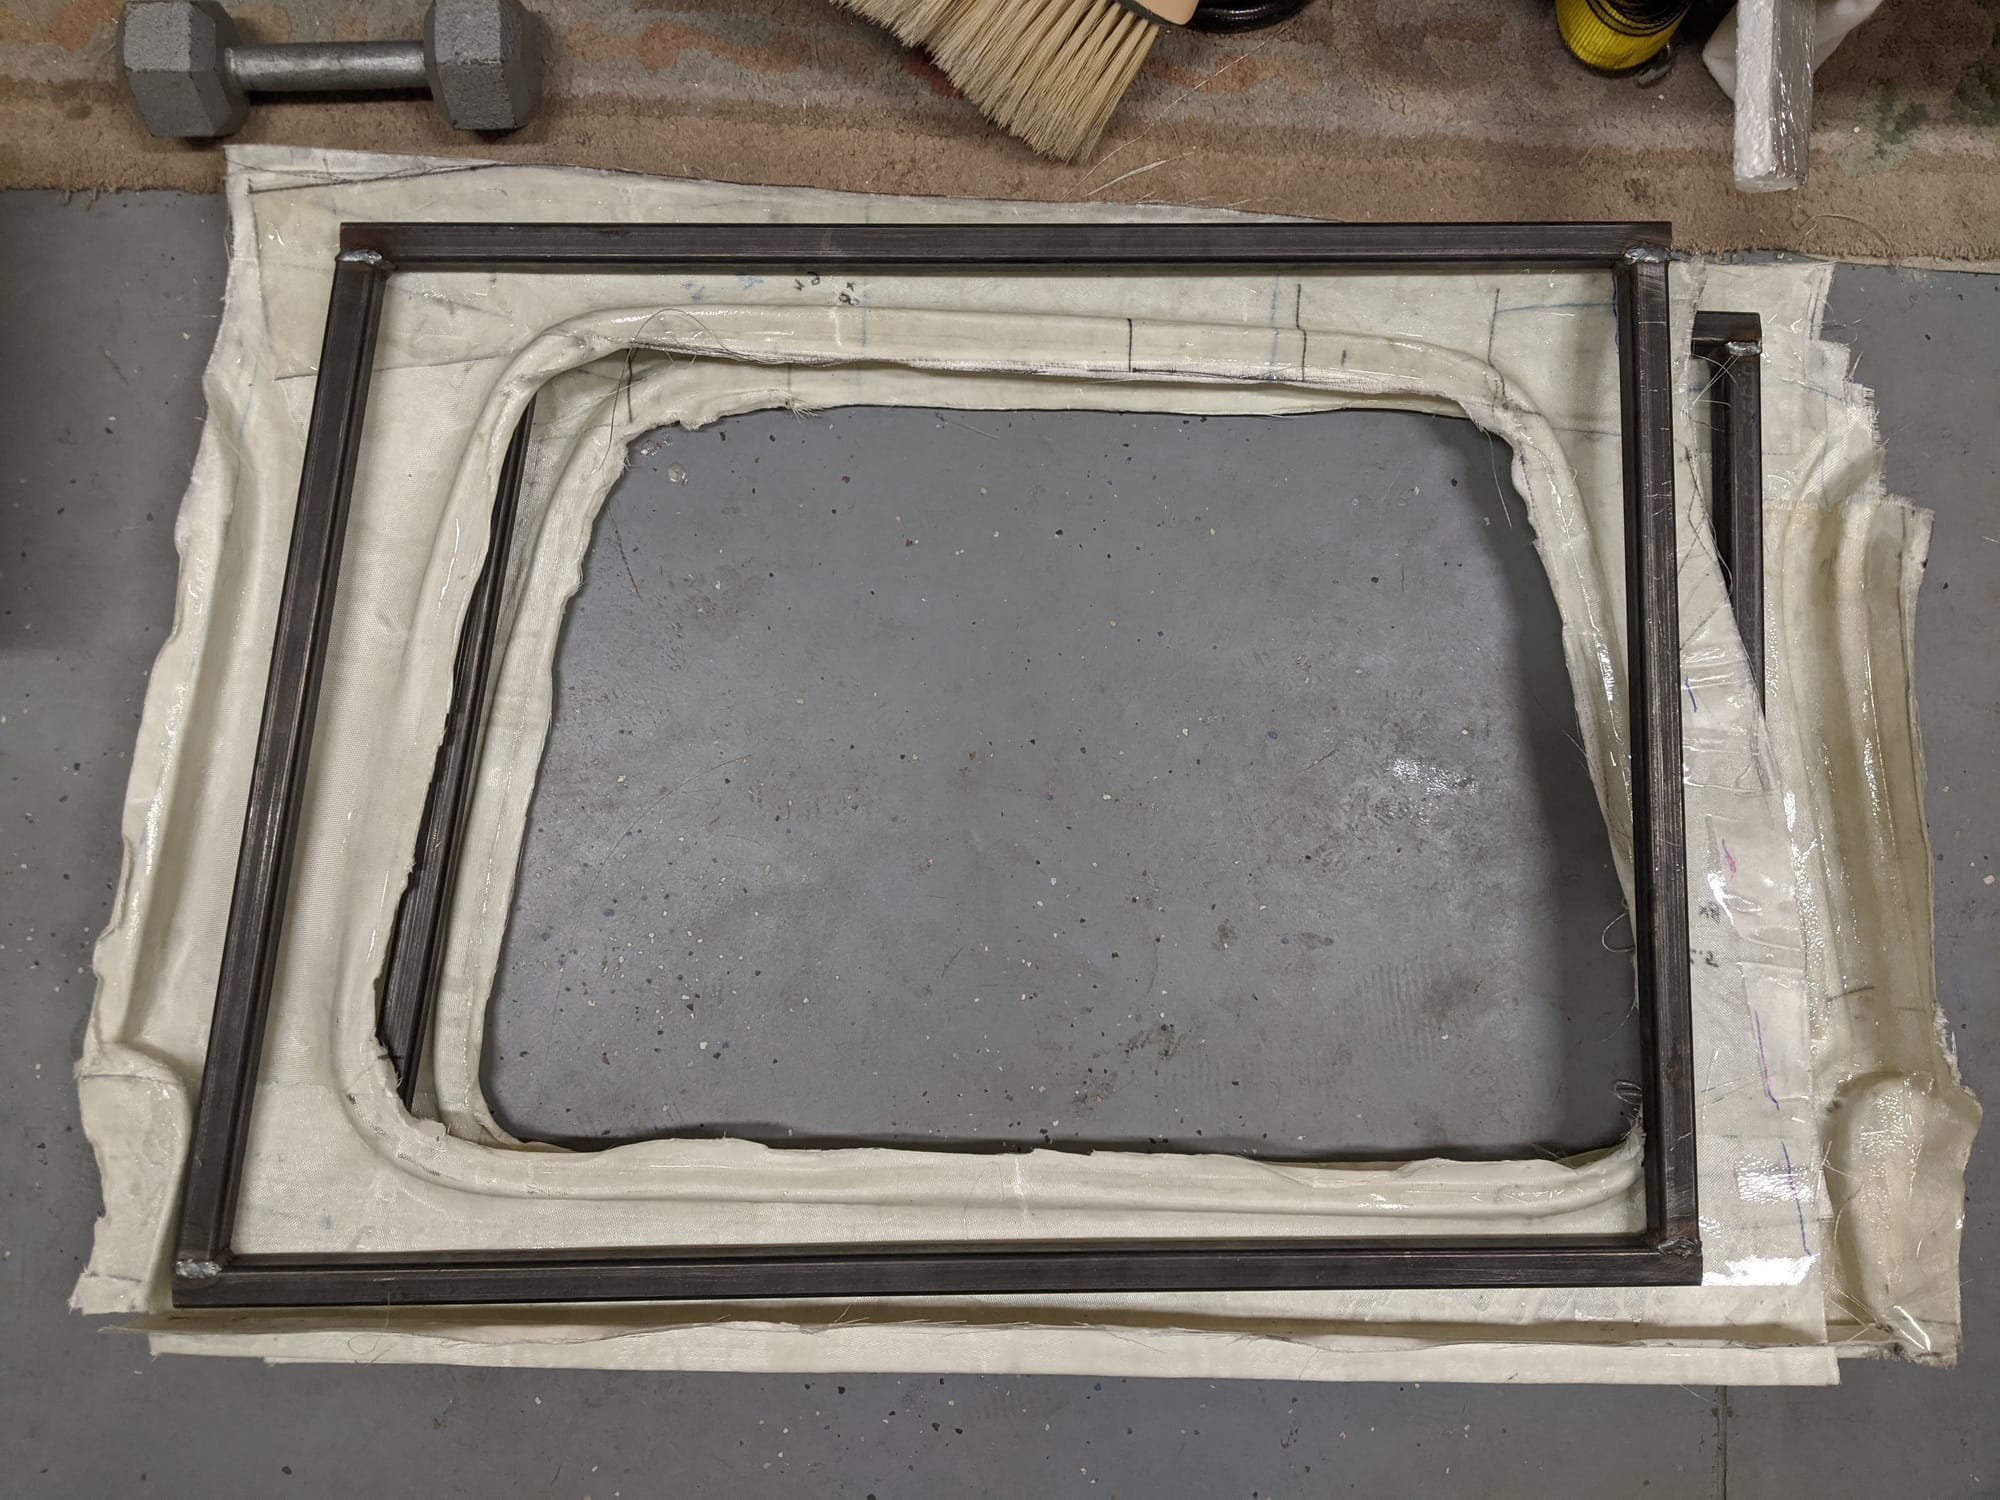
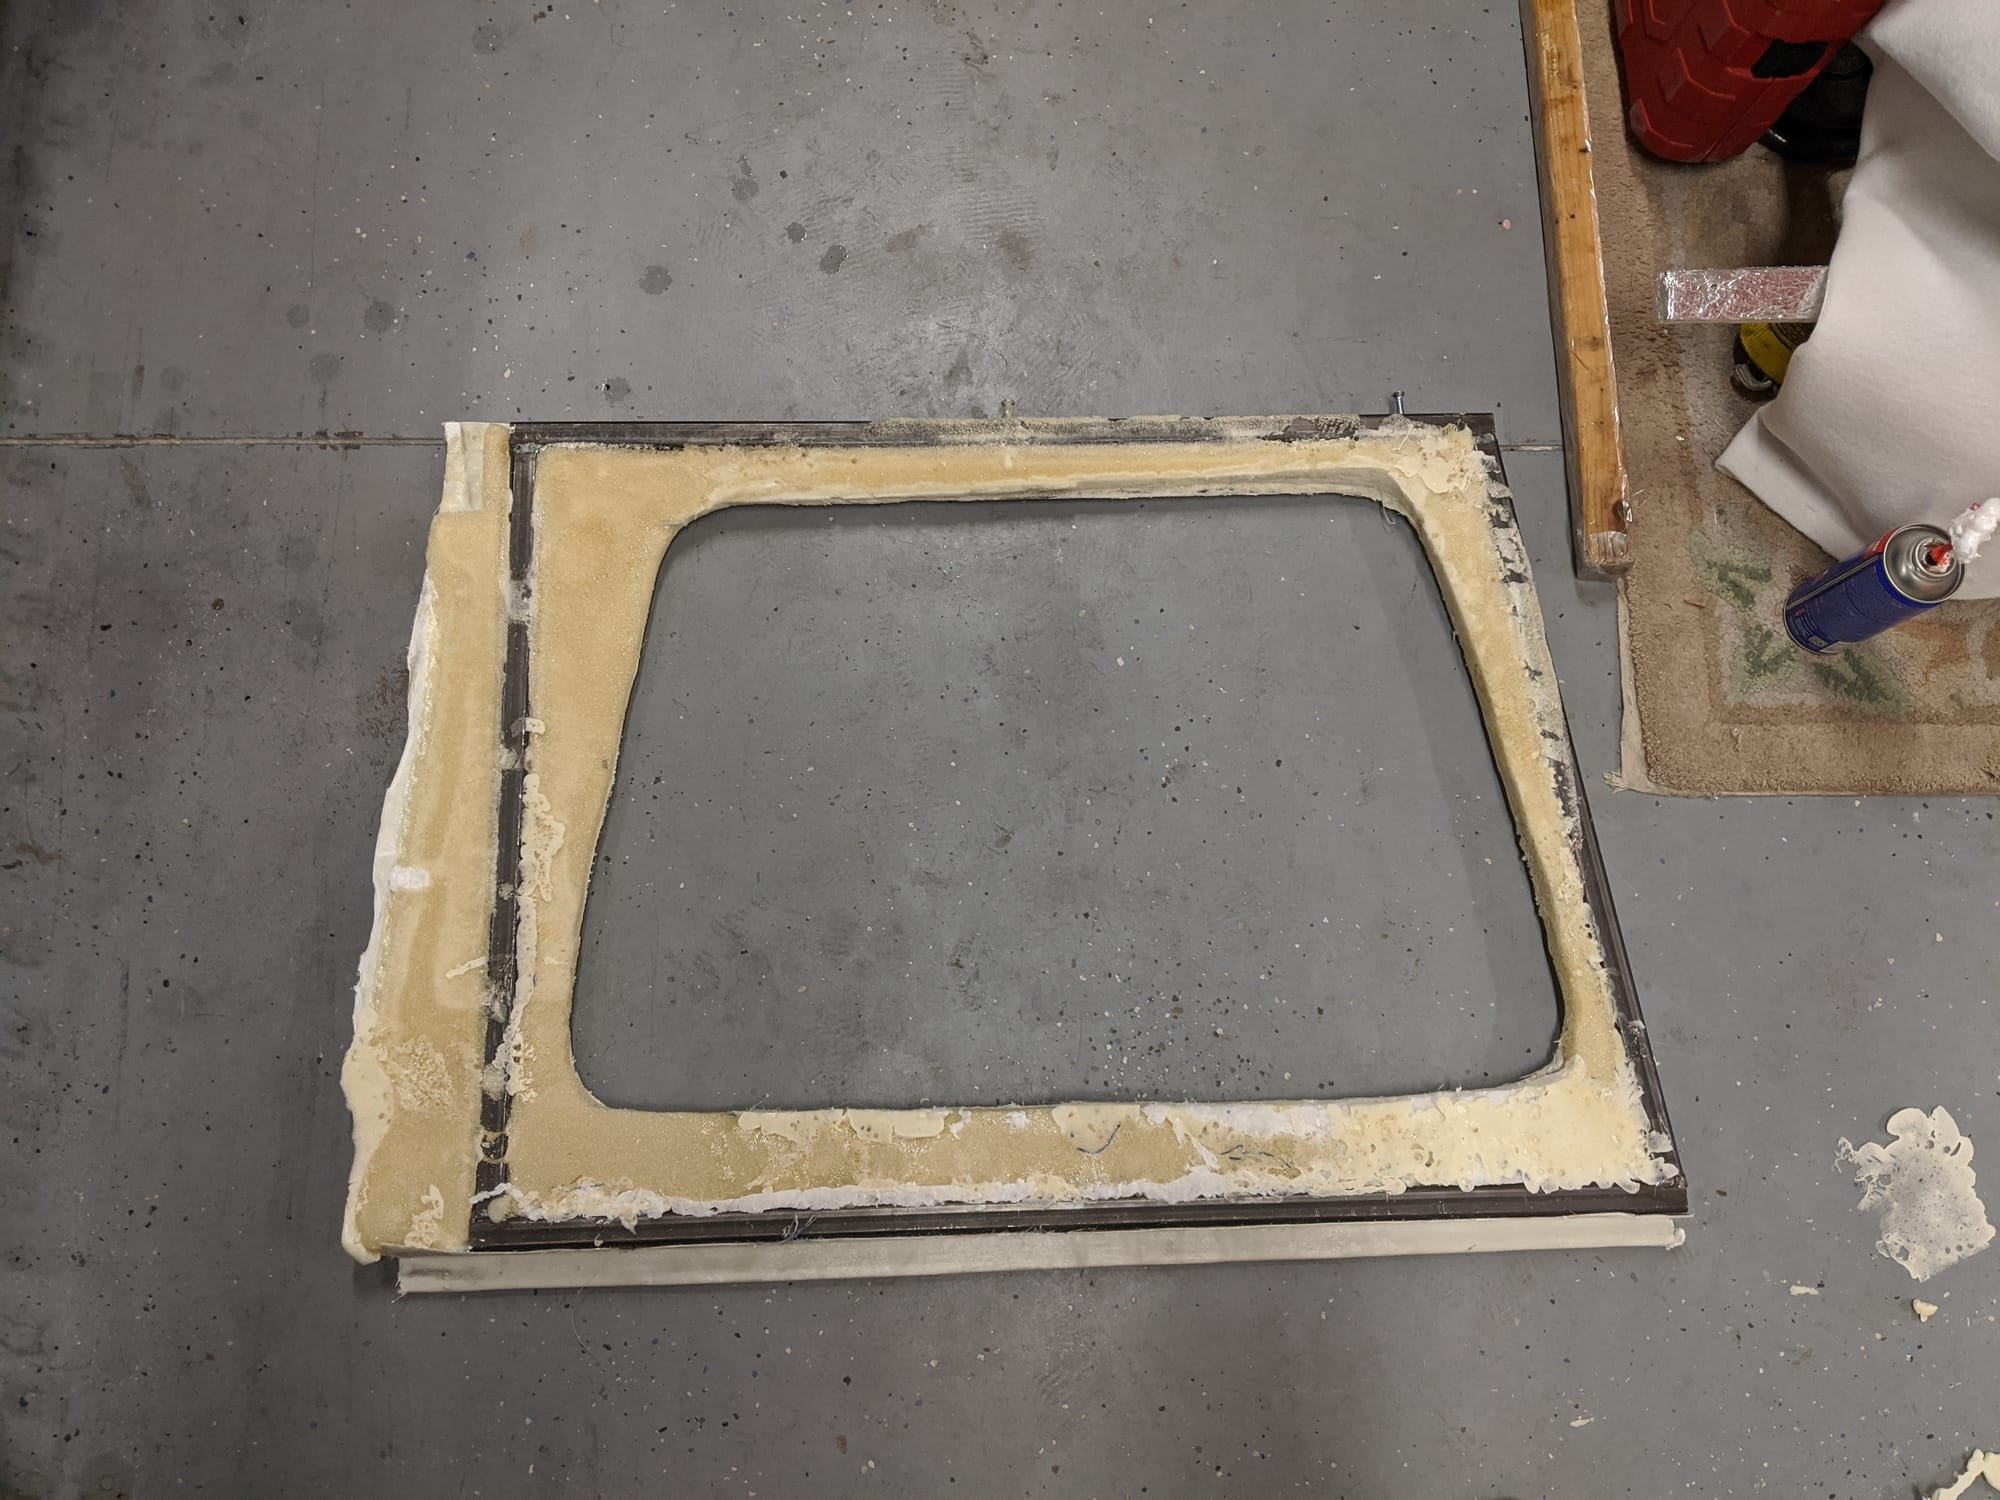
Step 4: Creating the Side Panels
 1.
1. 2.
2. 3.
3. 4.
4.
 5.
5. 6.
6. 7.
7.
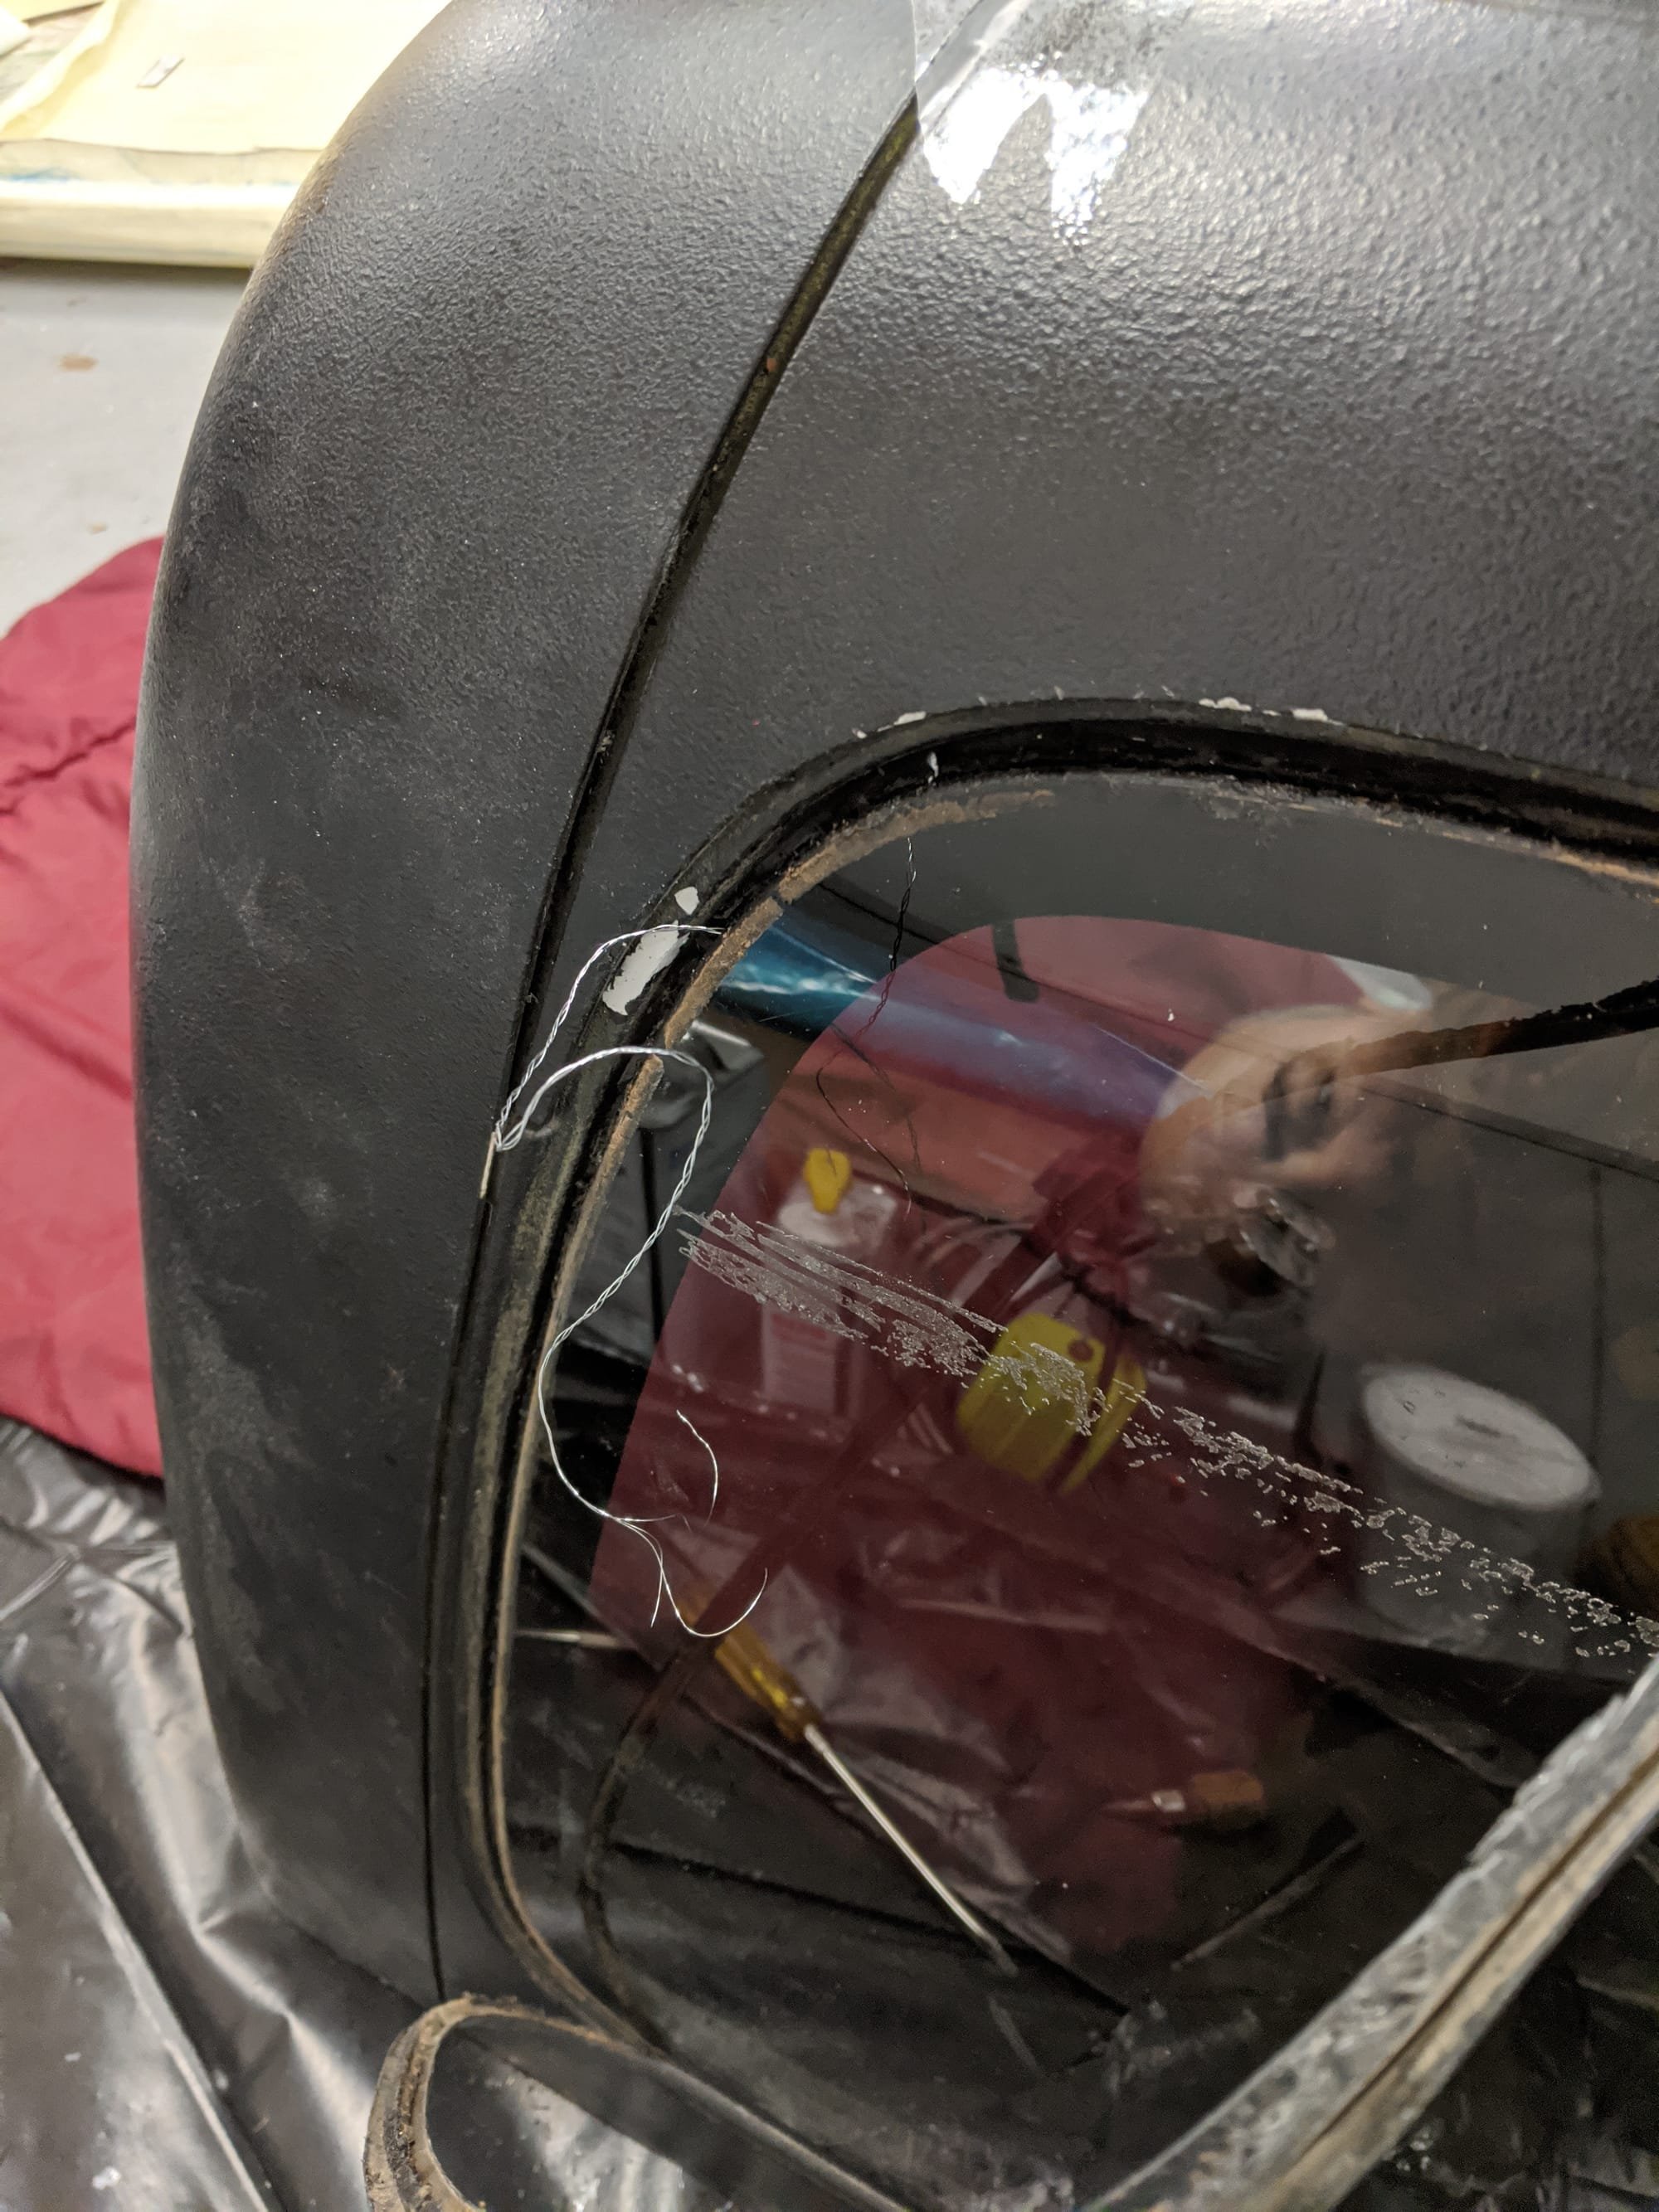
In the process of creating the side panels: 1. The windows on the original hardtop had to be removed. 2. The material was cut. 3. The area was prepped to prevent the epoxy from adhering to the hardtop. 4. The layup was taped down to ensure the shape of the hardtop is transferred to the panel 5. Two frames were welded up from A500 Gr.A 1"x 1" x 0.095" steel. 6. Nuts were tacked in to simplify the design. By tacking in the nuts, access to the nuts will not be necessary. 7. Expanding Polyurethane foam was poured in and shaped to create the foam core.
Manufacturing Issues:
One manufacturing issue that came up was, using an original hardtop as a mold. A few issues that were caused by using the hardtop are: 1. The original hardtop was not cut into the sections that the panels would be made of. 2. The hardtop made using vacuum bagging to produce the panels hard. 3. Sizing the panels could have been easier.
By not cutting the original hardtop into sections, the layups had to be made on top of the original hardtop and in the cold. Having to make the layups on top of the original hardtop created an environment that was hard to work in. This forces the individuals working on the hardtop to work in a cold environment that was not worker friendly. If the hardtop was cut up, the individual pieces could then be placed on a table that would decrease the strain put on your back and the awkward angles that someone needs to work with. The cold could have also been eliminated by working in a lab room instead of a garage.
The issue of not using the vacuum bagging method is that the material properties of the hardtop could decrease if extra precautions are not taken. One precaution is applying weights on the surface of the layup. In general, a vacuum pump produces around 14 PSI. That was hard to do at home so a wet layup method was used. Applying this method still produces a quality product, but it also does not ensue uniform properties throughout the fiberglass. That could cause weak spots. By using the vacuum bag, someone could be more confident in the finished product. Using a wet layup eliminates one variable that could be controlled.
The way the sizing of the panels could have been made easier is that, if the original hardtop was cut into sections, there would be a 100% guarantee that the panels would be aligned perfectly and that the size of the panels could be trimmed to the exact dimensions. By not doing this, the panels had to be assembled throughout the construction process to confirm that everything would line up and fit correctly. This took a significant amount of time to keep redoing. This also led to having to add material in sections where the panels were trimmed too far. While adding material does not affect the finished product, it added even more time to the project.
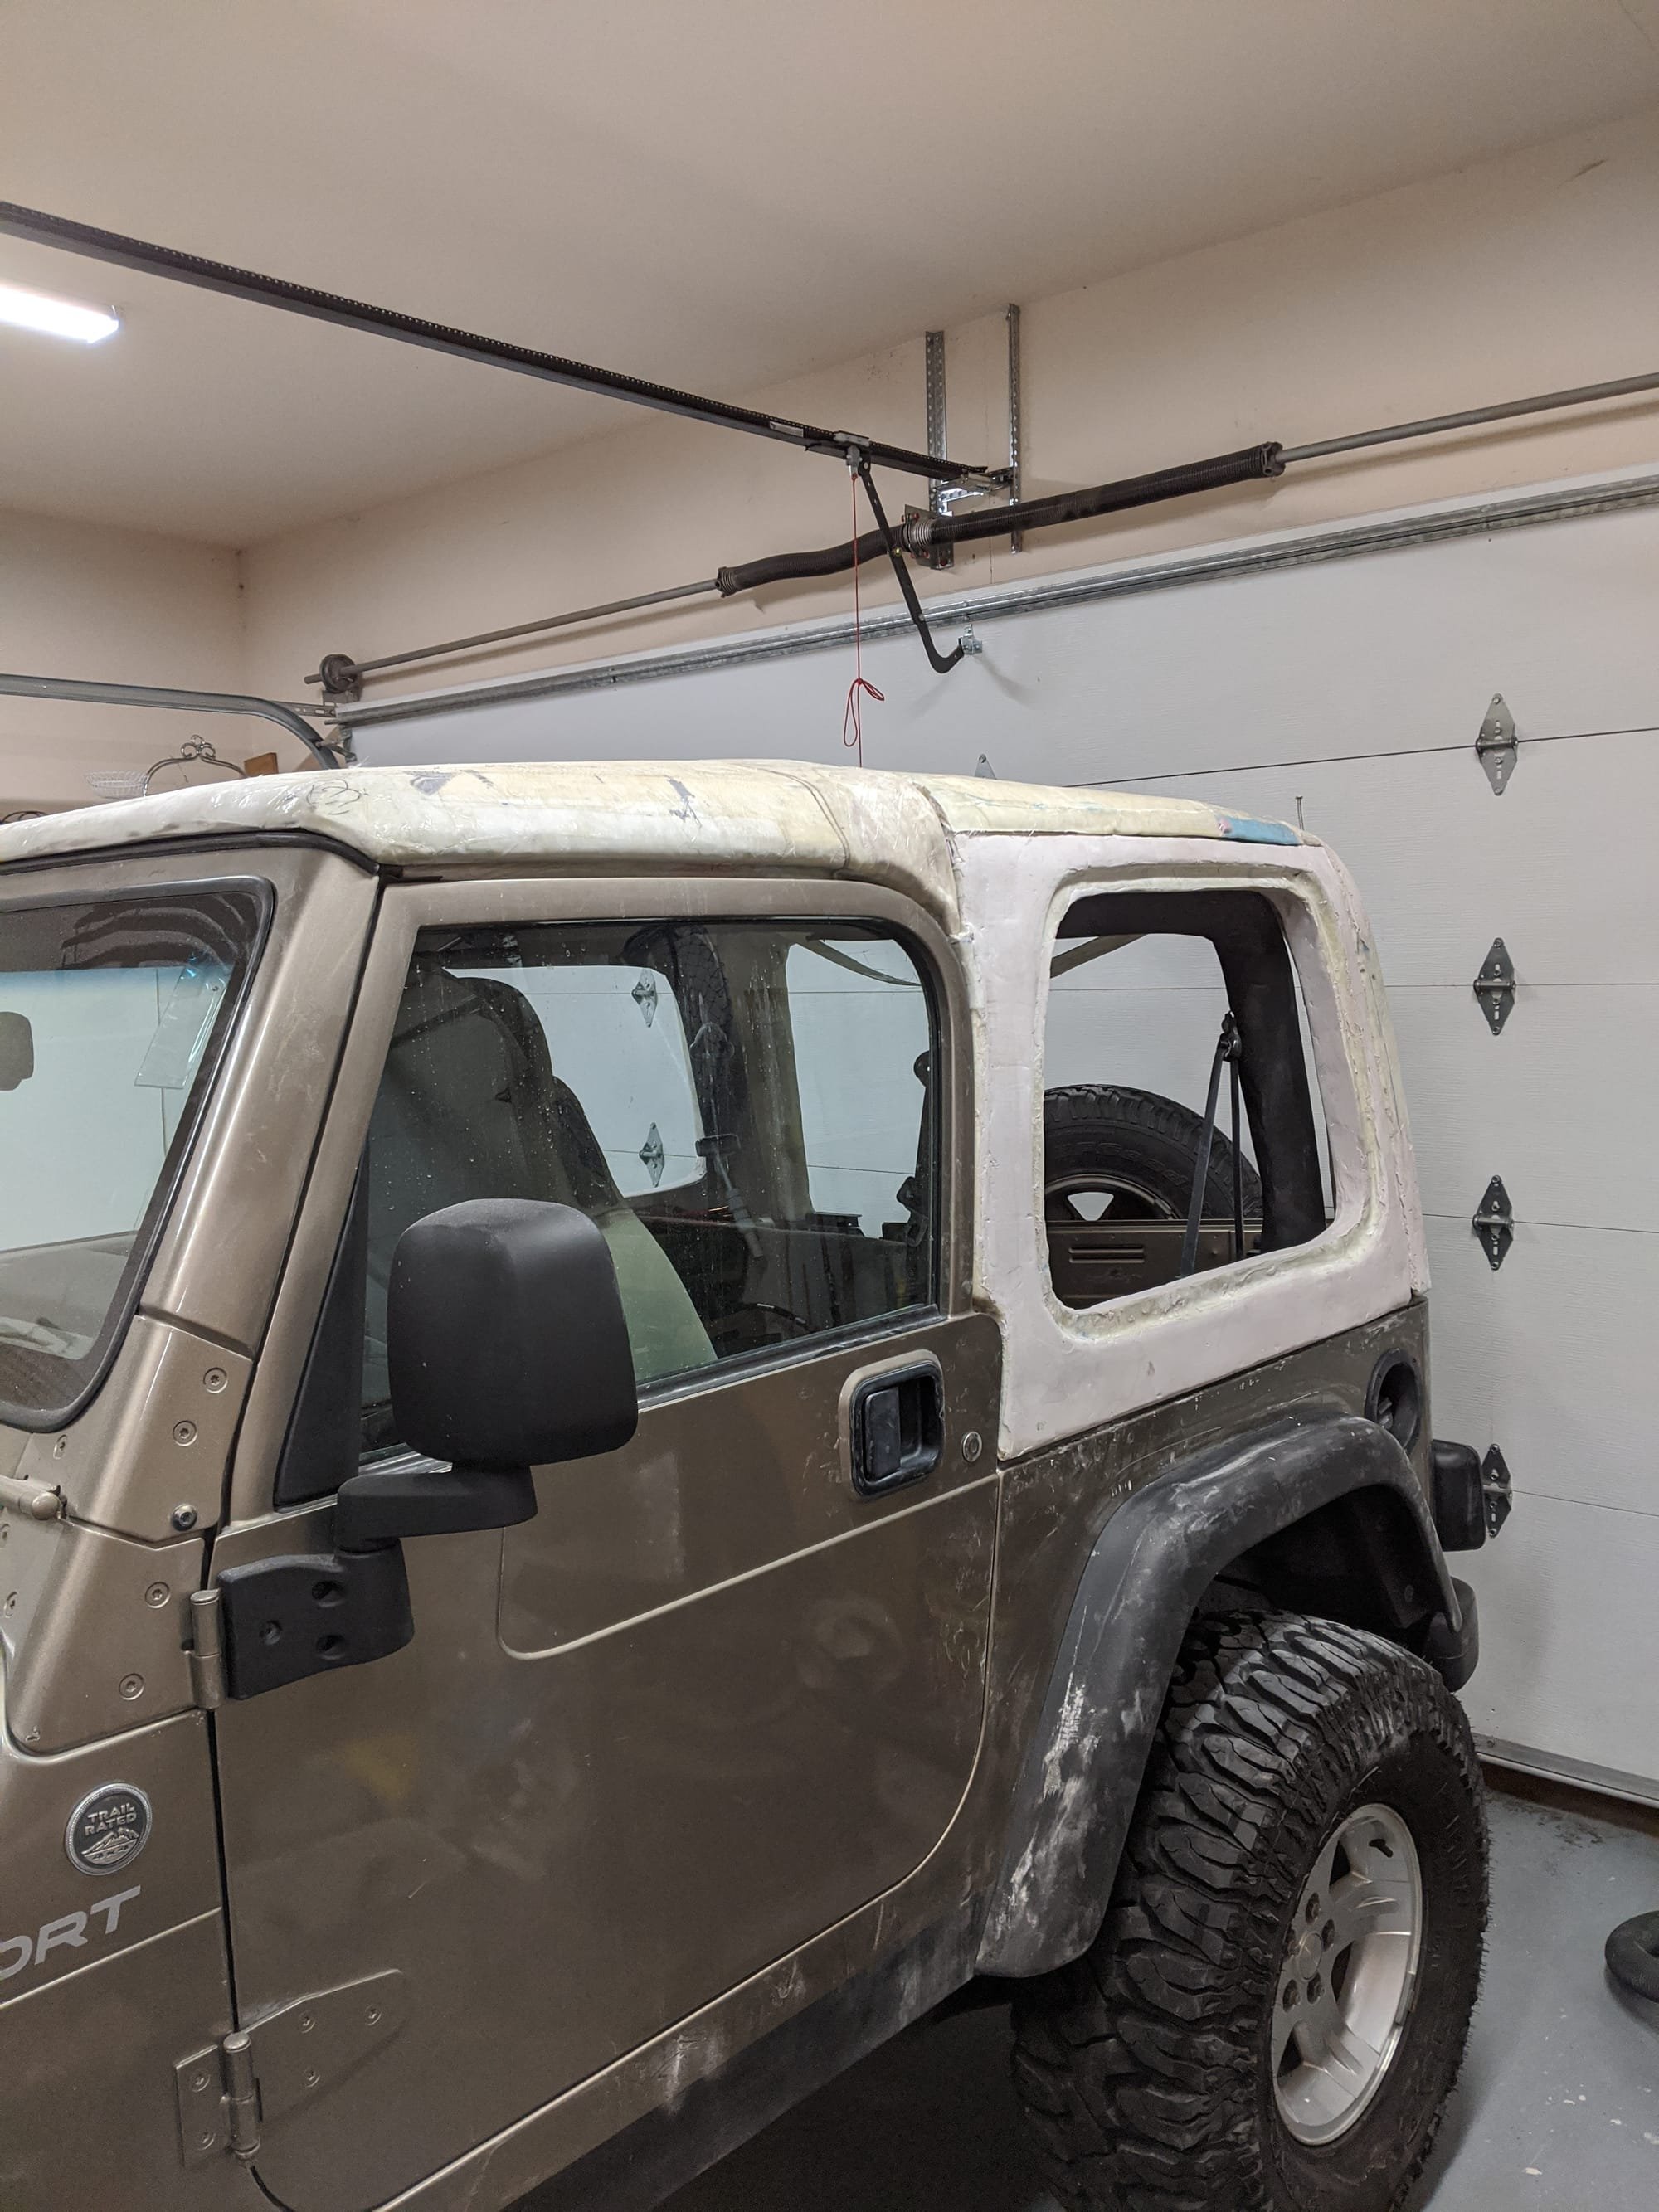 Pre-Completion: Prep work done with Bondo to ensure a smooth finish.
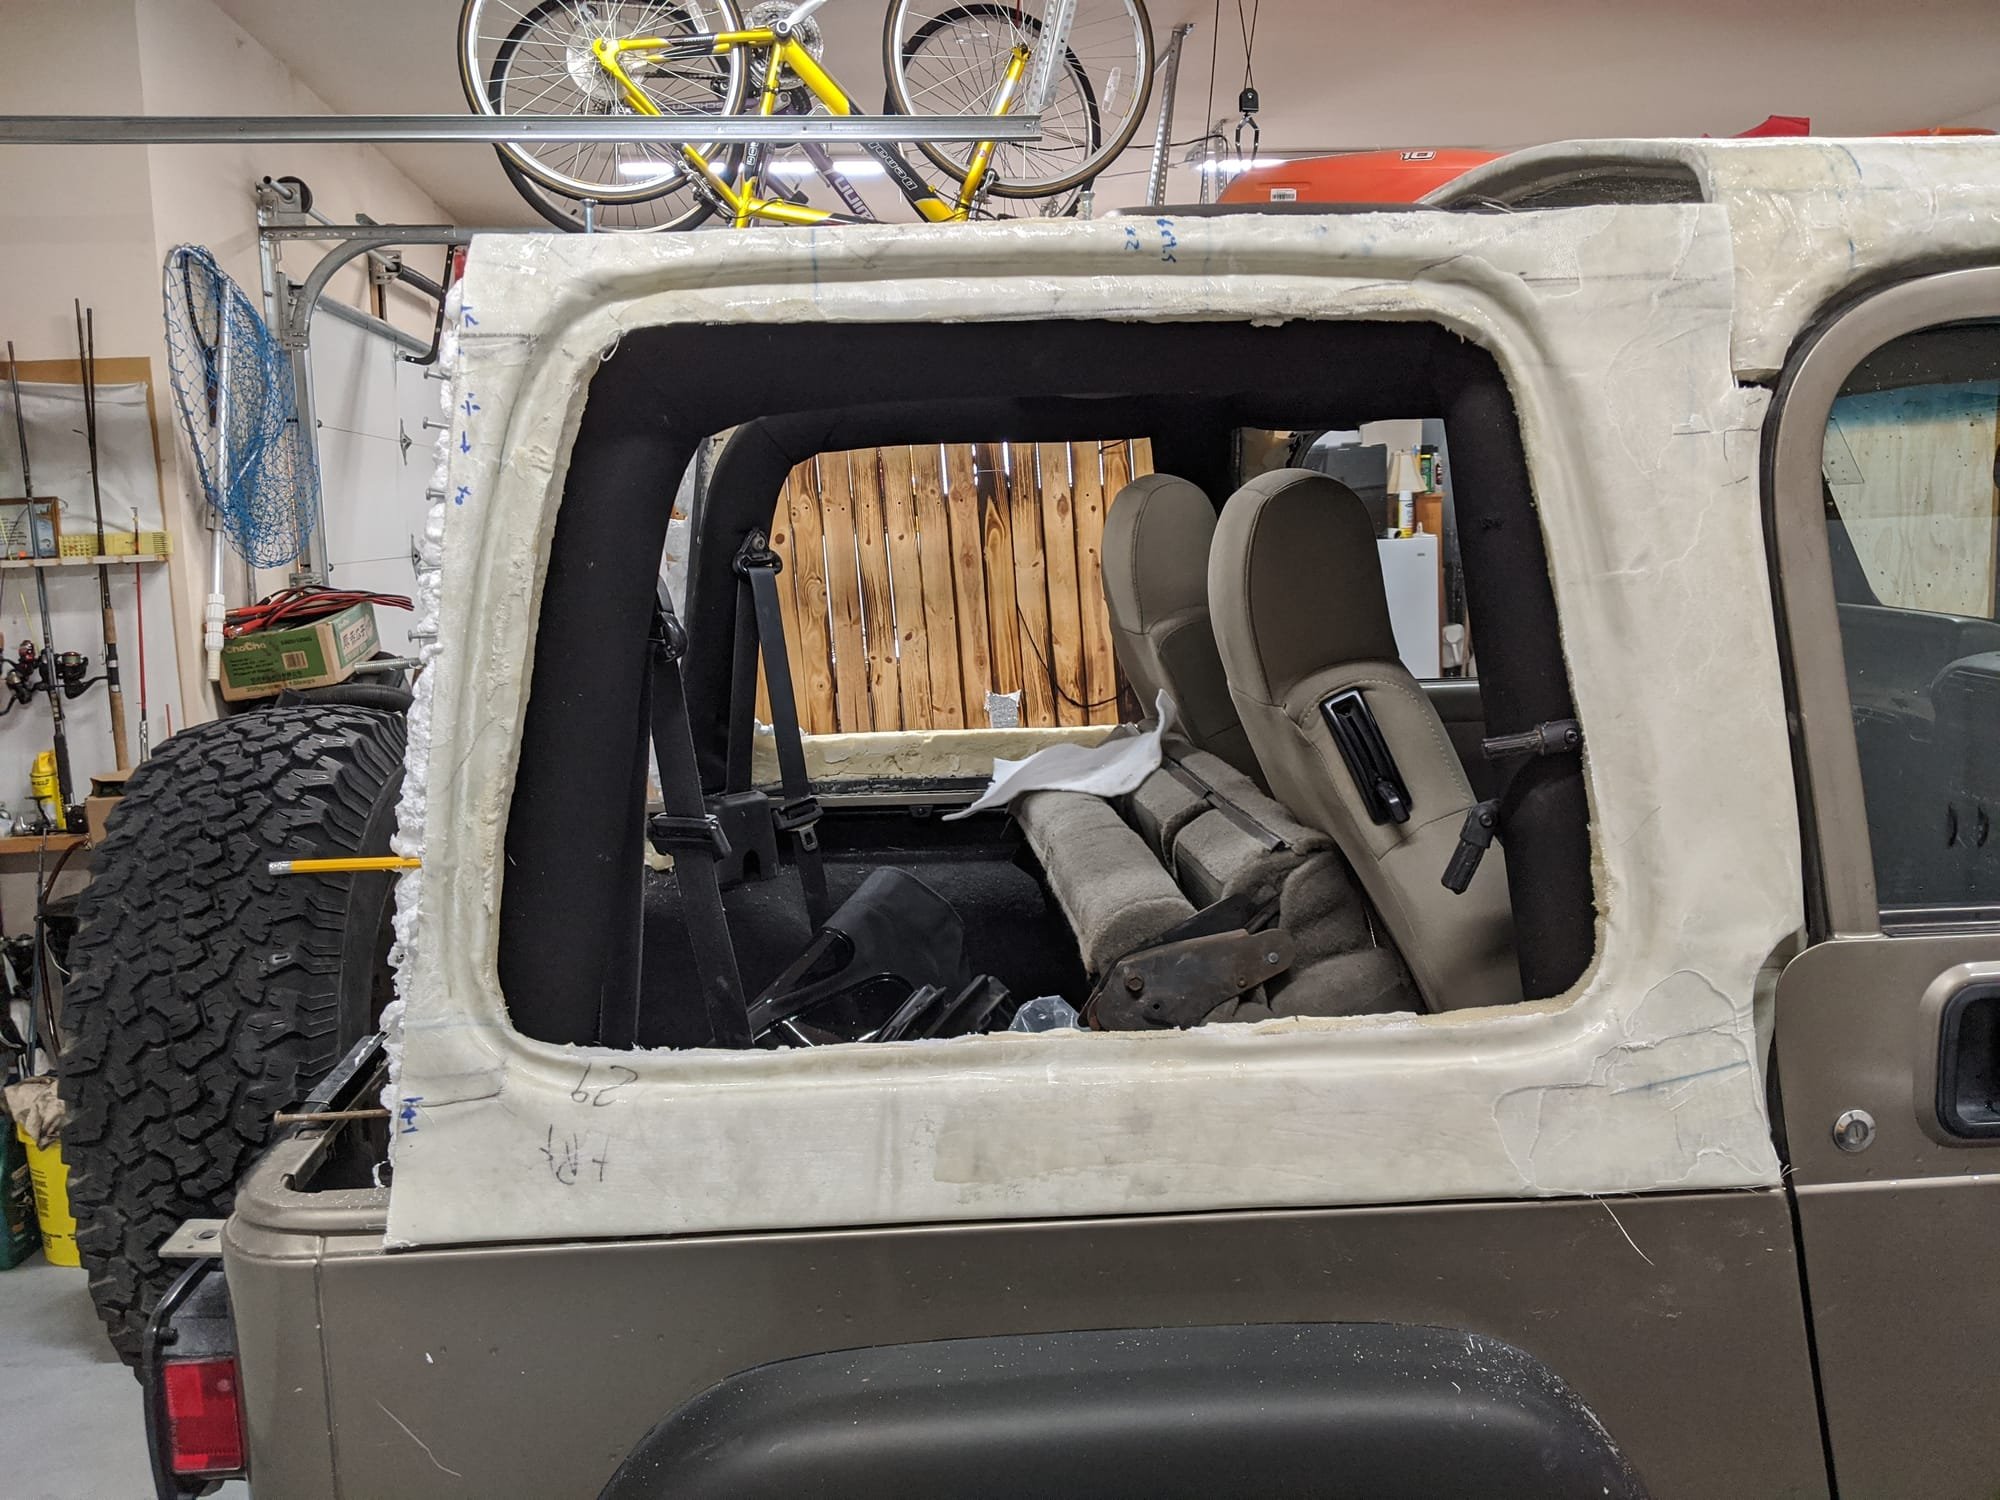 Ensuring Fitment
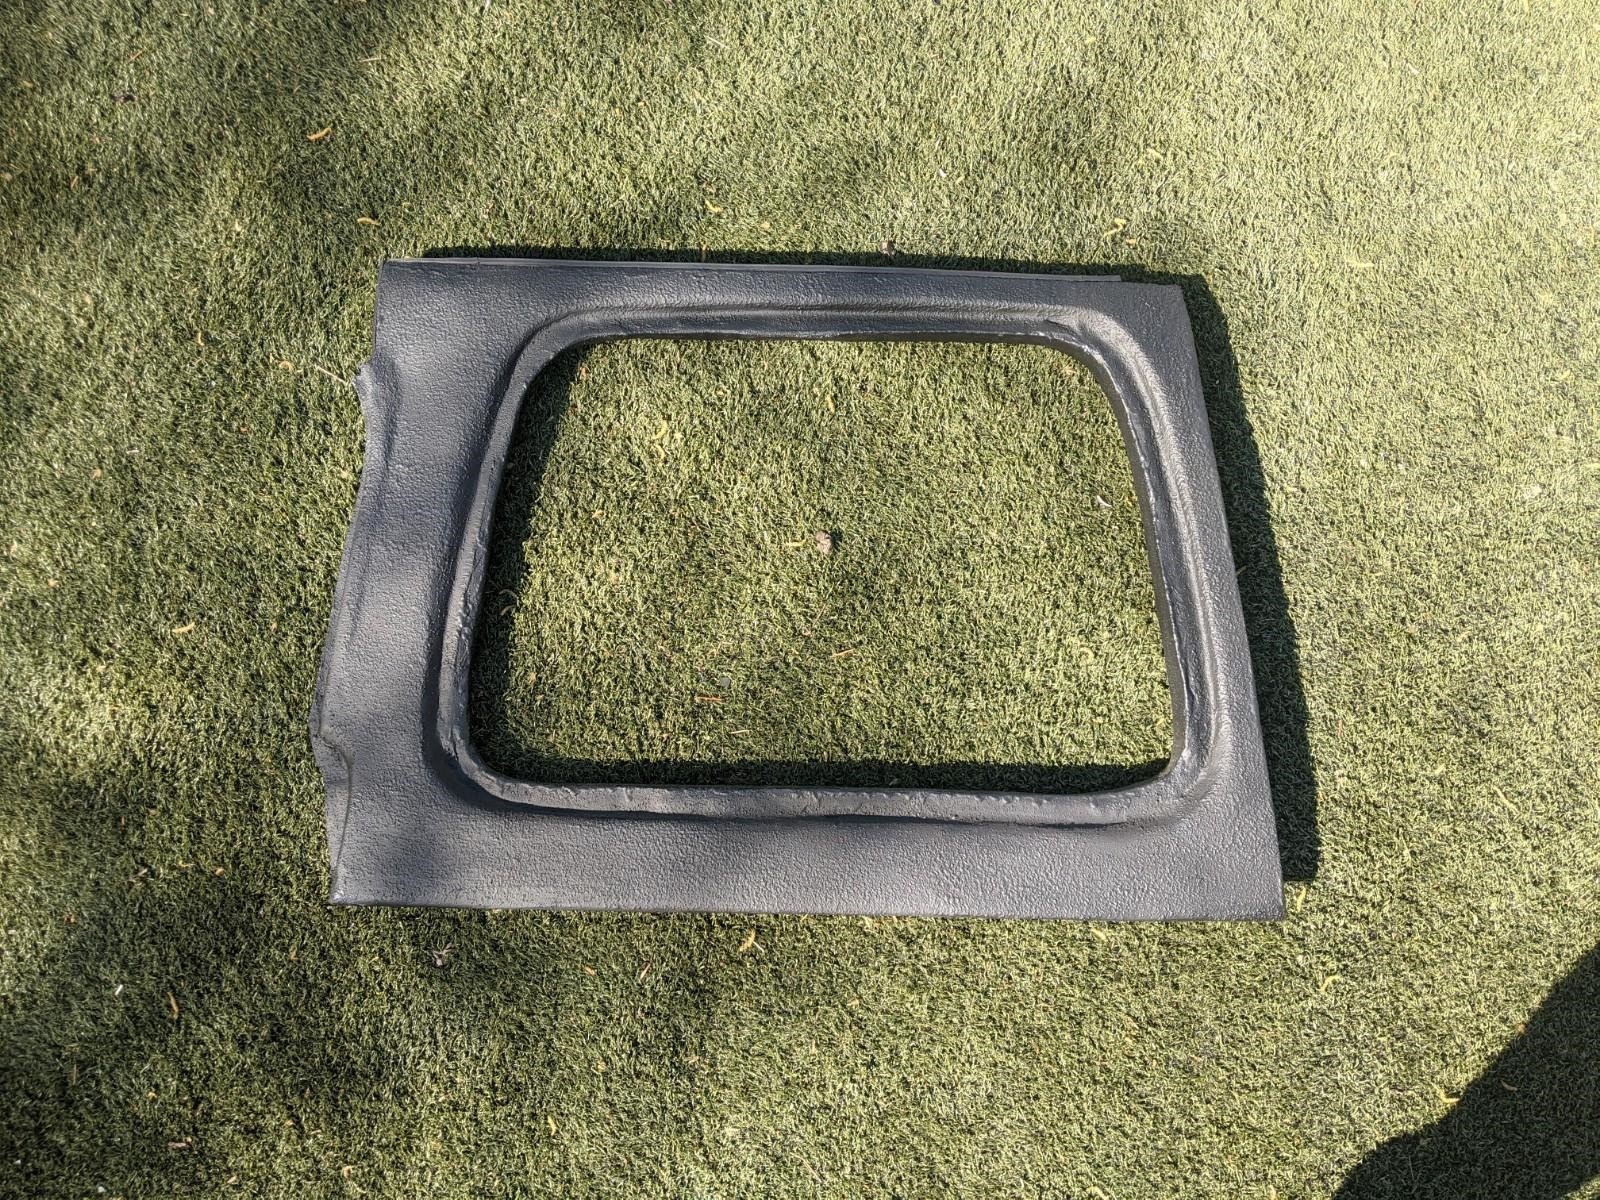 Completion of the Side Panels
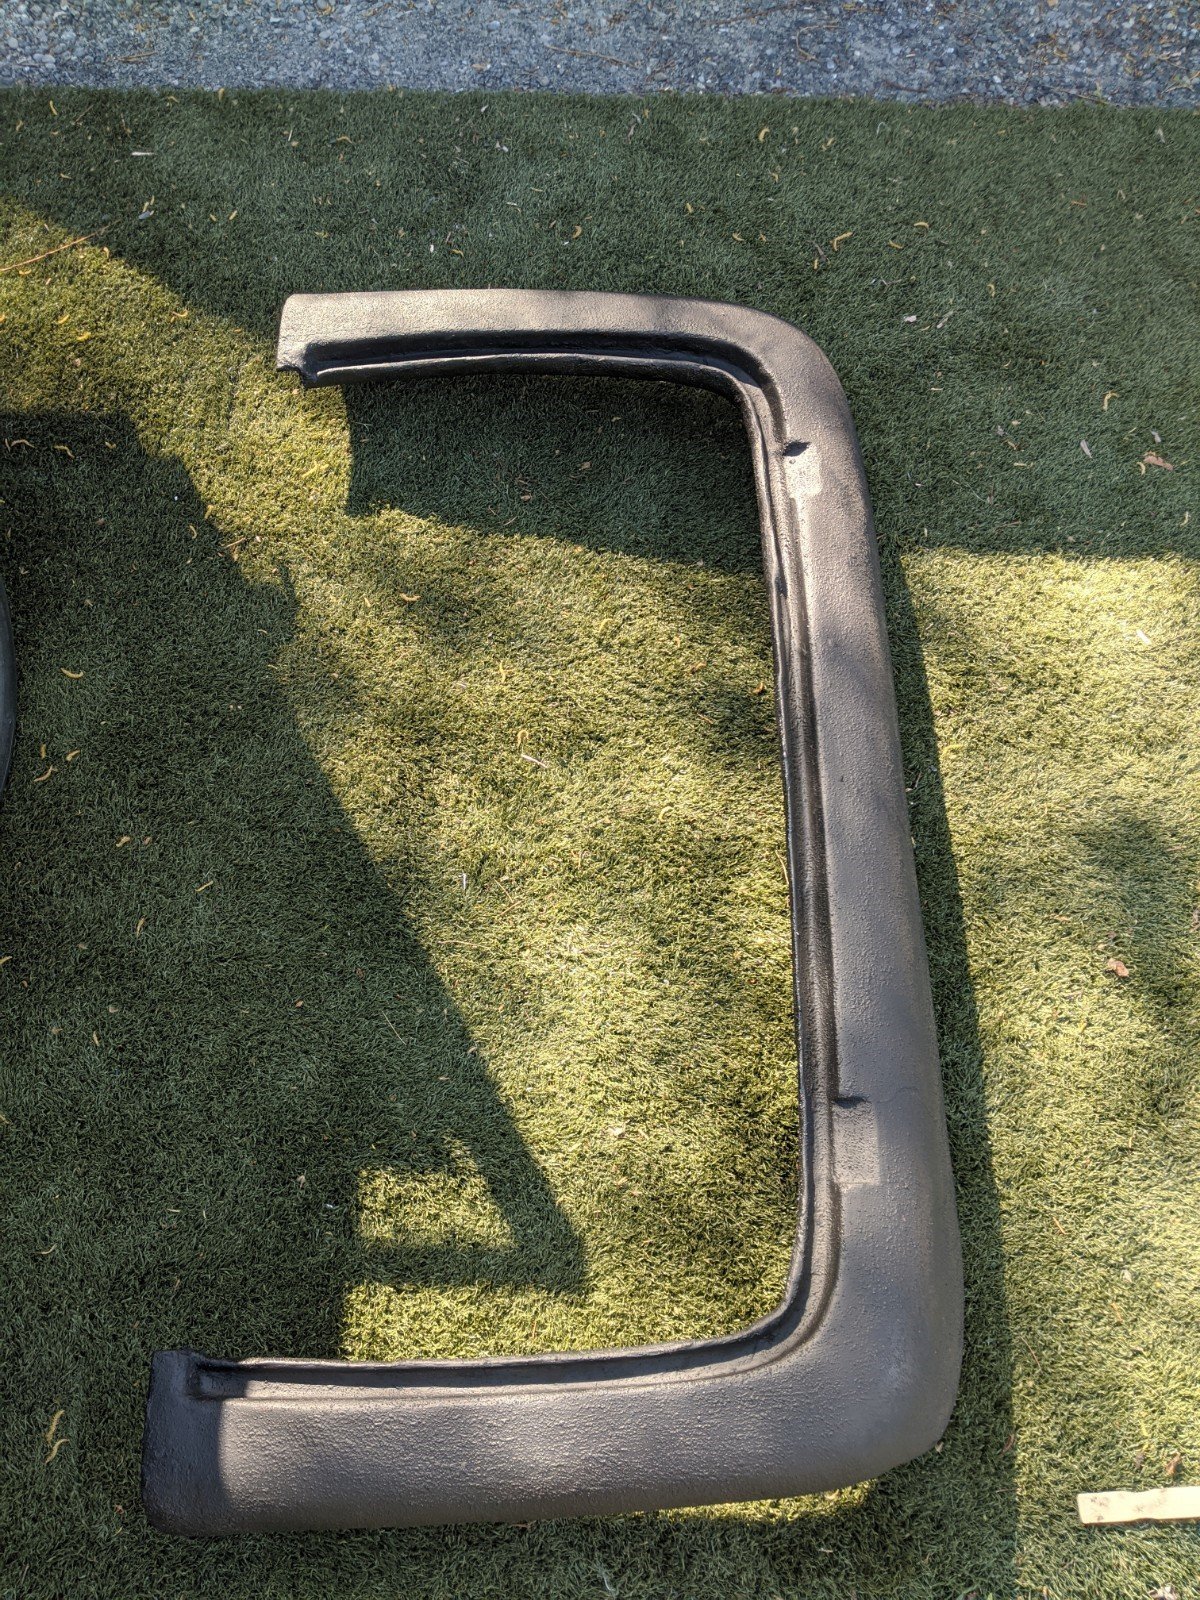 Completion of the Rear Panel.
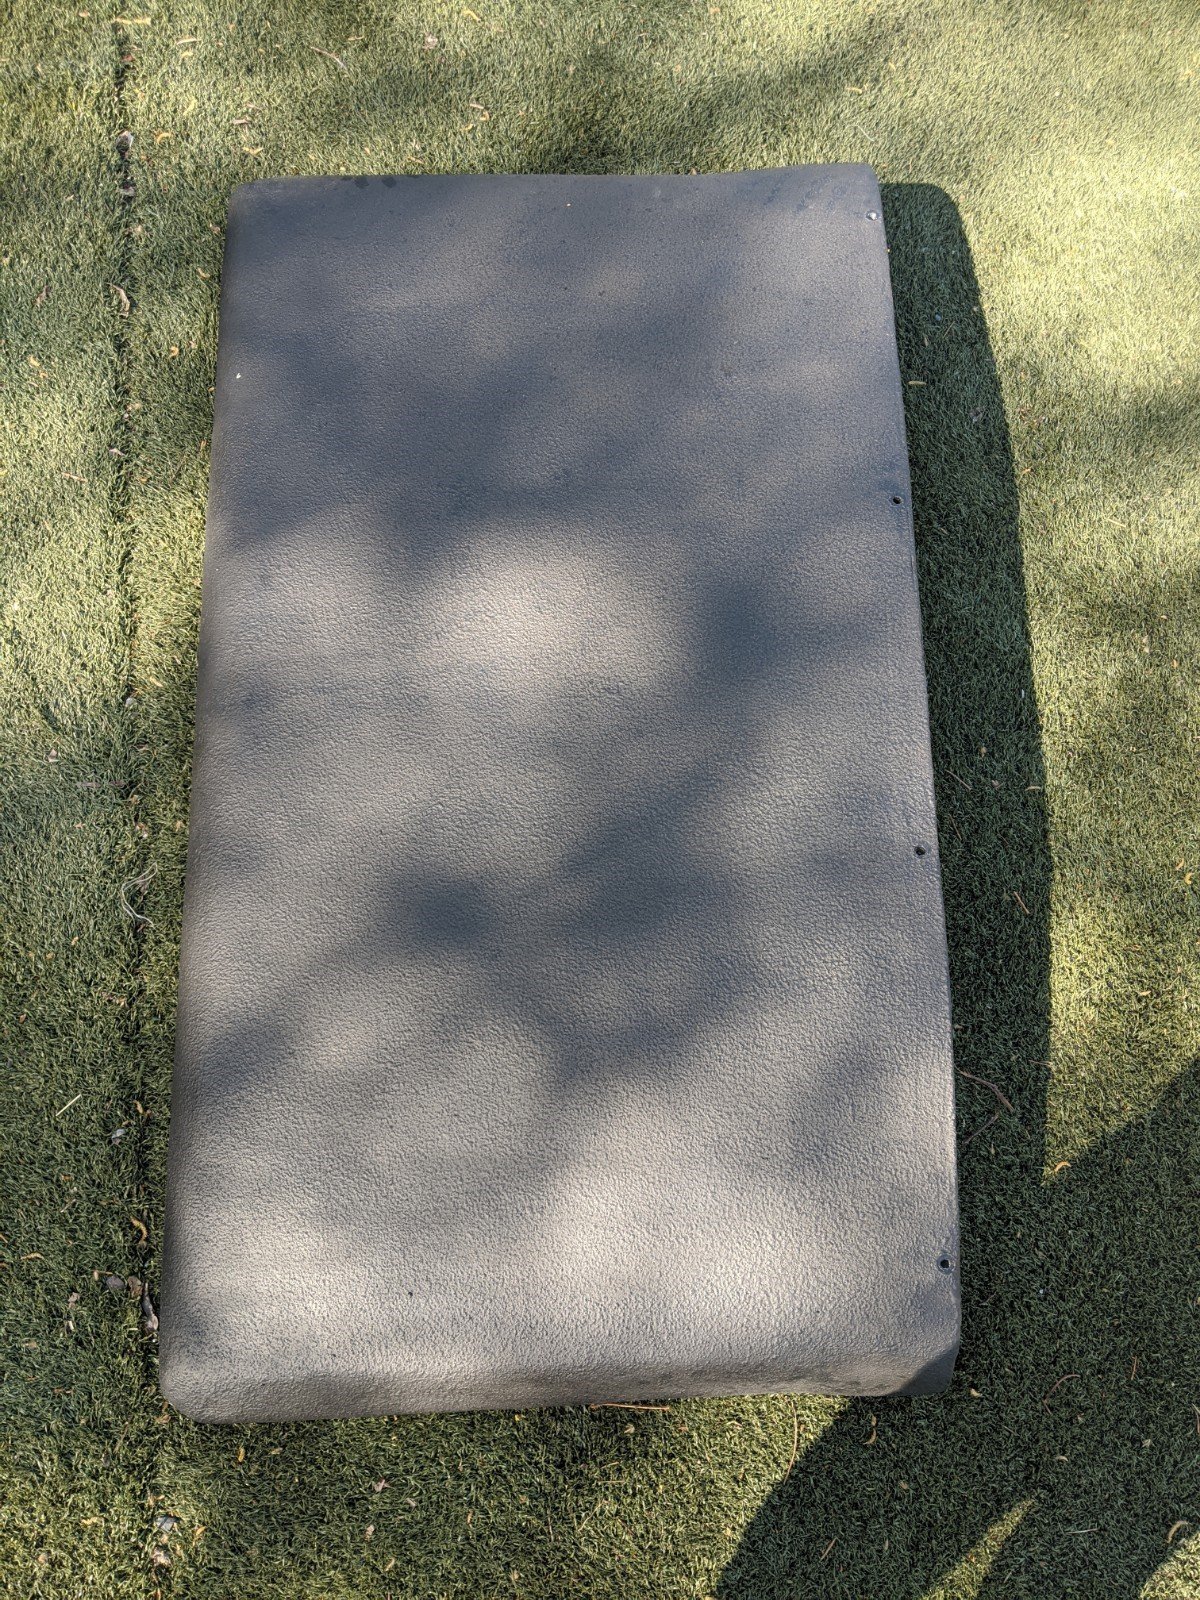 Completion of the Top Front Panel
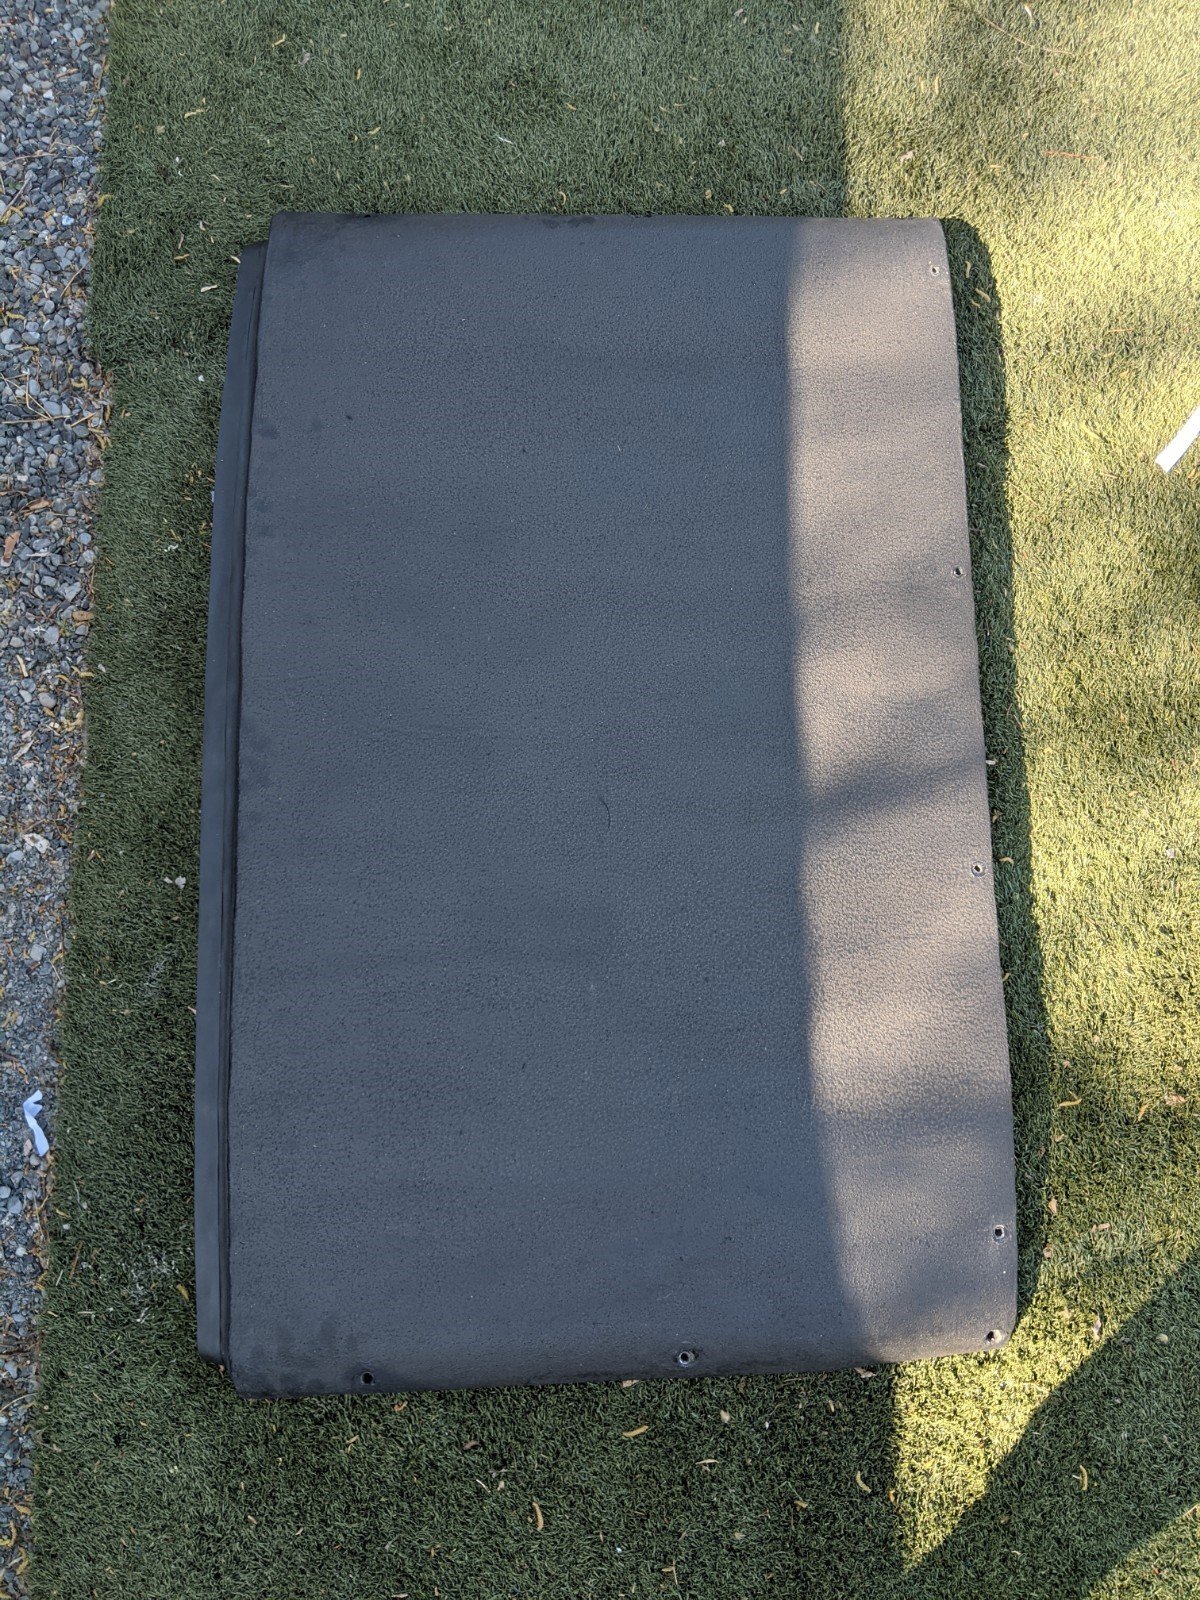 Completion of the Top Rear Panel
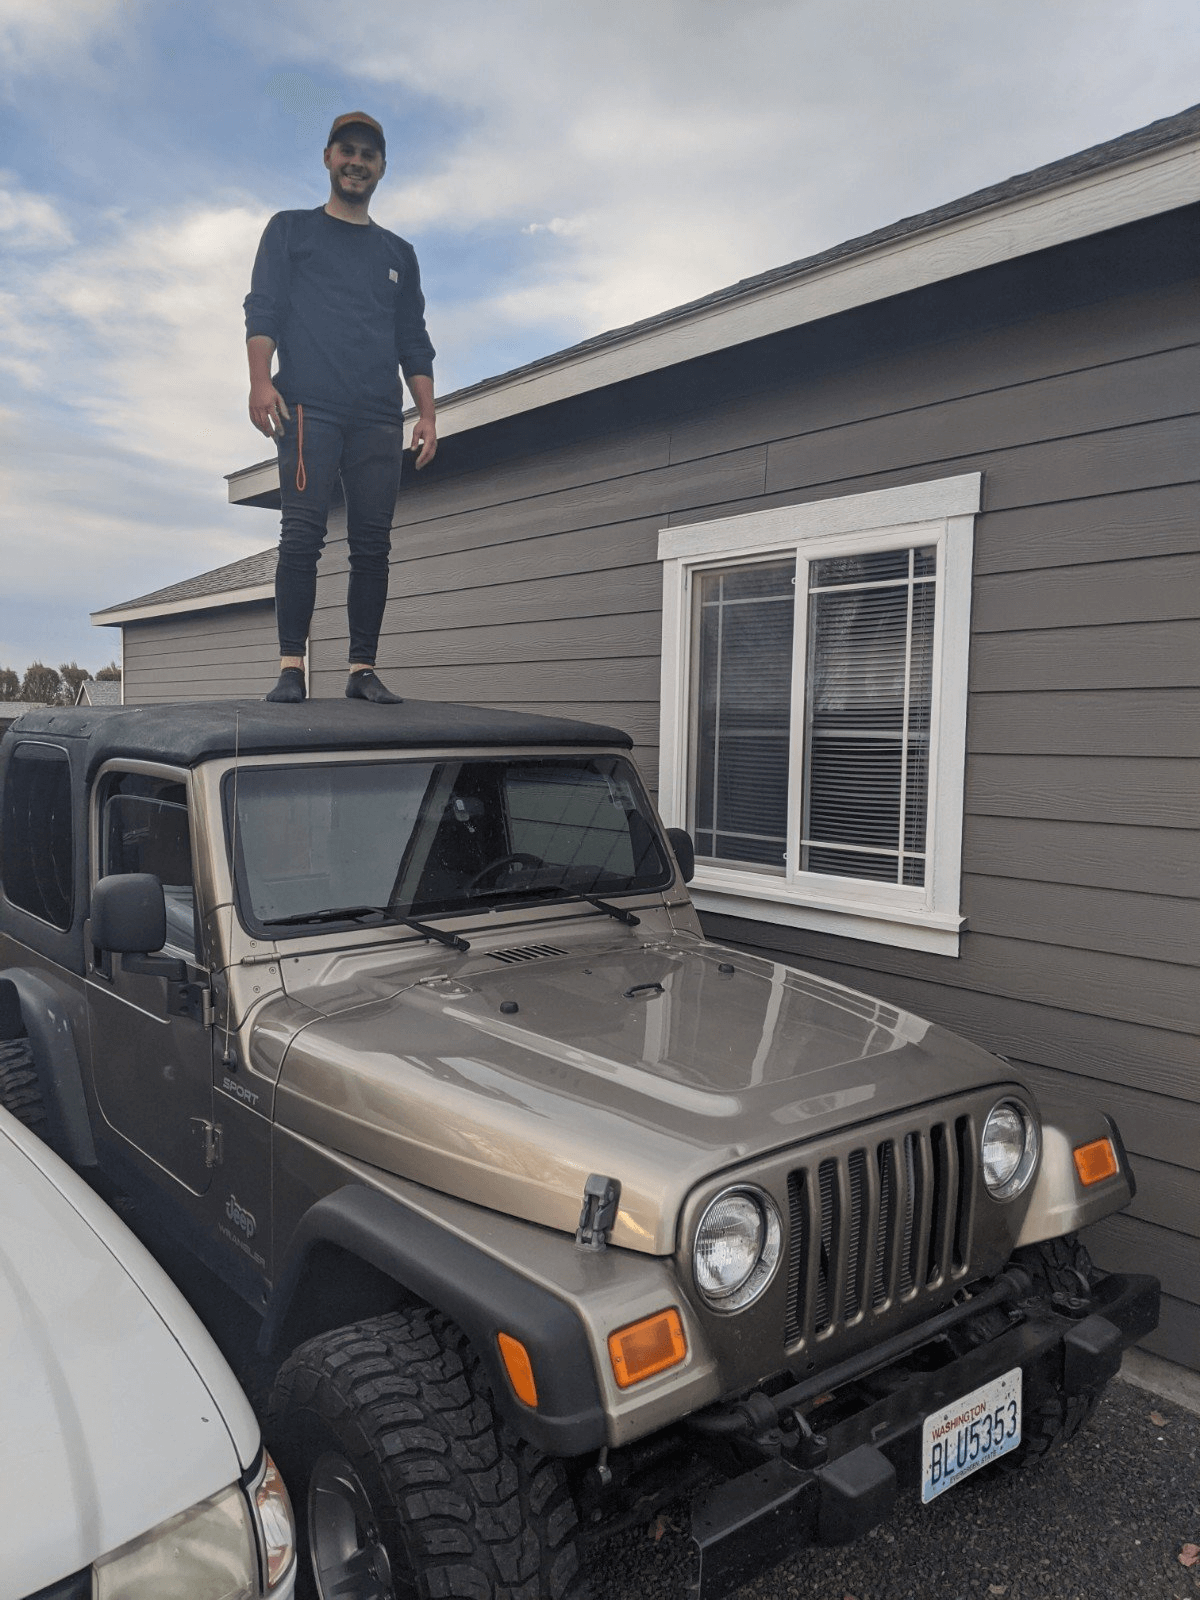
 Final Product
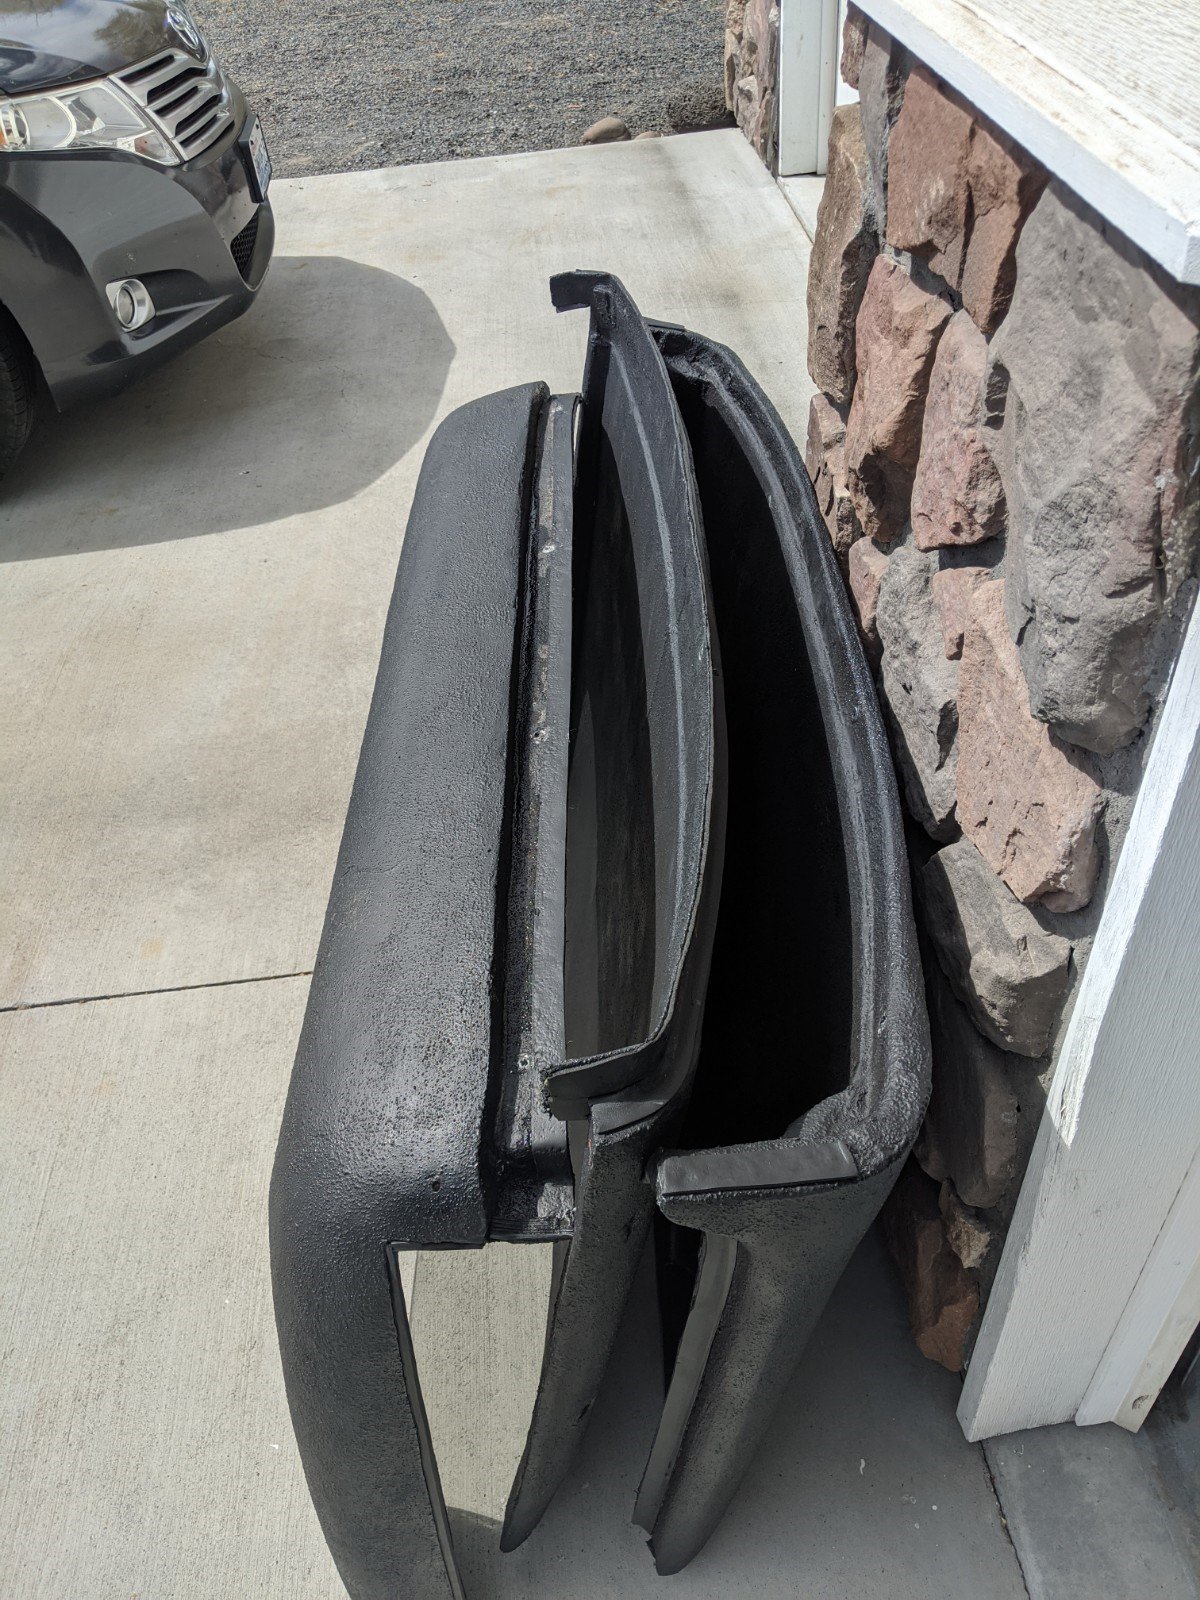 Deconstructed Panels


